If you've landed on this page, then it's my guess that you're pretty new to embroidery. Maybe you're a total newbie and this is the first place you've come to learn. (Welcome, new friend!)
Either way, you're in the right place. I'm Sophie of Mindful Mantra Embroidery, and I've been embroidering since 2019. I verrry quickly fell in love with this craft, and I've soaked up allllll of the info, tips and tricks there are to learn, and I can't wait to teach you, too!
Over all those years, I've come to realise the exact mistakes that newbies make when they first start out.
Do you know how I know? Because I made them too! Only I had nobody to tell me then that I was doing it wrong 🫢
So let's dive in to the 7 mistakes I see pretty much every newbie stitcher make, and then we'll move on to how to avoid them!
(And if you make these mistakes, there's absolutely zero shade here!! We all start somewhere, and I'm here to help you improve! 🥰)
The 7 mistakes:
- Using cheap supplies - it's not worth it, I promise!
- Not pulling the fabric tight in the hoop
- Using aida fabric (cross stitch)
- Using only 1 layer of fabric
- Transferring with a pencil or biro pen
- Using the wrong size needle
- Not taking their time when they're stitching
1. Using cheap supplies
It's not worth it friend, trust me!
Let's circle back to 2019. I used to buy cheap bamboo embroidery hoops and non-branded thread on Amazon. I'll start by saying that at the time, they were ideal for what I needed them for, but I had nothing to compare them to!

A few months later I found DMC embroidery thread, and I realised how much easier and more beautiful my embroidery could be, just by using higher quality supplies!
And then, it wasn't until about a year later that I discovered Elbesee wooden embroidery hoops and oh my gooodness, I was amazed!
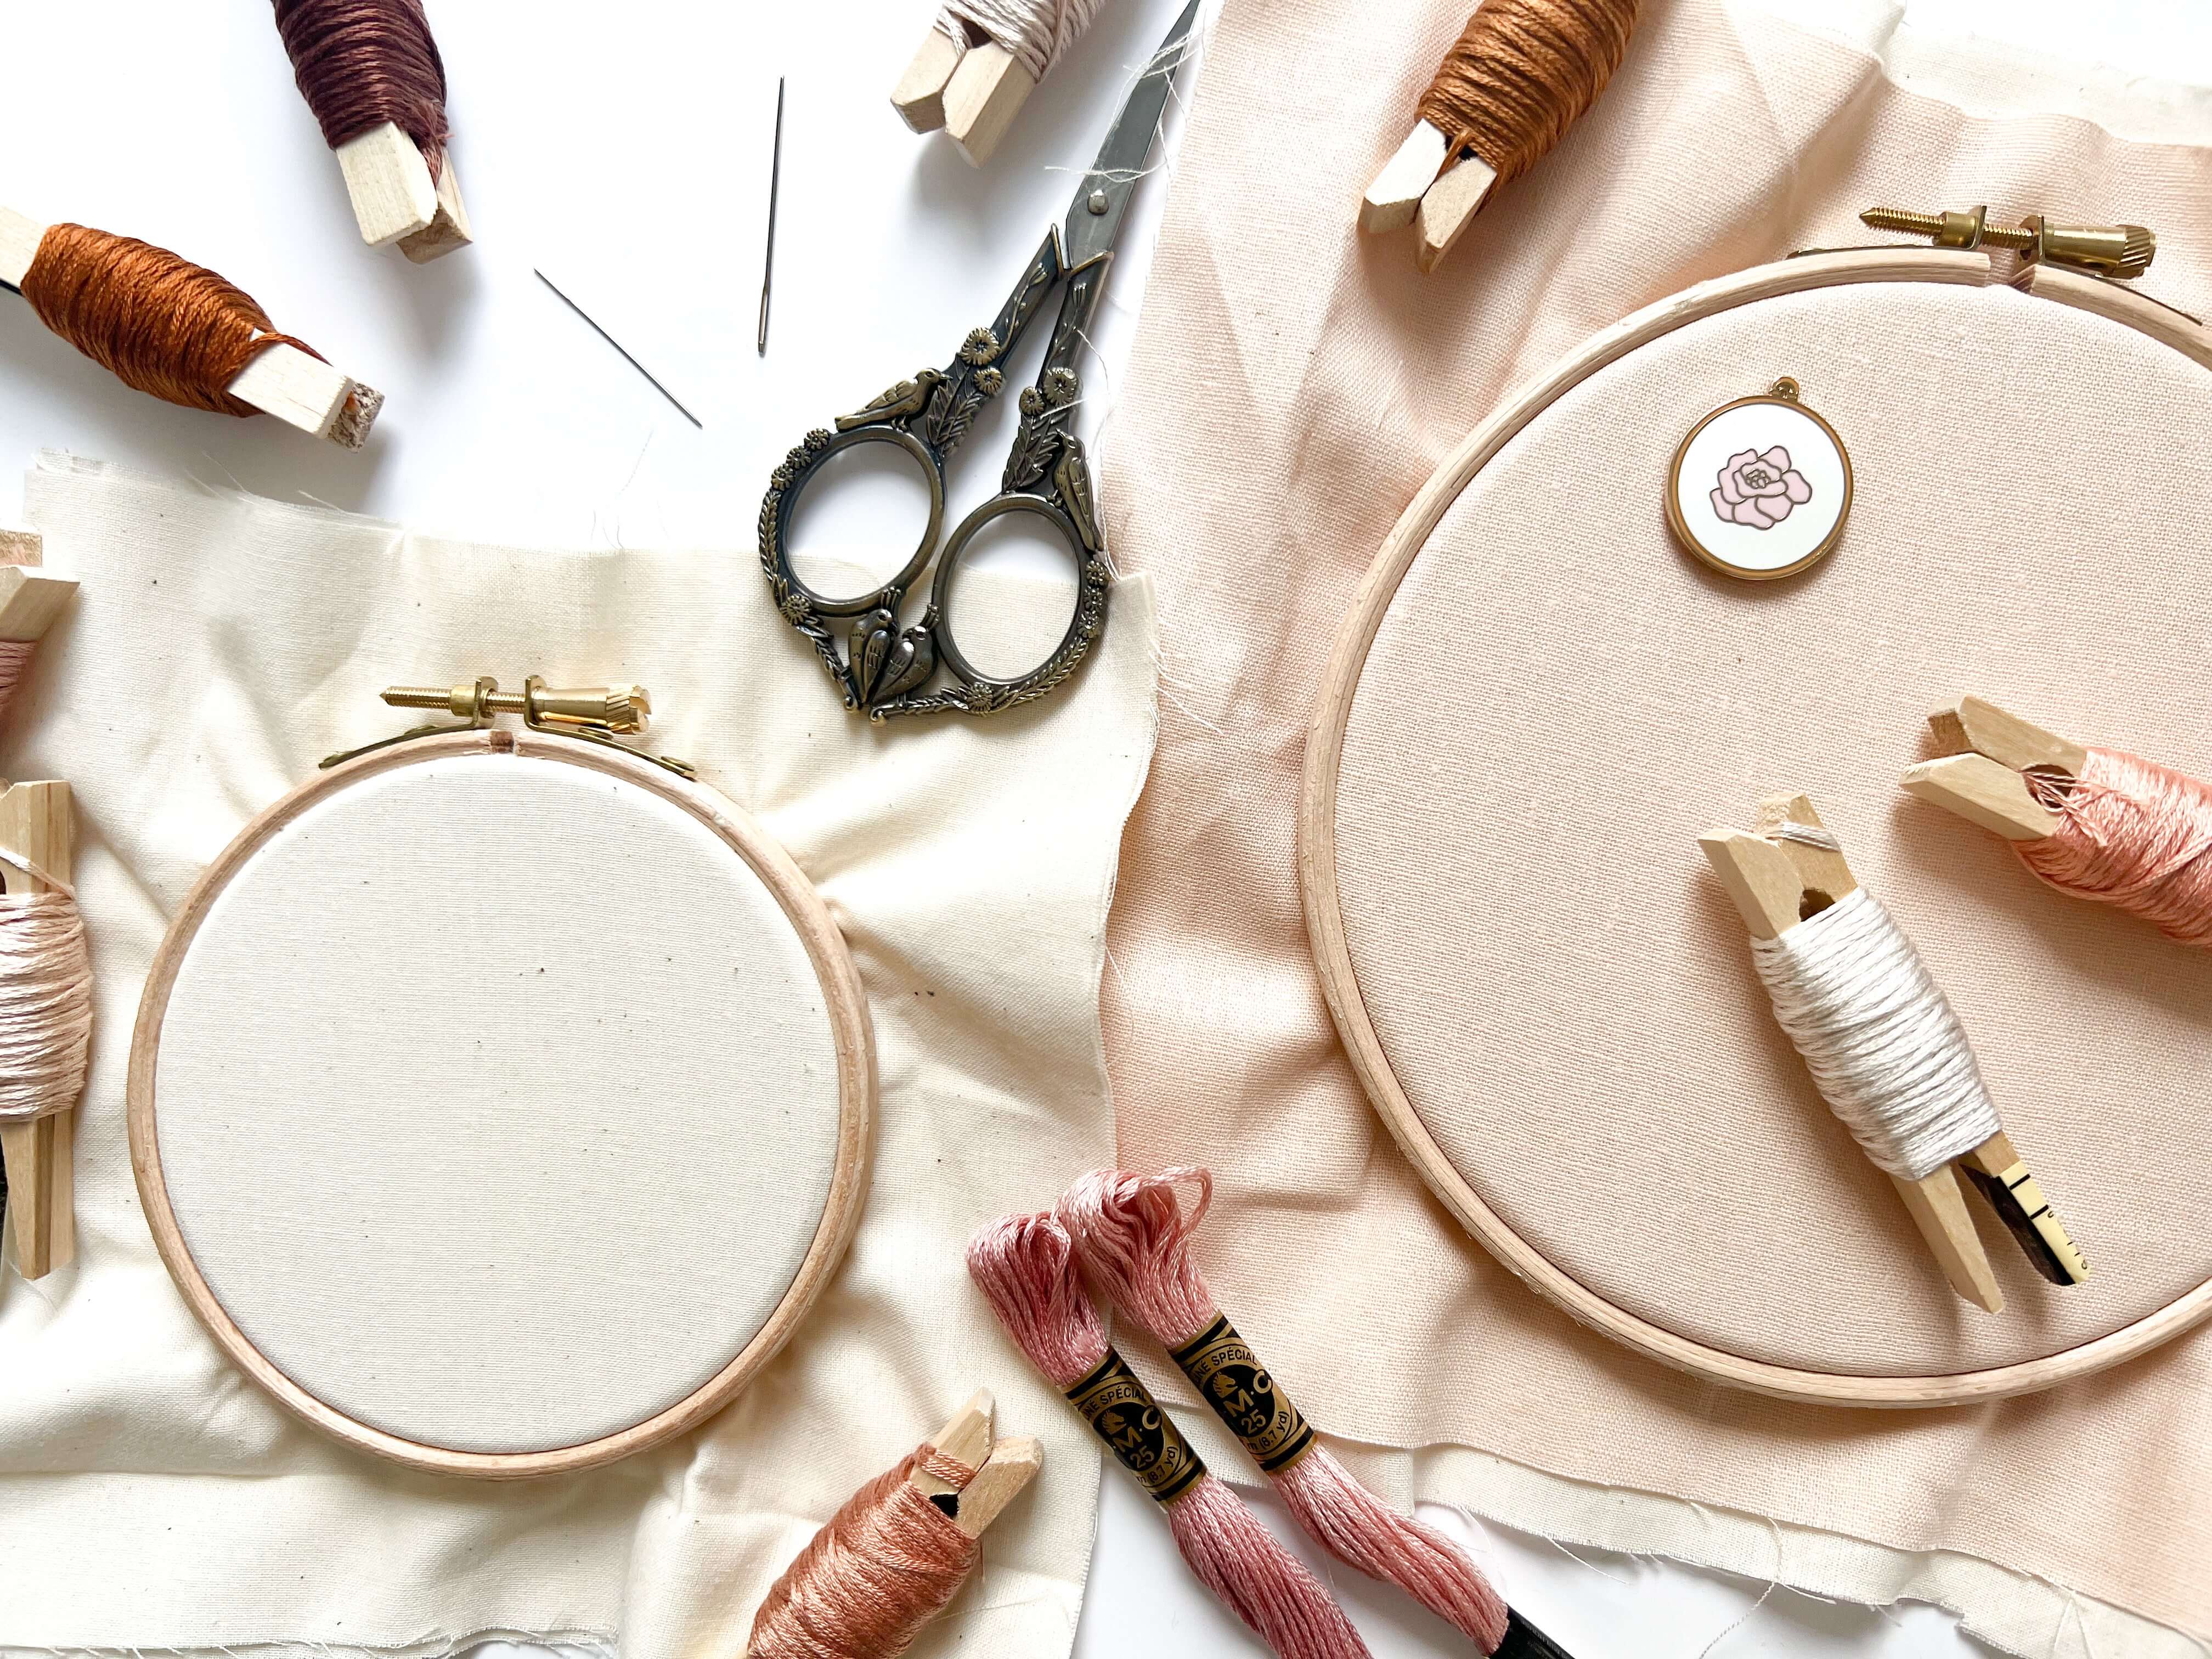
Not only do they look soooo much better (especially if you're framing your work in the embroidery hoop for display), they also hold your fabric so much better too!
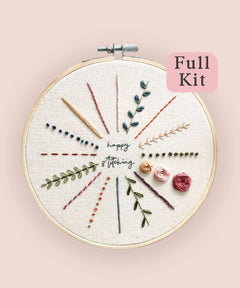
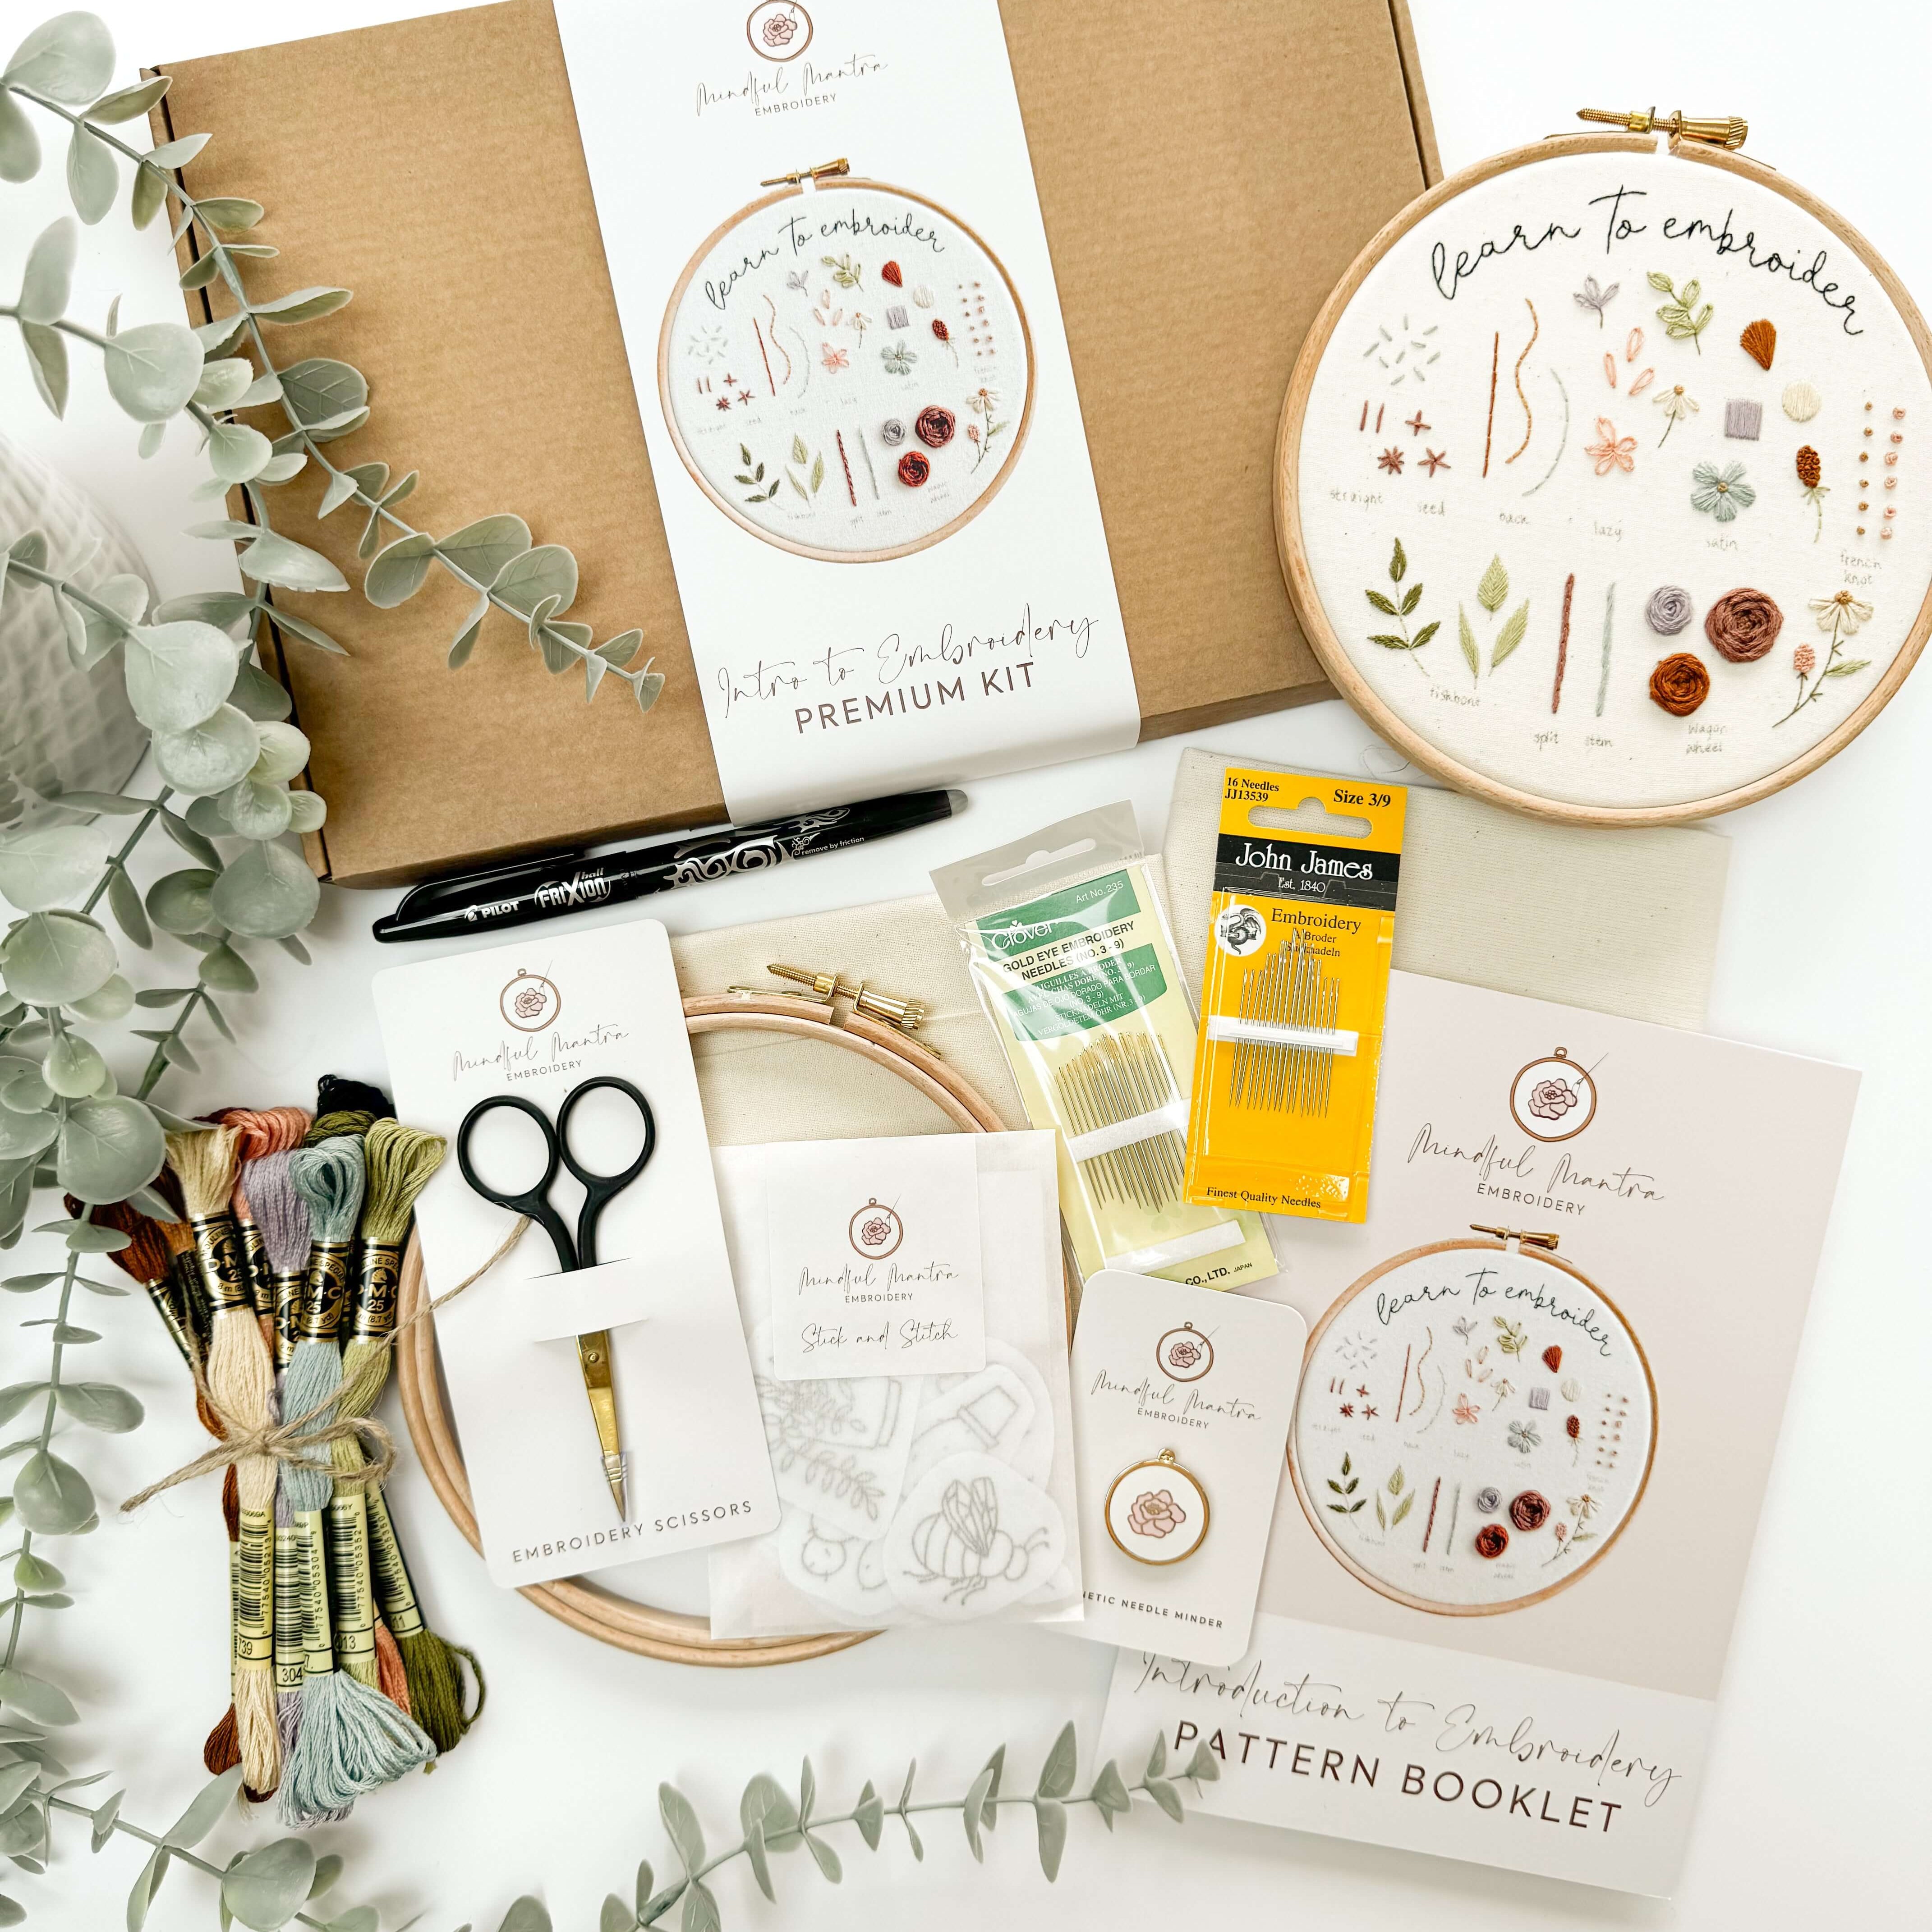
Since then, all of our Embroidery Kits are stocked with only the best quality embroidery materials, including Elbesee hoops, DMC embroidery thread, and John James needles. Our Introduction to Embroidery Beginner Kit is a great place to get started!
Related Post: Budget Friendly Embroidery Supplies To Get Started
Whilst we're on the topic of holding your fabric.. Let's dive into number two..
2. Not pulling the fabric tight in the hoop
Okay, this ones a biggie! If you take nothing else from this blog post, take note of this!!
Loose, saggy fabric is a huuuuuge no no in the embroidery world! There's two reasons for this:
- It can cause your fabric to pucker when it's stitched on, and ruins your wonderful work! and
- It's actually really hard to stitch on loose fabric
The entire purpose of the embroidery hoop is to hold your fabric at the correct tension. Pre-modern-embroidery, hoops were only used to maintain this tension, and then they were put to the side to use again. It's only in the 'modern' era of embroidery that we keep our projects framed in the hoop!
So bare this in mind when it comes to your fabric, your fabric should be drum-tight.

If you're curious how to get your fabric to this tension, and just how 'tight' in the hoop it should be, you're going to want to read this blog post.
Related Post: How to Set Up Fabric in an Embroidery Hoop
3. Using aida rather than cotton / linen
If you use aida, then I'm afraid you're leaning into the wrong craft 😉
Aida was designed for the sole purpose of counted cross-stitch, not embroidery.
Just in case you're not sure, aida is usually stiff, even weave fabric with large, evenly spaced holes in it. It was literally designed for a totally different craft
And yes, cross-stitch and embroidery are totally different crafts!!
This fabric shouldn't be used for embroidery, because embroidery is much more free-form than cross-stitch, and aida doesn't really allow for that.
Instead, use cotton, linen, or a blended cotton linen.

This fabric is even-weave, it has no stretch to it so it doesn't warp when it's stretched in the hoop, and creates the perfect background for embroidered art.
4. Using only 1 layer of fabric
Whilst we're on the topic of fabric.. use 2 layers of it!
This one isn't necessarily common among the embroidery community, but you heard it here first, always double up your fabric.
If you've followed me for a while, then you'll know that my all time fave fabric is cotton calico. It's lightweight, it's even-weave, and it's super cheap and easy to get a hold of!
Buttt, it's lightweight, so all the more reason to double it up.
Let's keep it short and sweet:
- It prevents the fabric being see-through
- It creates a stronger and sturdier background for your embroidery work,
- It helps with fabric tension in the hoop, and
- It looks better!
P.S. Even if you're not using a lightweight fabric like calico, I'd still always advise to include the second layer of fabric behind it!
5. Choosing a biro or pencil to transfer your embroidery pattern
Whilst it might seem like a good idea in the beginning, pencils or biros aren't erasable, so you're stuck with those lines until the end!
So, if you're not super precise with your stitching, or you make a mistake, those marks are on your fabric forever.
The alternative? Use a pilot frixion heat erasable pen!

You can trace the pattern just like you would with an ordinary pen, and if you need to erase the lines at a later date, a blast of the hair dryer does just the trick!
Related Post: How to Transfer an Embroidery Pattern with Heat Erasable Ink
6. Using the wrong size needle
A common beginner mistake is using one needle for everything, or not even knowing about the different sizes of embroidery needles and when to use them.
Don't worry though, friend! It's not as tricky as you think. This blog post here differentiates between all the different needles, and sizes.
But, to give you the goods in one brief sentence - you're generally good with a size 5 embroidery needle! My favourites are John James or Clover Gold Eye embroidery needles.
Related Post: What Size Needle to Use for Hand Embroidery
7. Rushing the process!
Embroidery is a slow craft. It isn't supposed to be rushed!
It's super important to take your time with your stitching; it not only improves your stitch placement and the overall neat-ness of your embroidery, but it means you get more enjoyment out of it too!
I hope this was super helpful, friend!



Leave a comment