Looking to learn embroidery? You're in the right place friend!
At Mindful Mantra Embroidery, I'm committed to teaching you everything you need to know about embroidery, including all those little secrets and hacks that I've picked up over the years!
And whilst these aren't necessarily 'secrets', in this blog post I'm diving into the 4 things that you absolutely need to master before you can even start the actual stitching!
And if you can learn anything from this blog post today, it's this:
~ It is soooo important to master each of these 4 things, before you learn anything else ~
Yup, before you learn any stitches or complex techniques, I would 1000% recommend mastering these simple, often overlooked, things.
Why?
Because once you know the right techniques for each of these things, you'll eradicate most of the common 'beginner problems and mistakes' that many newbie embroiderers make.
And ultimately, you'll set yourself up for success!!
Related Post: 7 Beginner Embroidery Mistakes and What You Should Do Instead
So, whilst these 4 things are still falling under the umbrella of 'embroidery', here are 4 things you absolutely need to know (and master) before you get to stitching.
How an embroidery hoop works + how to load fabric into a hoop
Before you can start stitching, the first thing you'll need to do is set up your embroidery hoop with your chosen fabric.
I know, stating the obvious here, but stick with me!
Many newbie embroiderers may not know the purpose of an embroidery hoop, or even how it works, so let's dive into that real quick.
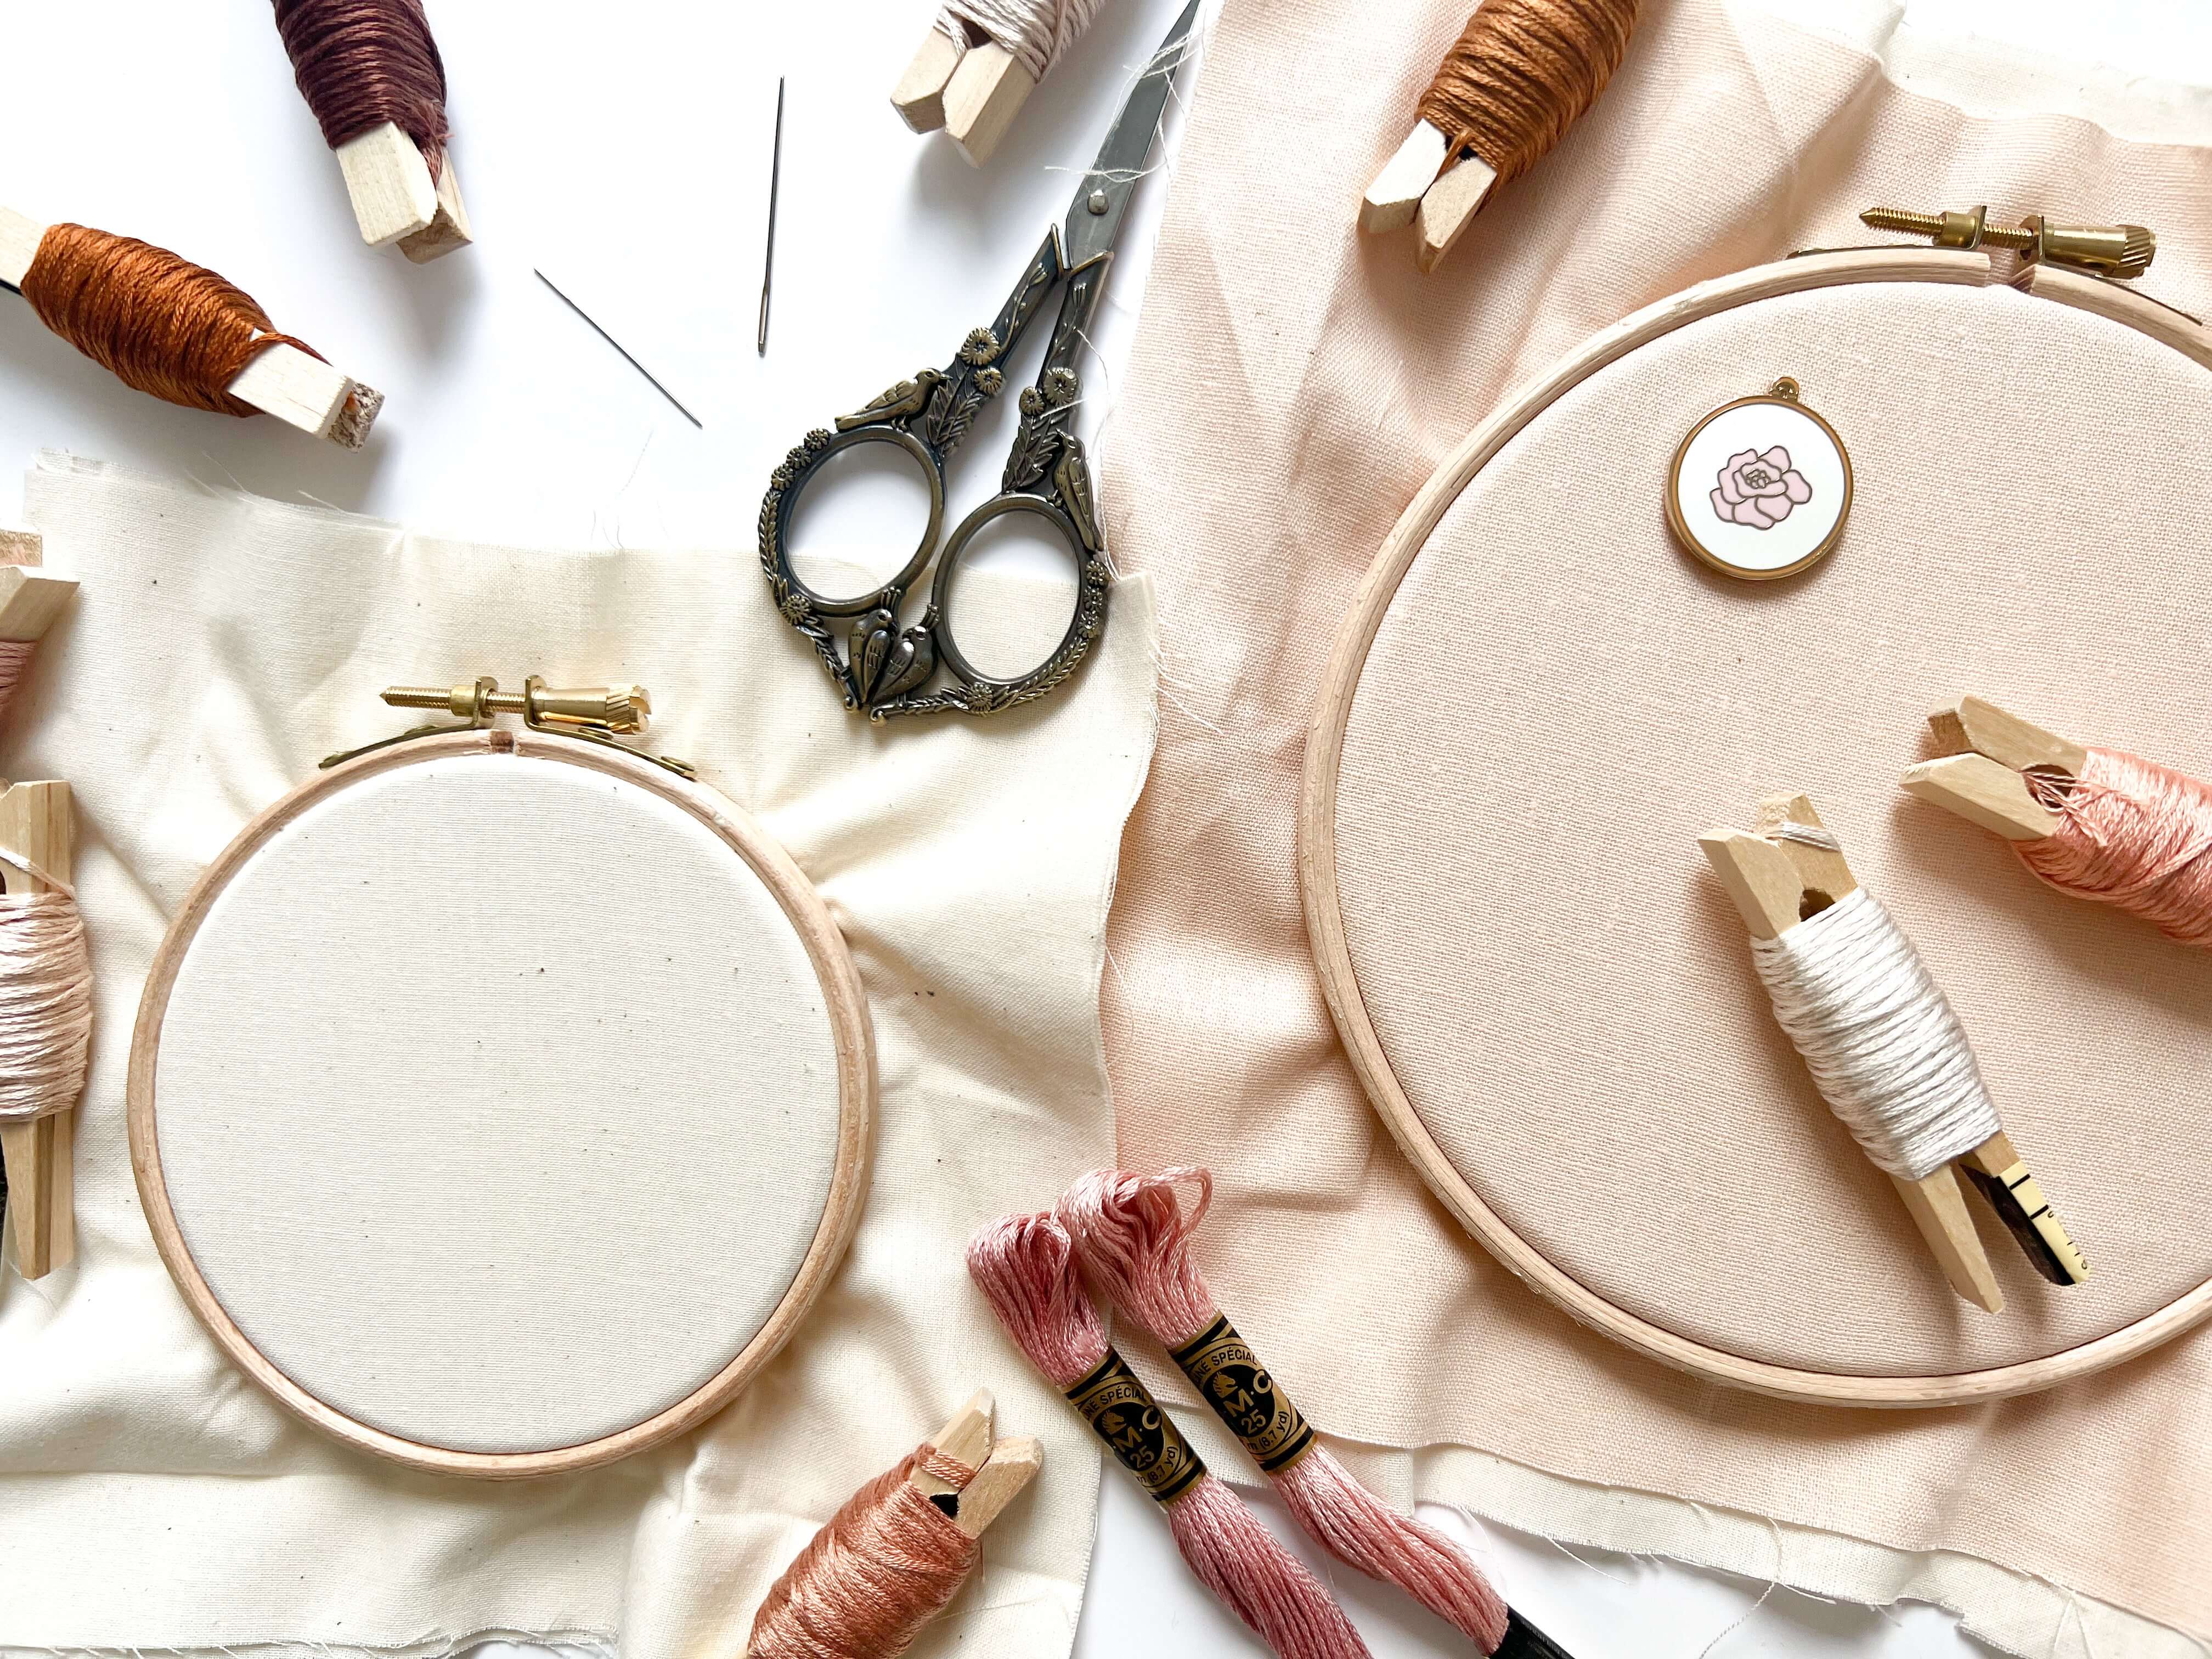
Essentially, an embroidery hoop holds the fabric taut and at the correct tension, which makes stitching much easier.
In the photo below, you'll see that the fabric in each hoop has been pulled super tight to create a flat, even surface to stitch on.
Believe me when I say, embroidery is sooo much easier and more enjoyable when you have it pulled tightly in an embroidery hoop! Not to mention you'll be able to achieve neater stitches, too.
For a full tutorial for setting up fabric in an embroidery hoop, check out the blog post below.
Related Post: How to Set Up Fabric In An Embroidery Hoop
But wait, there's more!!
It is not a case of simply putting the fabric in the hoop and then starting stitching.. oh no! The fabric must be drum tight in the hoop if it is to be used correctly.
'Drum-tight' is a phrase that many embroidery artists use, and it essentially means that the fabric should be pulled as taut in a hoop as fabric would be for a drum. In fact, when you tap the fabric in the hoop, it should sound like a drum, too!
(I don't mean a full on musical instrument sound, but it should make a sound when you 'tap' it!)

Many beginner embroiderers simply load fabric in the hoop but leave it loose and slack, like the photo on the left above, so this step is pretty much essential.
Remember what I said above about mastering the basics? Achieving 'drum-tight' fabric is how you master this step!
Related Post: What is 'drum tight' fabric in embroidery?
How to thread a needle
There are many different ways to thread a needle, believe it or not. And unsurprisingly, many people struggle with this step, with it often becoming a stumbling block!
You may relate to this.. You don't want to keep changing colours because it means re-threading your needle, or using lengths of thread that are wayyyy too long?
Well, it doesn't need to be difficult, and truthfully it isn't difficult when you learn simpler ways to do things!

So, listen up because I'm going to share a bit of a secret with you! 👀
Okay, not necessarily a secret, but definitely a hack that I've learned over my many years of stitching!!
I don't lick the end of my thread, and nor do I snip the end of the thread and aimlessly try to squeeze fraying thread through a tiny needle.
Here's the full steps:
- Hold the thread between your thumb and forefinger.
- Leave a bit of slack thread, and hold it a bit further down between your 3rd and 4th finger
- Put the needle horizontally underneath the slack thread, and fold the thread over the shaft of the needle
- Pinch the thread under the needle
- Slide out the needle, keeping the thread pinched between your thumb and forefinger
- Hook the eye of the needle carefully over the folded thread
- Voila - your needle is threaded!
If you struggle to thread a needle, I would highly recommend Clover Gold Eye needles. They are often much easier to thread than other brands of embroidery needles.
How to knot thread
We've correctly loaded our fabric in our hoop, made sure it has the correct tension, and successfully threaded our needle. The last thing to do before finally stitching is knotting the end of the thread.
After all, if you don't knot the end, you'll just pull the thread all the way through the fabric during your very first stitch!
That being said, there are several ways to secure your thread at the beginning of your project, and it doesn't always have to be with a knot.
But, it is the easiest way to begin, and the way I use most often!
Here's how I knot my thread:
- Hold the end of your thread between your thumb and forefinger
- Wrap the thread around your forefinger, and cross it over on the pad of your finger
- With your thumb, roll the thread off your finger
- Slide the knot down towards the end of the thread
- Voila - you've created a secure knot at the end of your thread!
Now that you've mastered these 4 techniques, it's time to finally get stitching!
With correct fabric tension, a tight hoop and quick + simple ways to thread your needle and knot your thread, you'll be well on your way to becoming an expert embroiderer in no time!
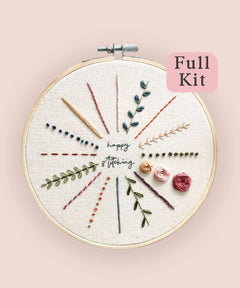
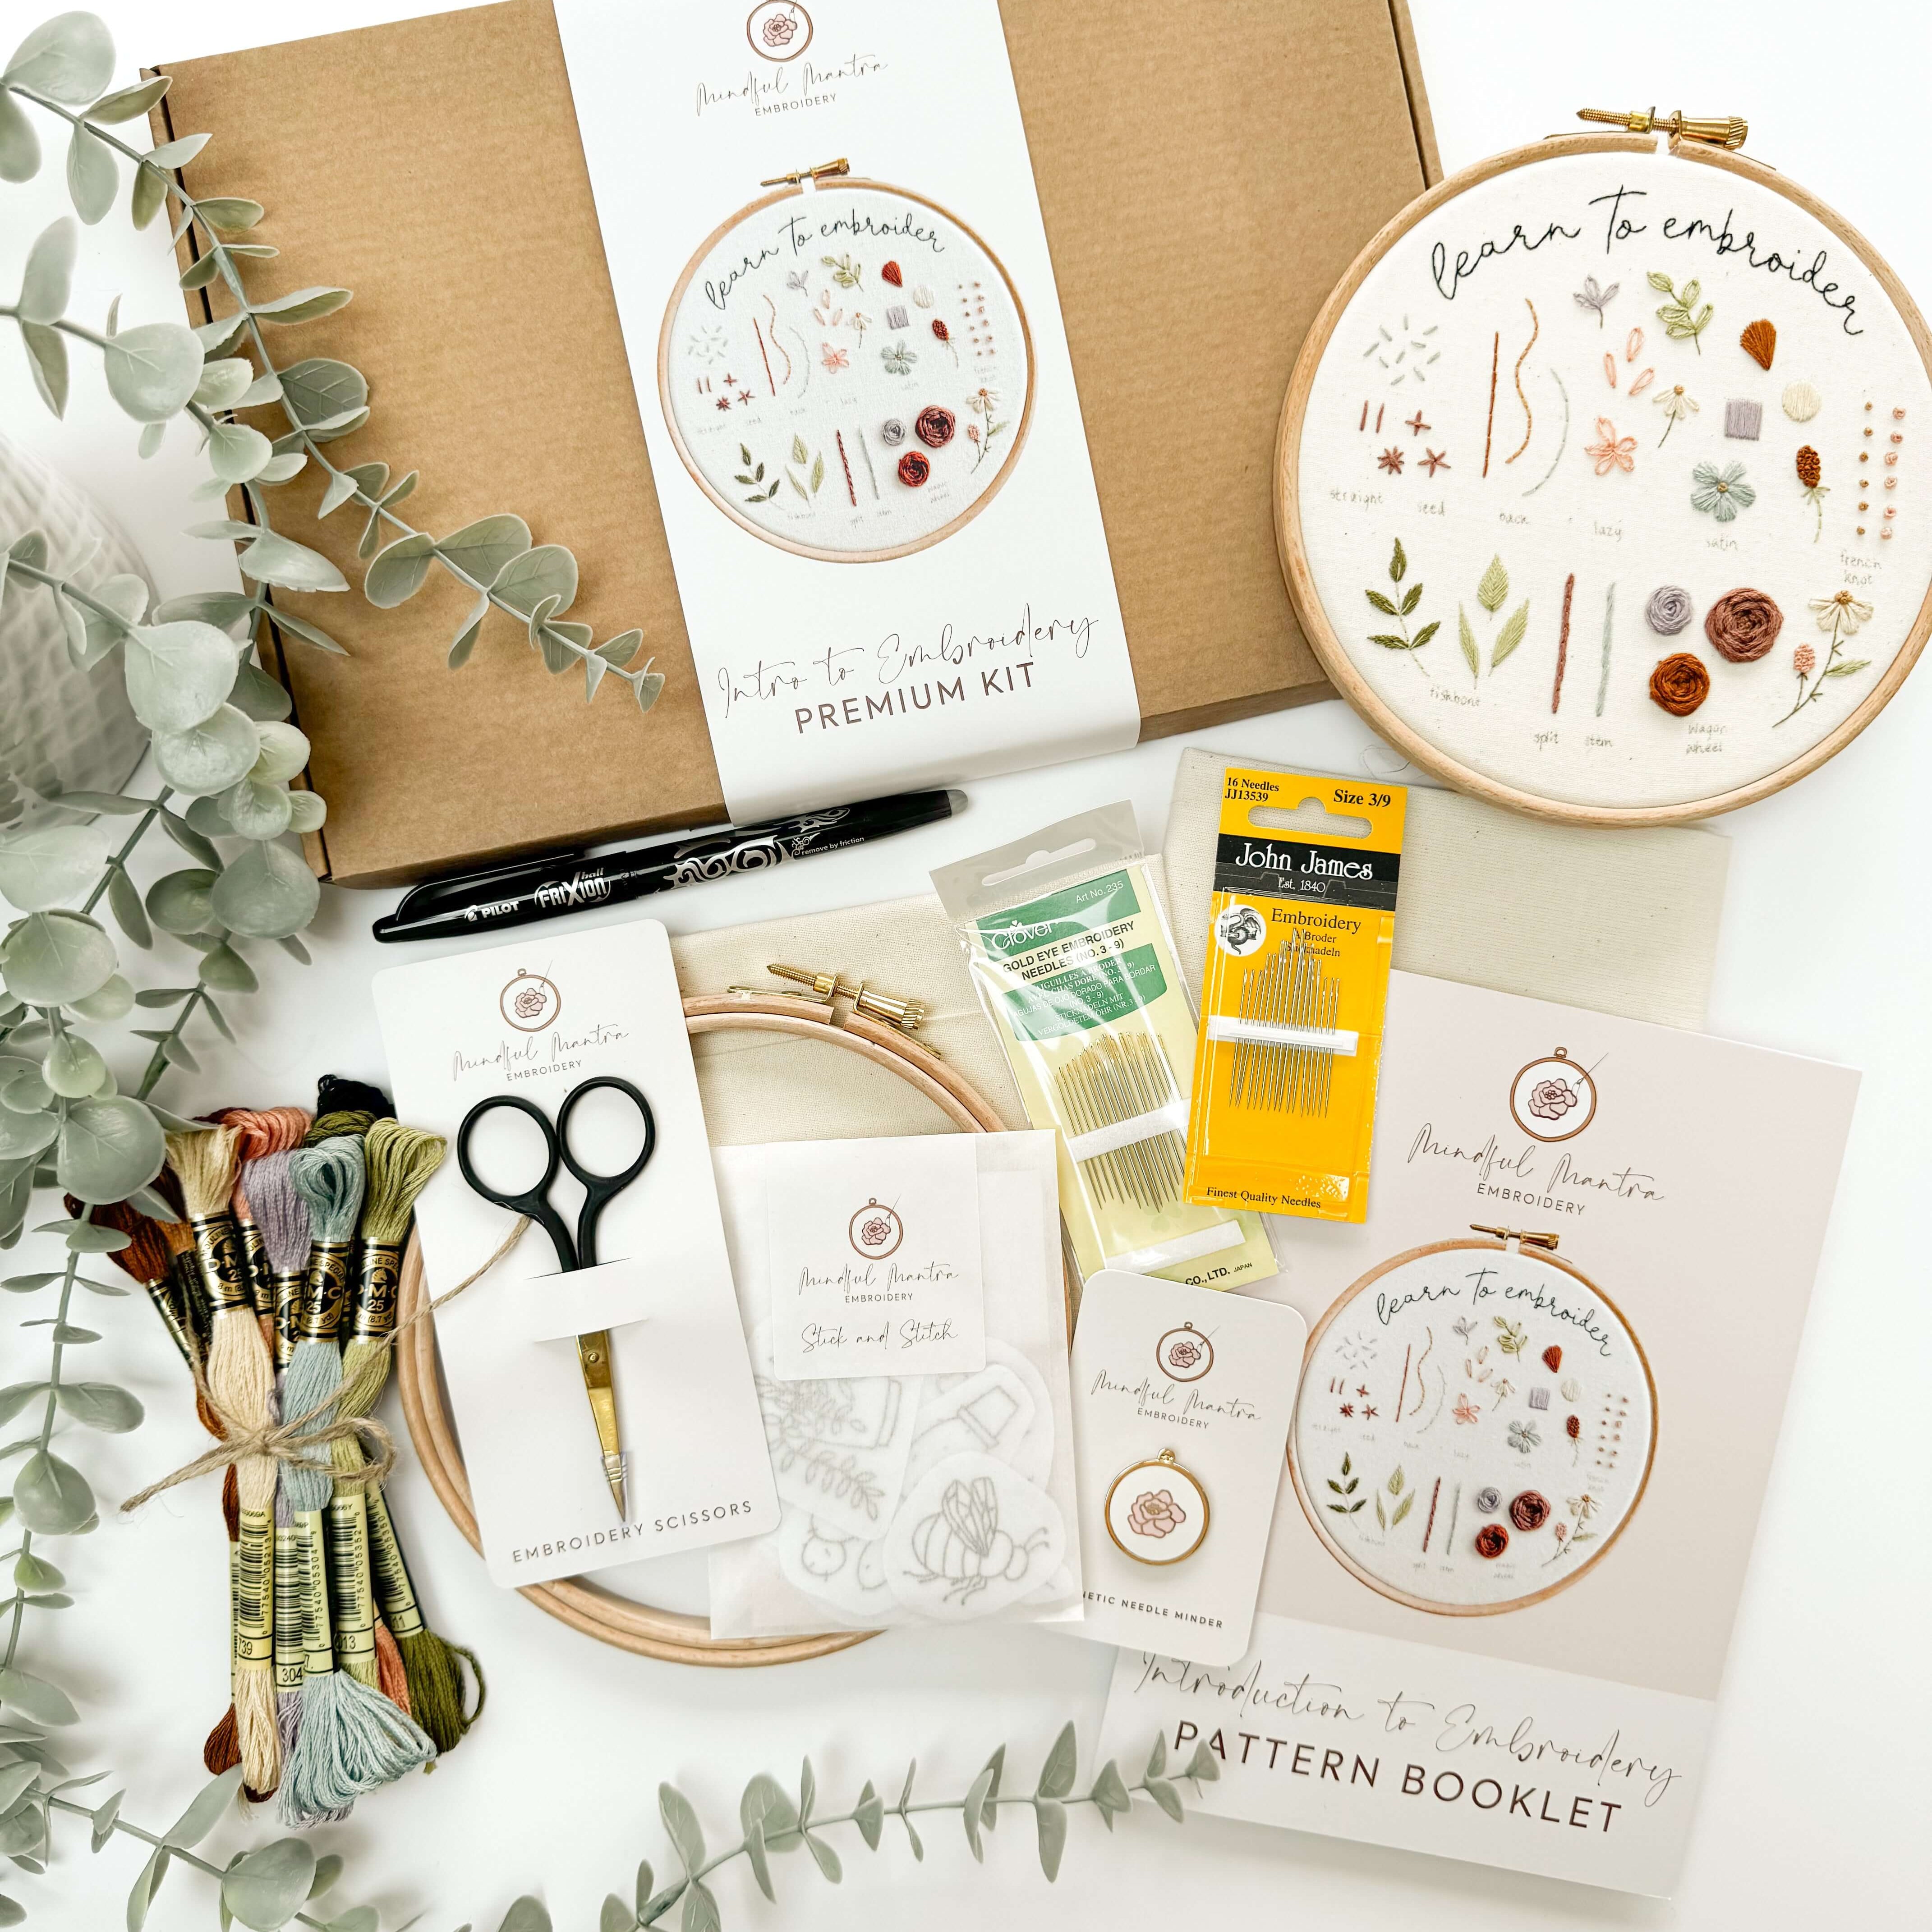
If you're looking for the perfect project to get you started with learning embroidery stitches, then our Deluxe Beginner Embroidery Kit is the perfect place to start!
Do you want even more tips about All Things Embroidery?
Join my online membership exclusively for stitchers where I share my best embroidery tips + tutorials every week with members.



Leave a comment