
How to back an embroidery hoop with a glue gun
So you’ve finished stitching and your embroidery piece looks beautiful, but what about all that excess fabric around the edges? You might be wondering what you need to do next in order to neaten it up and be truly ‘finished’.
In this blog post, we'll explore how back your embroidery hoop using a hot glue gun. Whether you're a seasoned embroiderer using a different method to finish off your embroideries or a beginner who is just starting out, this way of doing it is sure to make your embroidery projects neater and worthy of display!
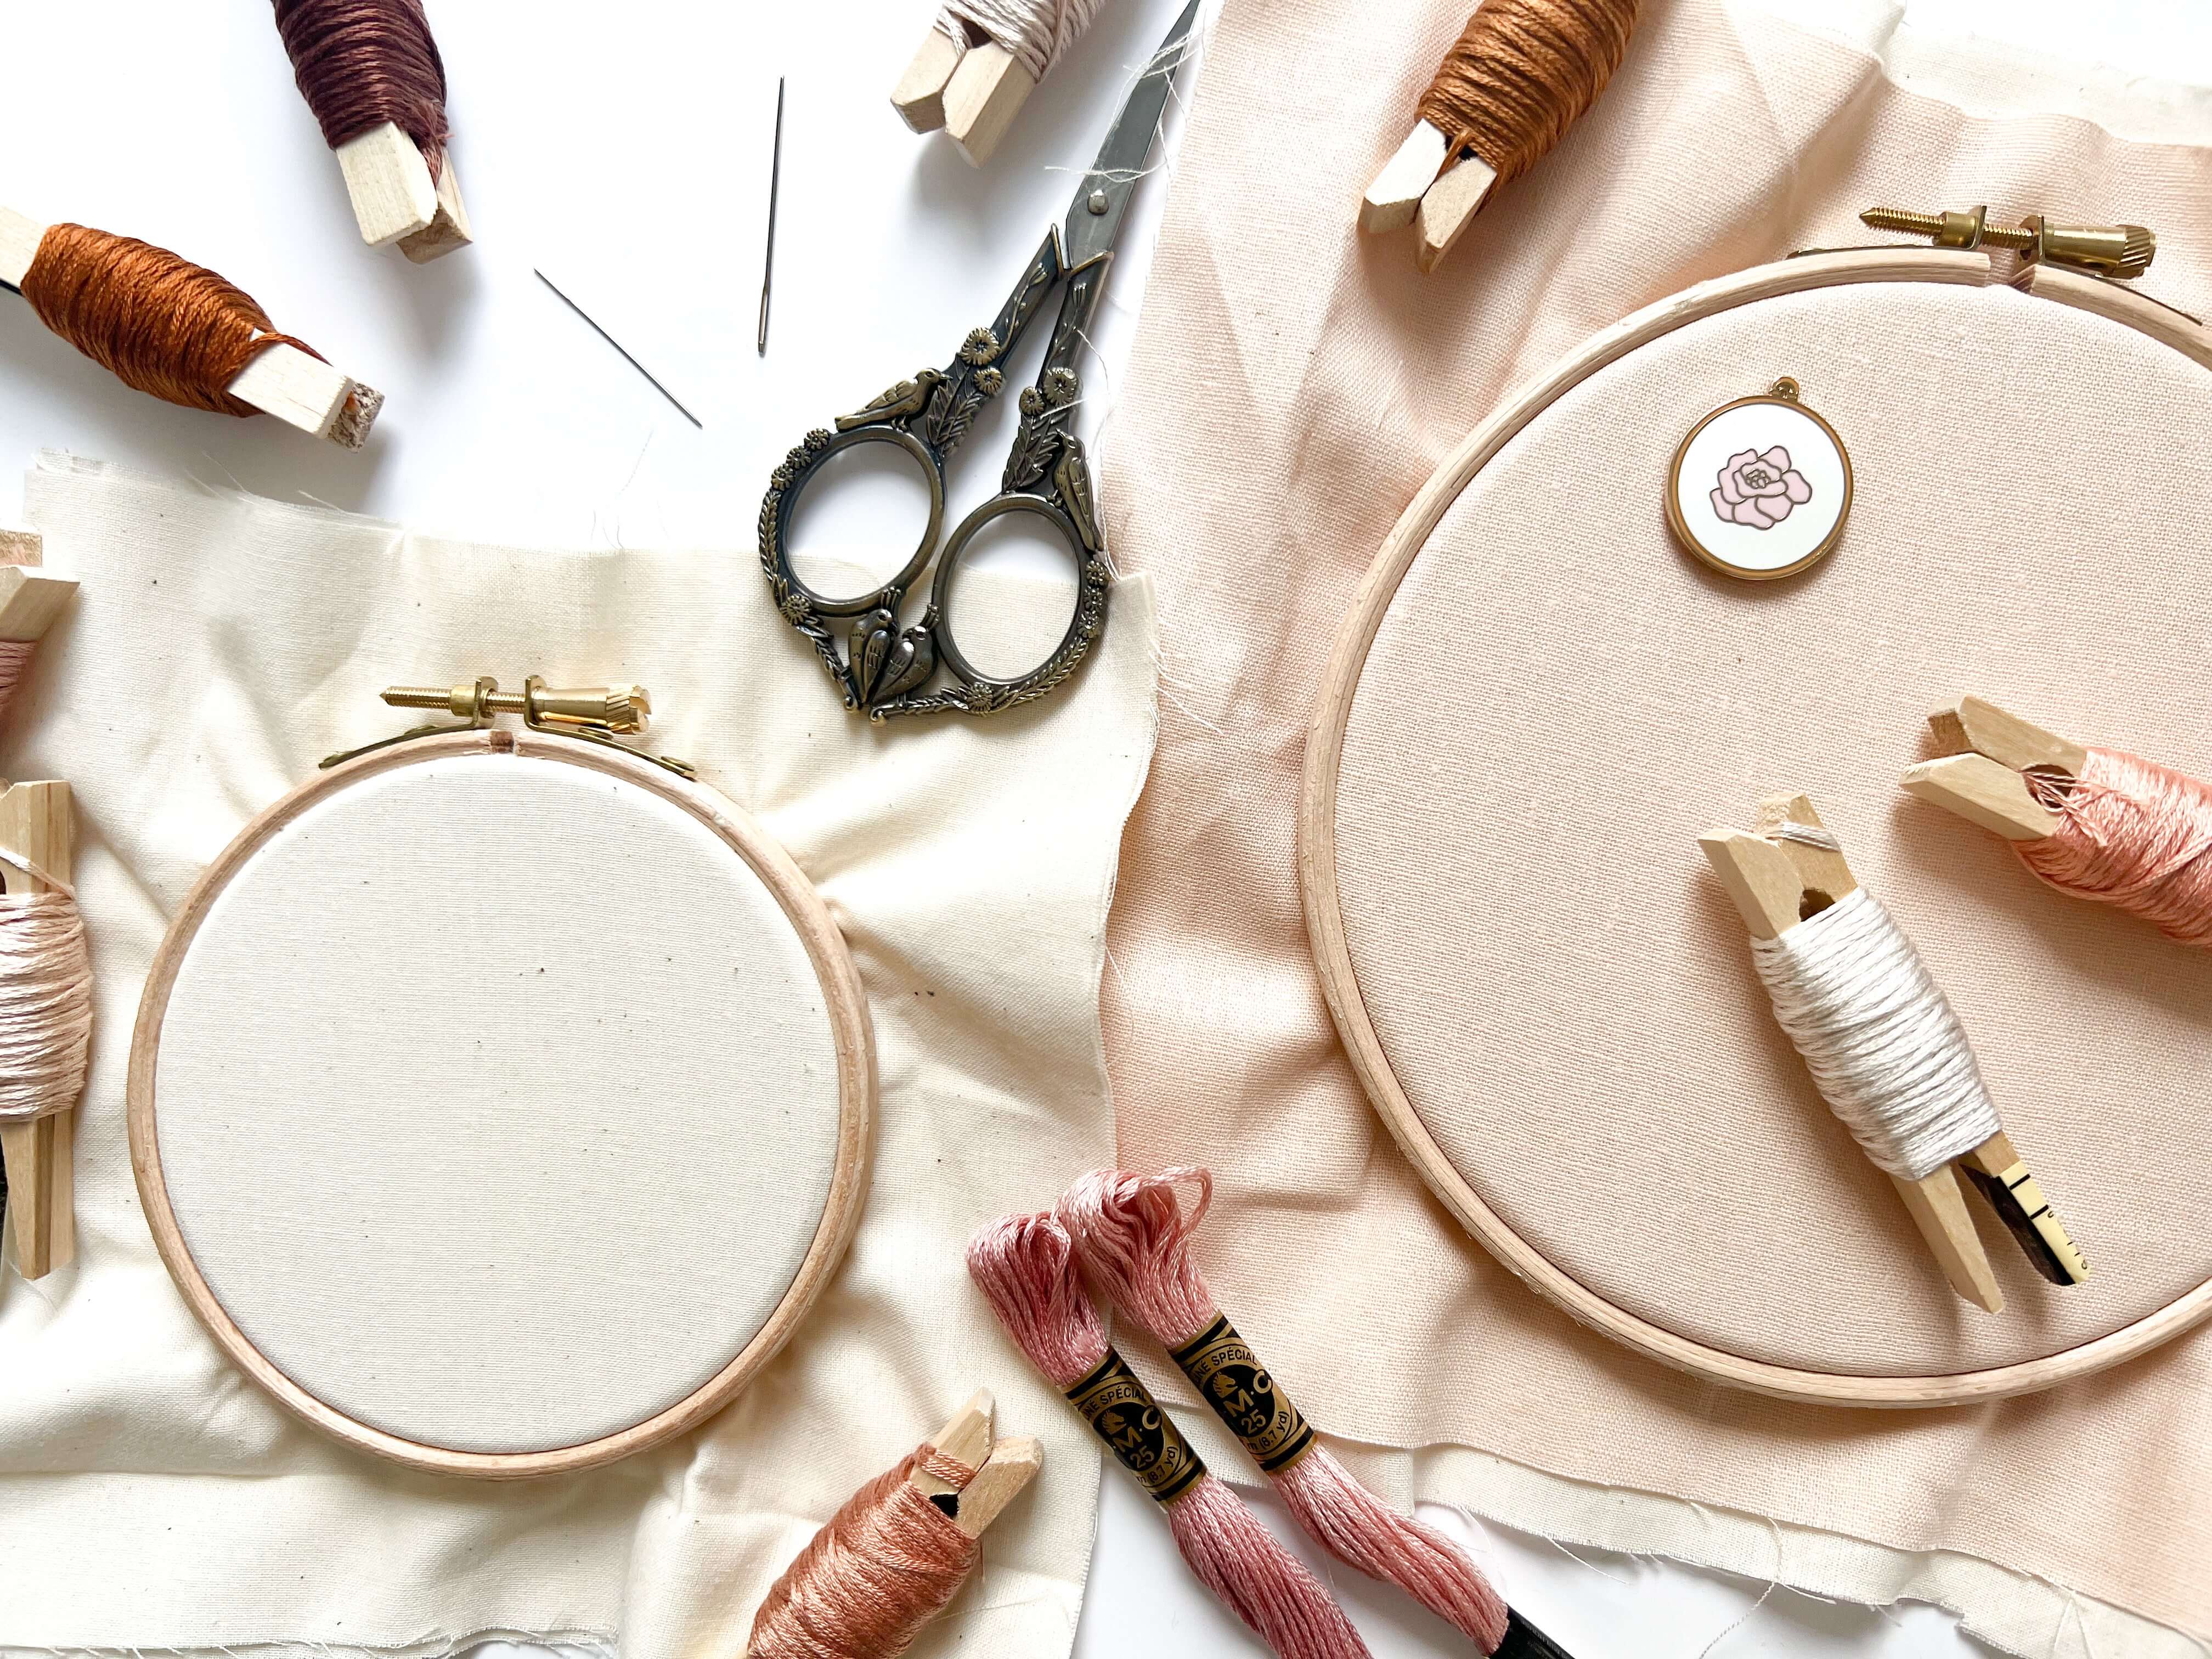
Here’s what you’ll need to back hoops this way:
- Your finished embroidery hoop
- A circle of fabric, felt or card that’s the same size as the inner hoop
- Fabric scissors
- A hot glue gun

Let’s dive right in to the steps.
- First, cut all the way around the outside of your hoop, leaving about 1 inch of excess.

- Next, cut slits in the excess fabric right down to the hoop edge. Cut these slits all the way around the hoop, roughly 1 inch apart.


- Now it’s time to glue them down. Use your hot glue gun and put a small amount of glue directly on the inner hoop. Be sure to avoid putting the glue directly on the back of your fabric, as you don’t want it to seep through to the front of your embroidery and potentially ruin your hard work!

- Quickly, before the glue cools and dries, fold the slit of fabric over the inner edge of the hoop and firmly press it down, gluing the fabric to the back of the hoop.

- Continue this process until all of the slits are glued down.
- Next, get your circle of fabric, felt, cardboard or card and place it directly into the back of the hoop, covering your stitches. Fold down one half (if fabric or felt), so that you can see the folded over slits of fabric. This is shown in the photo below.

- Place the hot glue around the end of the hoop, where the slits were folded over. Here there are a few layers of fabric between the glue and your finished stitching, so the glue shouldn’t seep through to the front. Again, try to avoid putting any hot glue directly onto the back of your stitching!
- Once you’ve done one half and it’s glued in place, repeat the same for the other half. [I choose to split it this way to ensure that the circle remains glued in the correct place, central to the back of the hoop!]
- And there we have it, your neat, finished embroidery hoop!


I know sometimes it’s easier to see these things in video form, so be sure to check out the YouTube video here if you need the visual!.
Happy stitching!

Do you want even more tips about All Things Embroidery?
Join my online membership exclusively for stitchers where I share my best embroidery tips + tutorials every week with members. With a community of other stitchers cheering you on, learning a new hobby has never been easier - or more fun.


Leave a comment