
Embroidery has been around for ages, (literally centuries), and traditional methods of transferring patterns onto fabric often involved drawing directly onto fabric or using transfer paper. Whilst that is absolutely still an option, there is now a more modern and convenient solution: heat erasable pens.
In this blog post, we'll explore how to transfer an embroidery pattern onto fabric using a heat erasable pen. Whether you're a seasoned embroiderer using a different transfer method or just starting out, this technique is sure to make your embroidery projects easier and more enjoyable!
So, let’s dive in.
First things first, there are 2 different ways to use heat erasable pens. For the first method you need an iPad or tablet. This is the way I prefer to transfer my patterns, so we’ll go over that one first. [Don’t have a tablet? Don’t worry! The second method uses a printer and light source, so you can skip down to that one.]
Using an iPad/Tablet
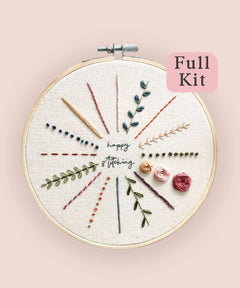
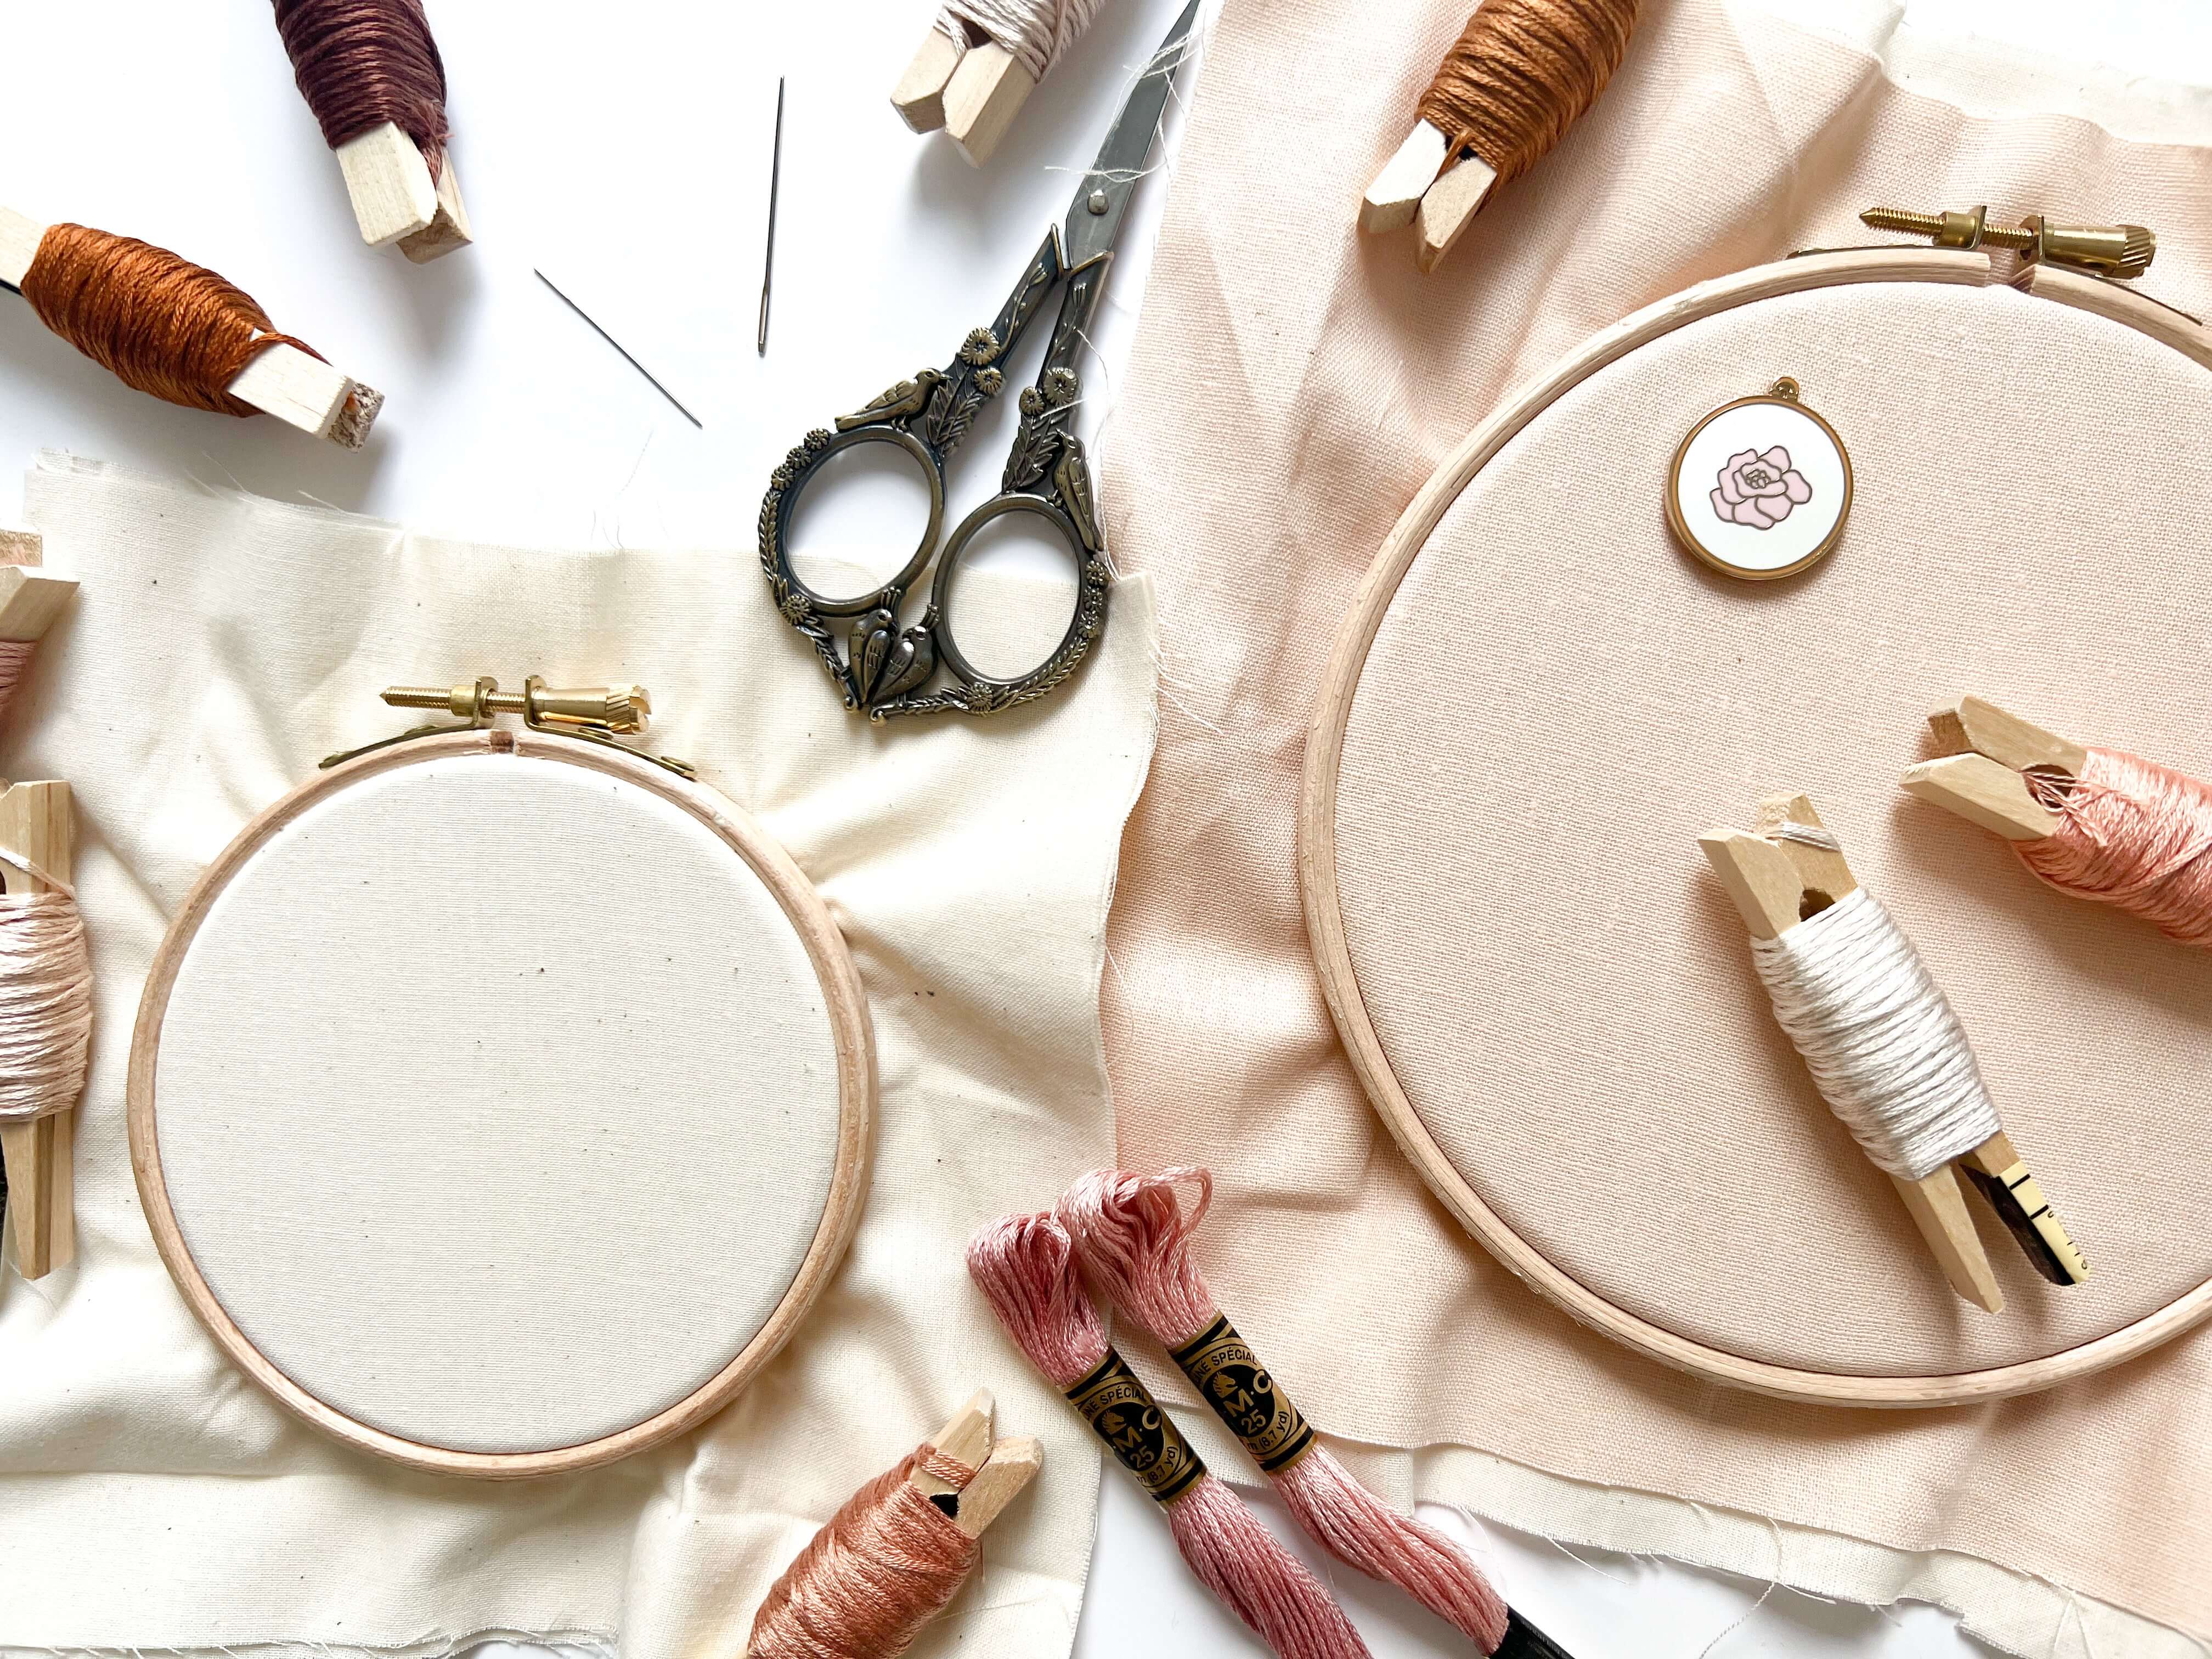
- First, download your embroidery pattern from the seller you’ve purchased from, or from wherever you have the pattern saved. Need some inspiration? You can shop our patterns here!
- Next, download the app, ‘TraceTable’ to your tablet. Whilst not necessary, this app allows you to re-size the pattern, and also lock and brighten the screen. This makes the process easier!
- Whilst in the app, you can resize the pattern by pinching your fingers and zooming in and out. If you pop your embroidery hoop on the screen, you can ensure you’re sizing it to the exact size you need!

- Once you’ve got the correct size, lock the screen so that it doesn’t jump around mid-trace.
- Next, load a single piece of fabric into your hoop. Tighten the fabric as you normally would when you start stitching.
- Now we’re ready to trace! Place the hoop directly onto the screen and hold it carefully in place. Use your heat erasable pen to trace the pattern onto your fabric.
![]()
- Once you’ve finished tracing, remove the piece of fabric from the hoop. Add in your second layer of fabric behind the one you’ve drawn the pattern onto. Now put both layers of fabric back into the hoop and pull it taut.
Related Post: How to set up fabric in an embroidery hoop
- Now you’re ready to stitch!
![]()
Using a printer and light source
This second method follows pretty much the same process.
- First, download your embroidery pattern from the seller you’ve purchased from, or from wherever you have the pattern saved.
- Next, print the pattern in the desired size. Most embroidery patterns are automatically sized, but you can use your printer scaling settings to zoom in and out.

- Once you’ve got the pattern printed to the correct size, load a single piece of fabric into your hoop. Tighten the fabric as you normally would when you start stitching.
- Now we’re ready to trace! Place the paper pattern against a light source (for example, a window, a light box, or even over your phone torch), and then place your hoop directly over it and hold it carefully in place. You can use masking tape to secure the paper to a window if using that as a light source.
- Use your heat erasable pen to trace the pattern onto your fabric.

- Once you’ve finished tracing, remove the piece of fabric from the hoop. Add in your second layer of fabric behind the one you’ve drawn the pattern onto. Now put both layers of fabric back into the hoop and pull it taut.
Related Post: How to set up fabric in an embroidery hoop
- Now you’re ready to stitch!
Go slow and steady, and trust the process. And don't forget, if you make a mistake, all you need to do is remove the lines with heat and you can start all over again!
Happy stitching!

Do you want even more tips about All Things Embroidery?
Join my online membership exclusively for stitchers where I share my best embroidery tips + tutorials every week with members. With a community of other stitchers cheering you on, learning a new hobby has never been easier - or more fun.


1 comment
I have been using the printer and light source method to transfer my patterns , however, I put the fabric on the hoop backwards with the inside hoop on top of the fabric so that my pattern is directly under my fabric. Is it better to do it the way that you would stitch it with the inside hoop on the back?
Leave a comment