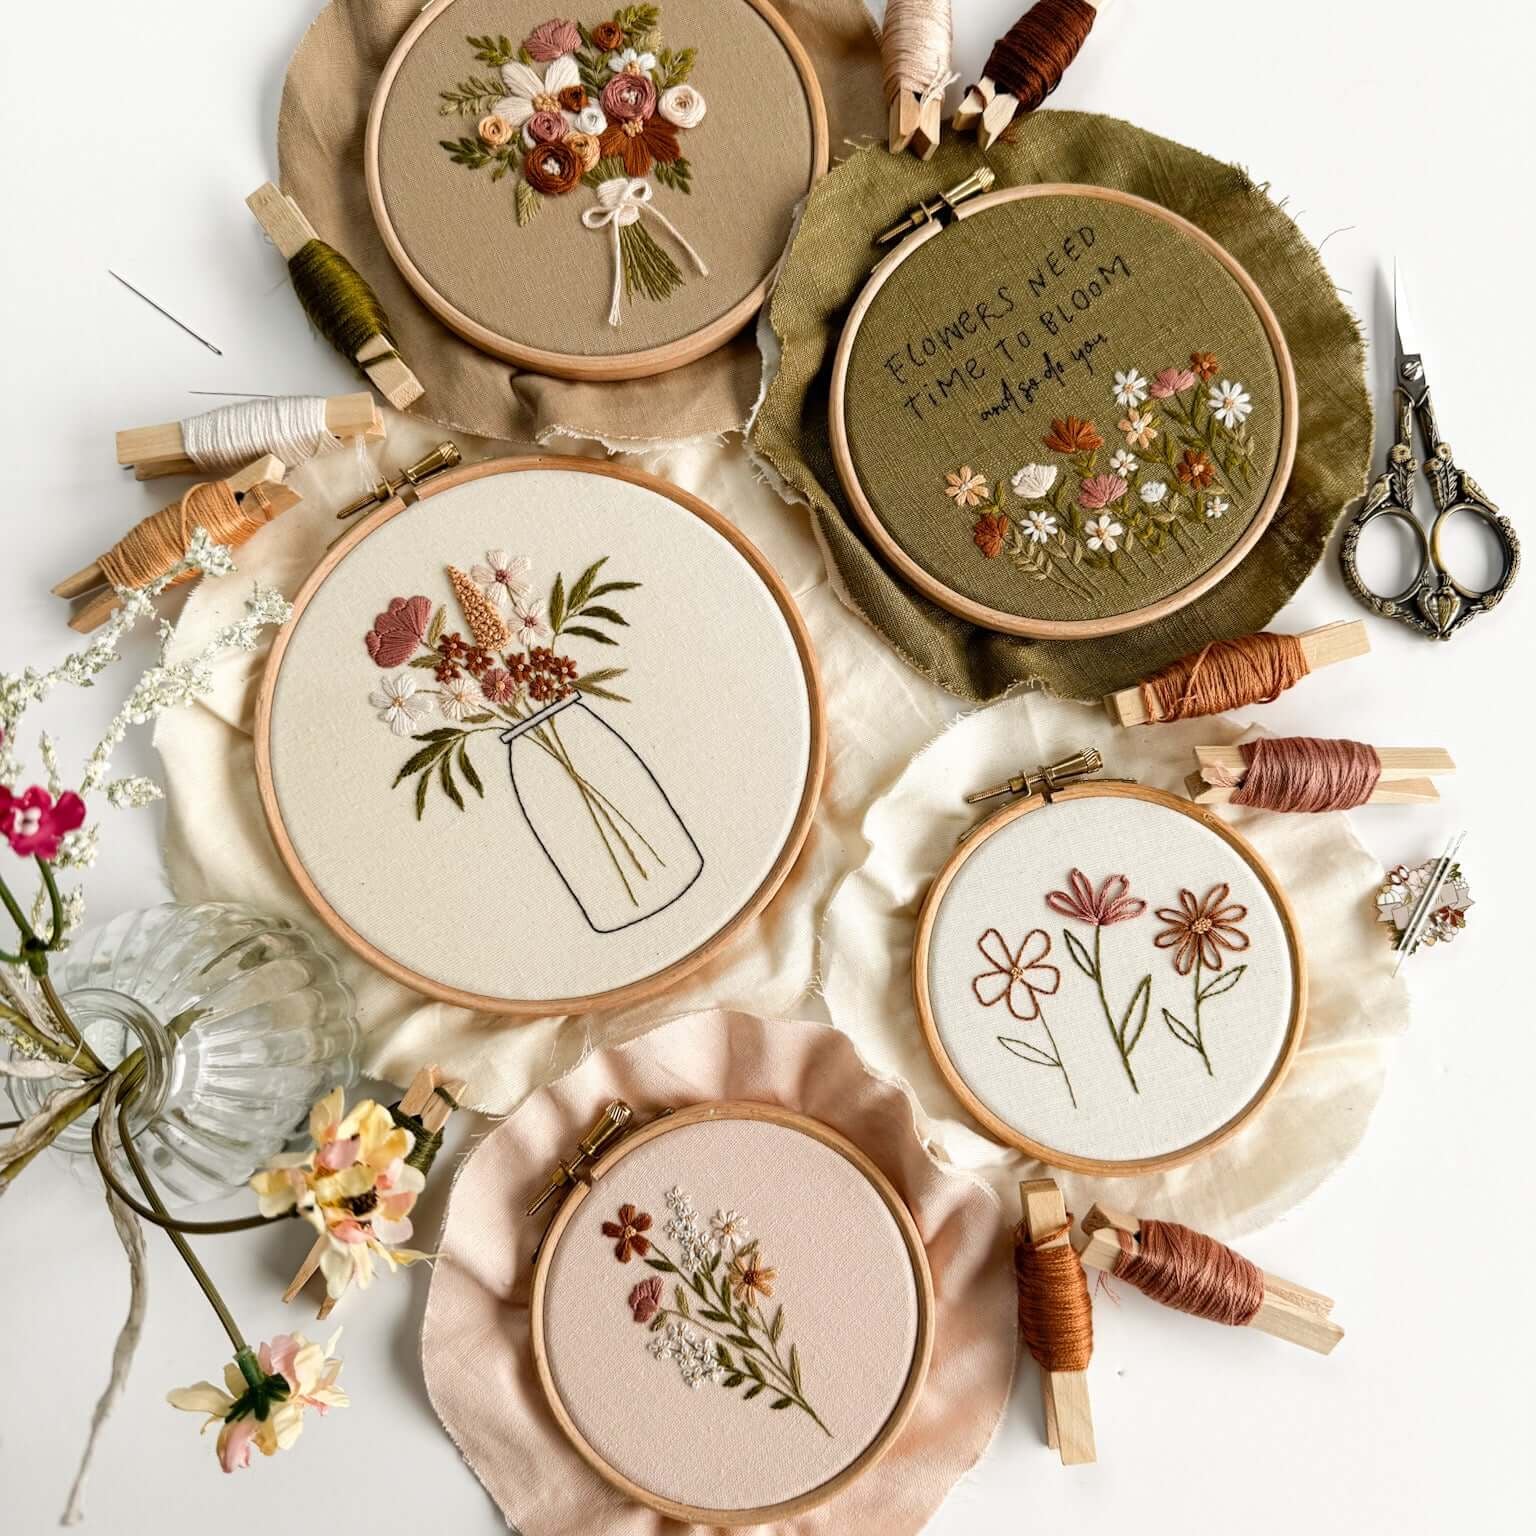
One of the main things that makes hand embroidery stand out compared to machine embroidery, cross stitch and the like, is the texture that you can create with your stitches. Texture adds depth and dimension to your work and is a great way to advance your embroidery skills and techniques.
If you’re wondering how to create more texture in your embroidery, you’re going to want to keep reading! Here’s 5 tips you can adopt to advance your embroidery by adding texture:
- Mix and match your stitches
The main beauty of embroidery as a craft is the wide variety of stitches that you can learn and use when you embroider! There are quite literally hundreds out there for you to choose from. By using a variety in your project, you can create a variety of different textures.
For example, you can use satin stitch for flat, smooth solid areas, and stitches like French knots or wagon wheel roses for raised three dimensional effects.

- Use different types of thread
As I’m sure you’ve heard me talk about plenty enough on this blog, I am a huge, huge lover of DMC Stranded Cotton [aff. link] for embroidery. But, that doesn’t mean it is the only thread that you can use when embroidering. DMC themselves offer a wide variety of different threads that are perfectly suitable for embroidery, including Pearl Cotton and Etoile. Each of these is very different to Stranded Cotton, and can create a different texture for your project.
- Layer your stitches
Another way to add texture is to layer your stitches. As I mentioned in point 1 above, the satin stitch can create a flat, smooth effect. However, you can layer a seed stitch and a satin stitch to create a padded/raised satin stitch, which provides more texture to your finished project.
You can experiment with layering a variety of stitches to add dimension, including long and short stitch, satin stitch and more.
4. Experiment with colour
Colour can be a surprising way to add additional texture to your embroidery projects. By using different shades and hues of the same colour, also known as the ‘colour family’, you can create a sense of depth and dimension in your embroidery projects. This is particularly effective when using the method of thread painting, where you can blend the varying tones of colour.
- Use additional materials
Finally, you can also use 3D embellishments to create added texture over and above the regular embroidery thread.
A common example of embellishments in embroidery are beads, sequins and fibres like yarn and wool roving. Each of these materials can create raised 3D effects, which ultimately create texture. They are most commonly used to add accents to your stitches, but can also be used elaborately to create a more abstract embroidery project.
Overall, there are a tonne of ways you can add texture to your projects – whether you choose to stick to using embroidery thread but opt for a variety of textured stitches, or whether you use all sorts of materials to add physical 3-dimensional texture.
I look forward to seeing the textured pieces that you create!

Do you want even more tips about All Things Embroidery?
Join my online membership exclusively for stitchers where I share my best embroidery tips + tutorials every week with members. With a community of other stitchers cheering you on, learning a new hobby has never been easier - or more fun.



1 comment
I love the Positivi-Tea pattern. Is it available to purchase?
Leave a comment