Embroidery is one of the greatest hobbies to have (if I do say so myself), because you need very few materials, and no prior knowledge of how to actually embroider, in order to give it a go. That being said, looking back, there are some things I wish I was told before I got too deep into it. In this blog post, I’m going to share four things I wish I had known when I started my hand embroidery journey. These tips will help you avoid common mistakes and make your embroidery journey more enjoyable.
- Keep your fabric taut whilst embroidering
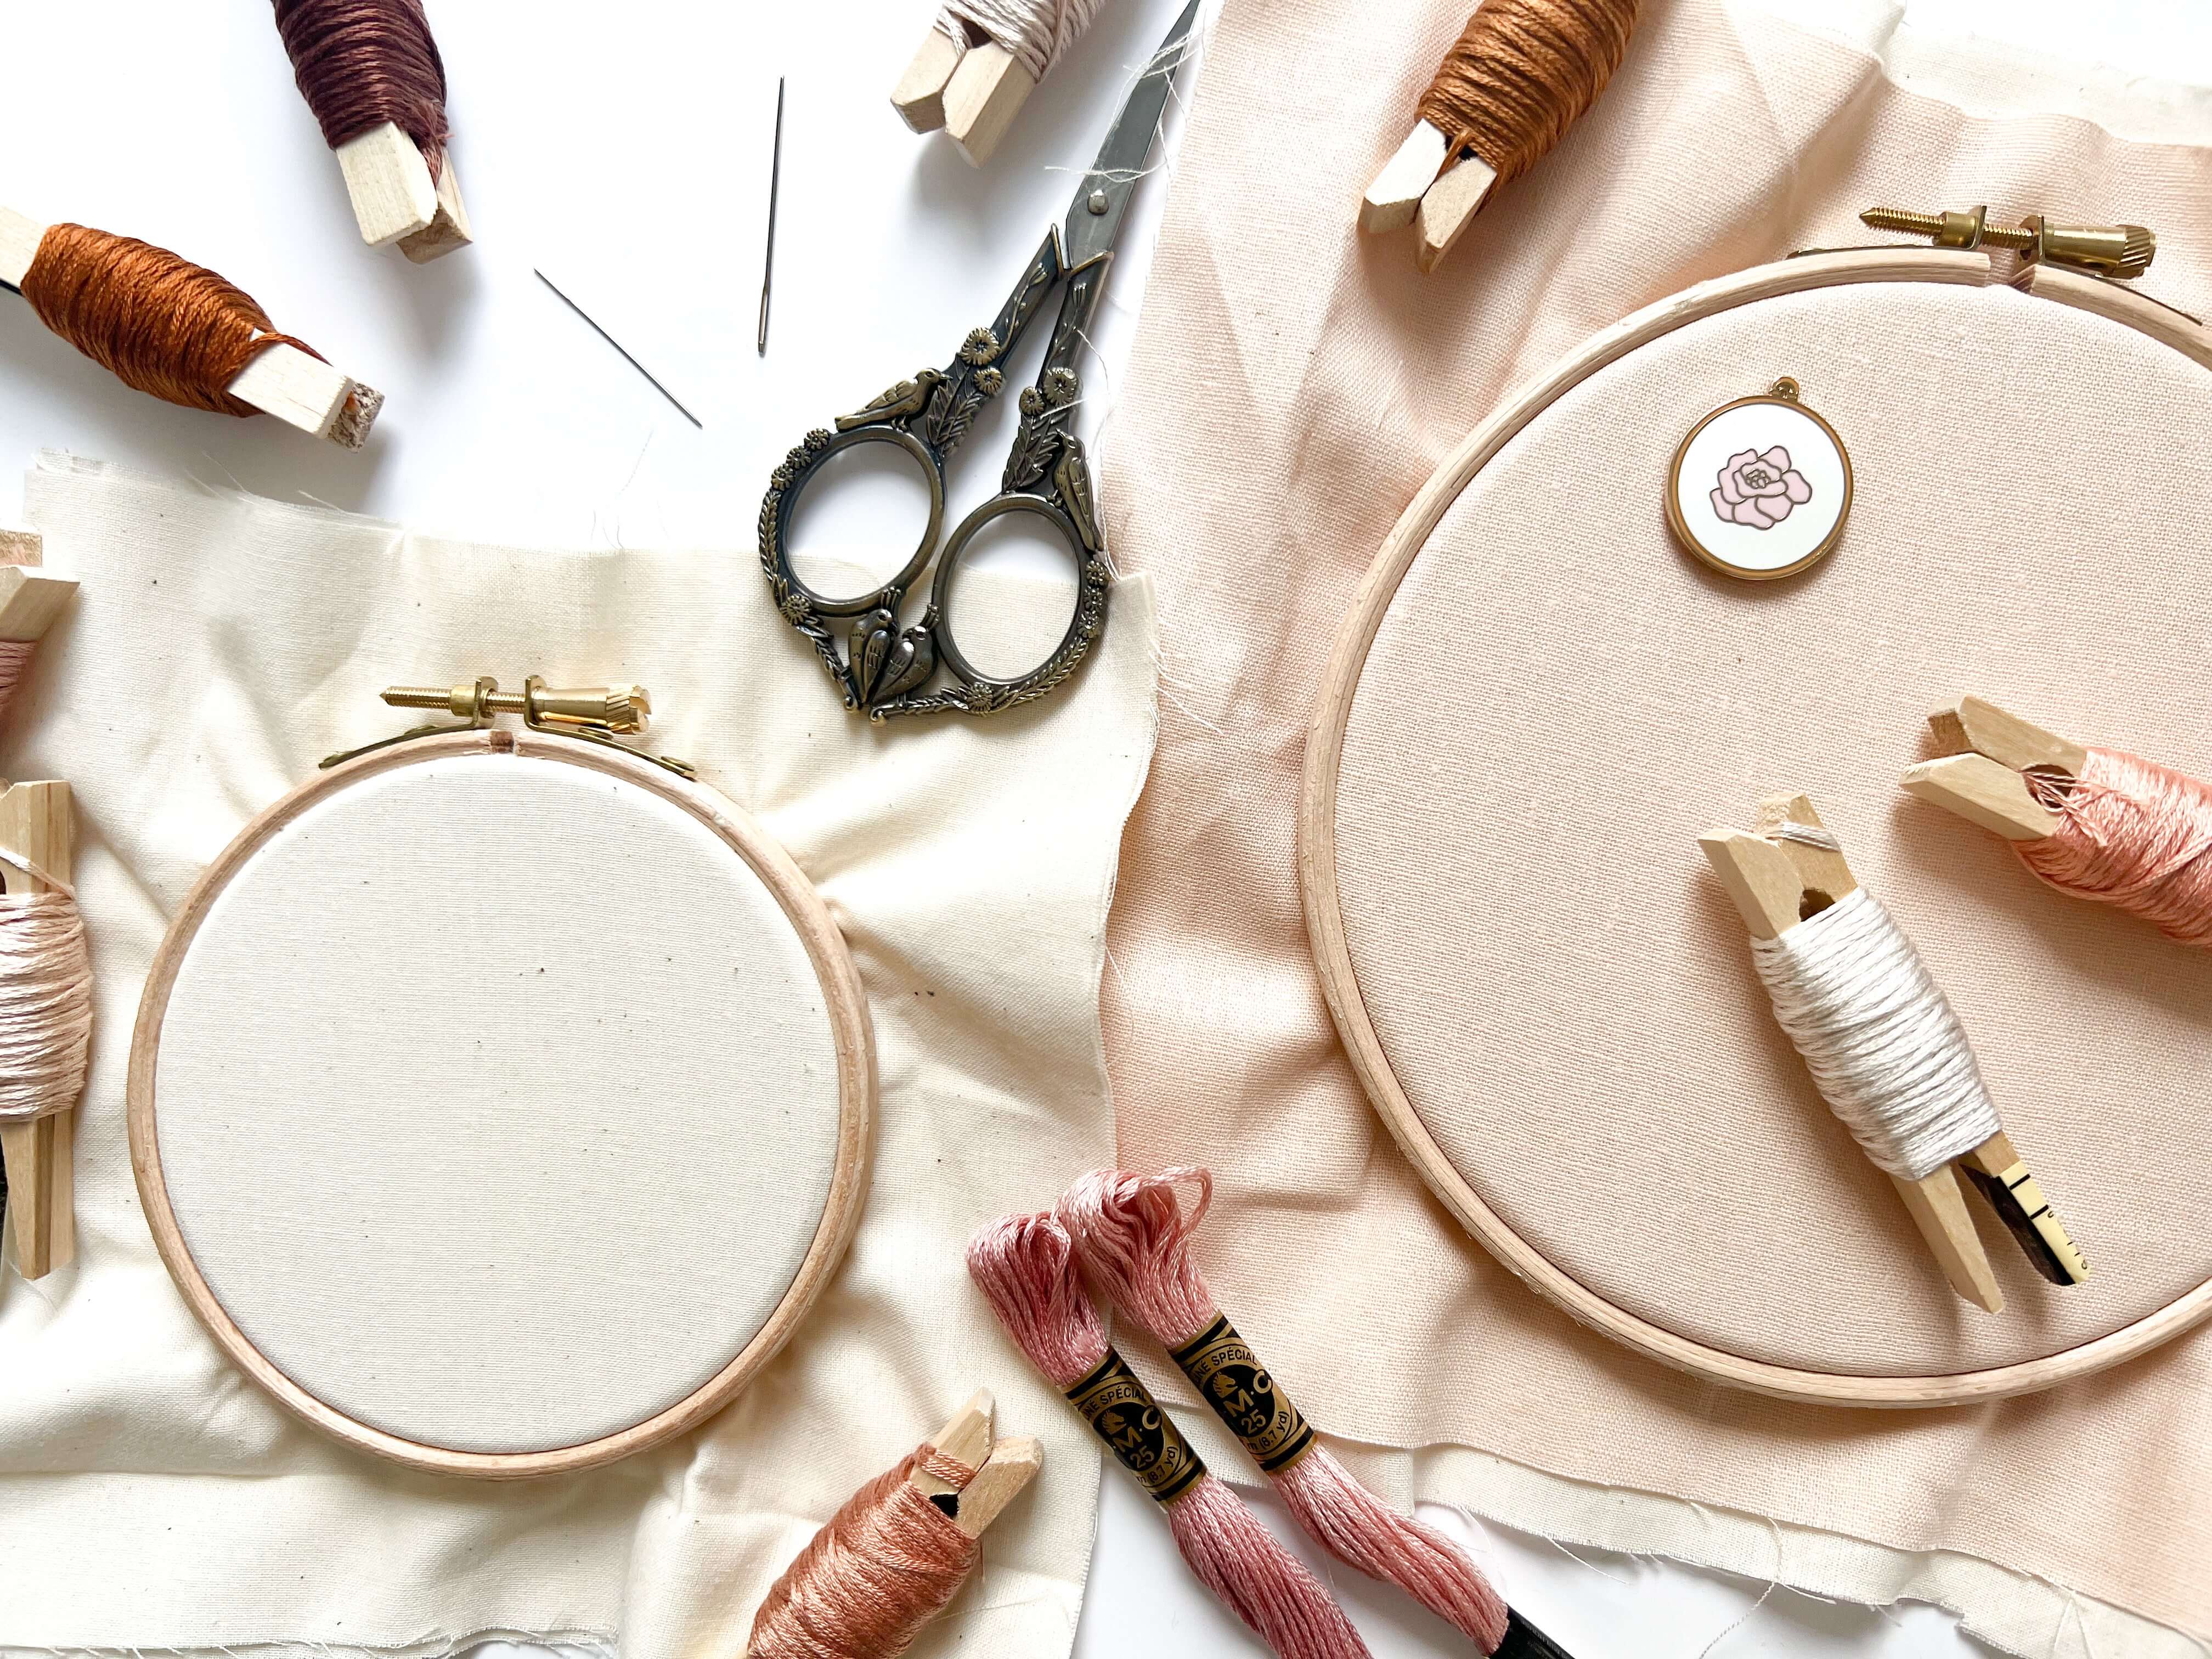
Embroidery fabric should be kept taut (drum-tight) in the hoop to ensure you produce even stitches, and to prevent the fabric from puckering.
To keep the fabric tight, you need to make sure that you correctly load the fabric into the hoop. It also helps if you tighten the fabric regularly, as the fabric can become looser over time. Keeping your fabric taut will result in a neater, more professional-looking embroidery project.
Related Blog Post: How to Set Up Fabric in an Embroidery Hoop

- Use a heat erasable pen for transferring the pattern to fabric
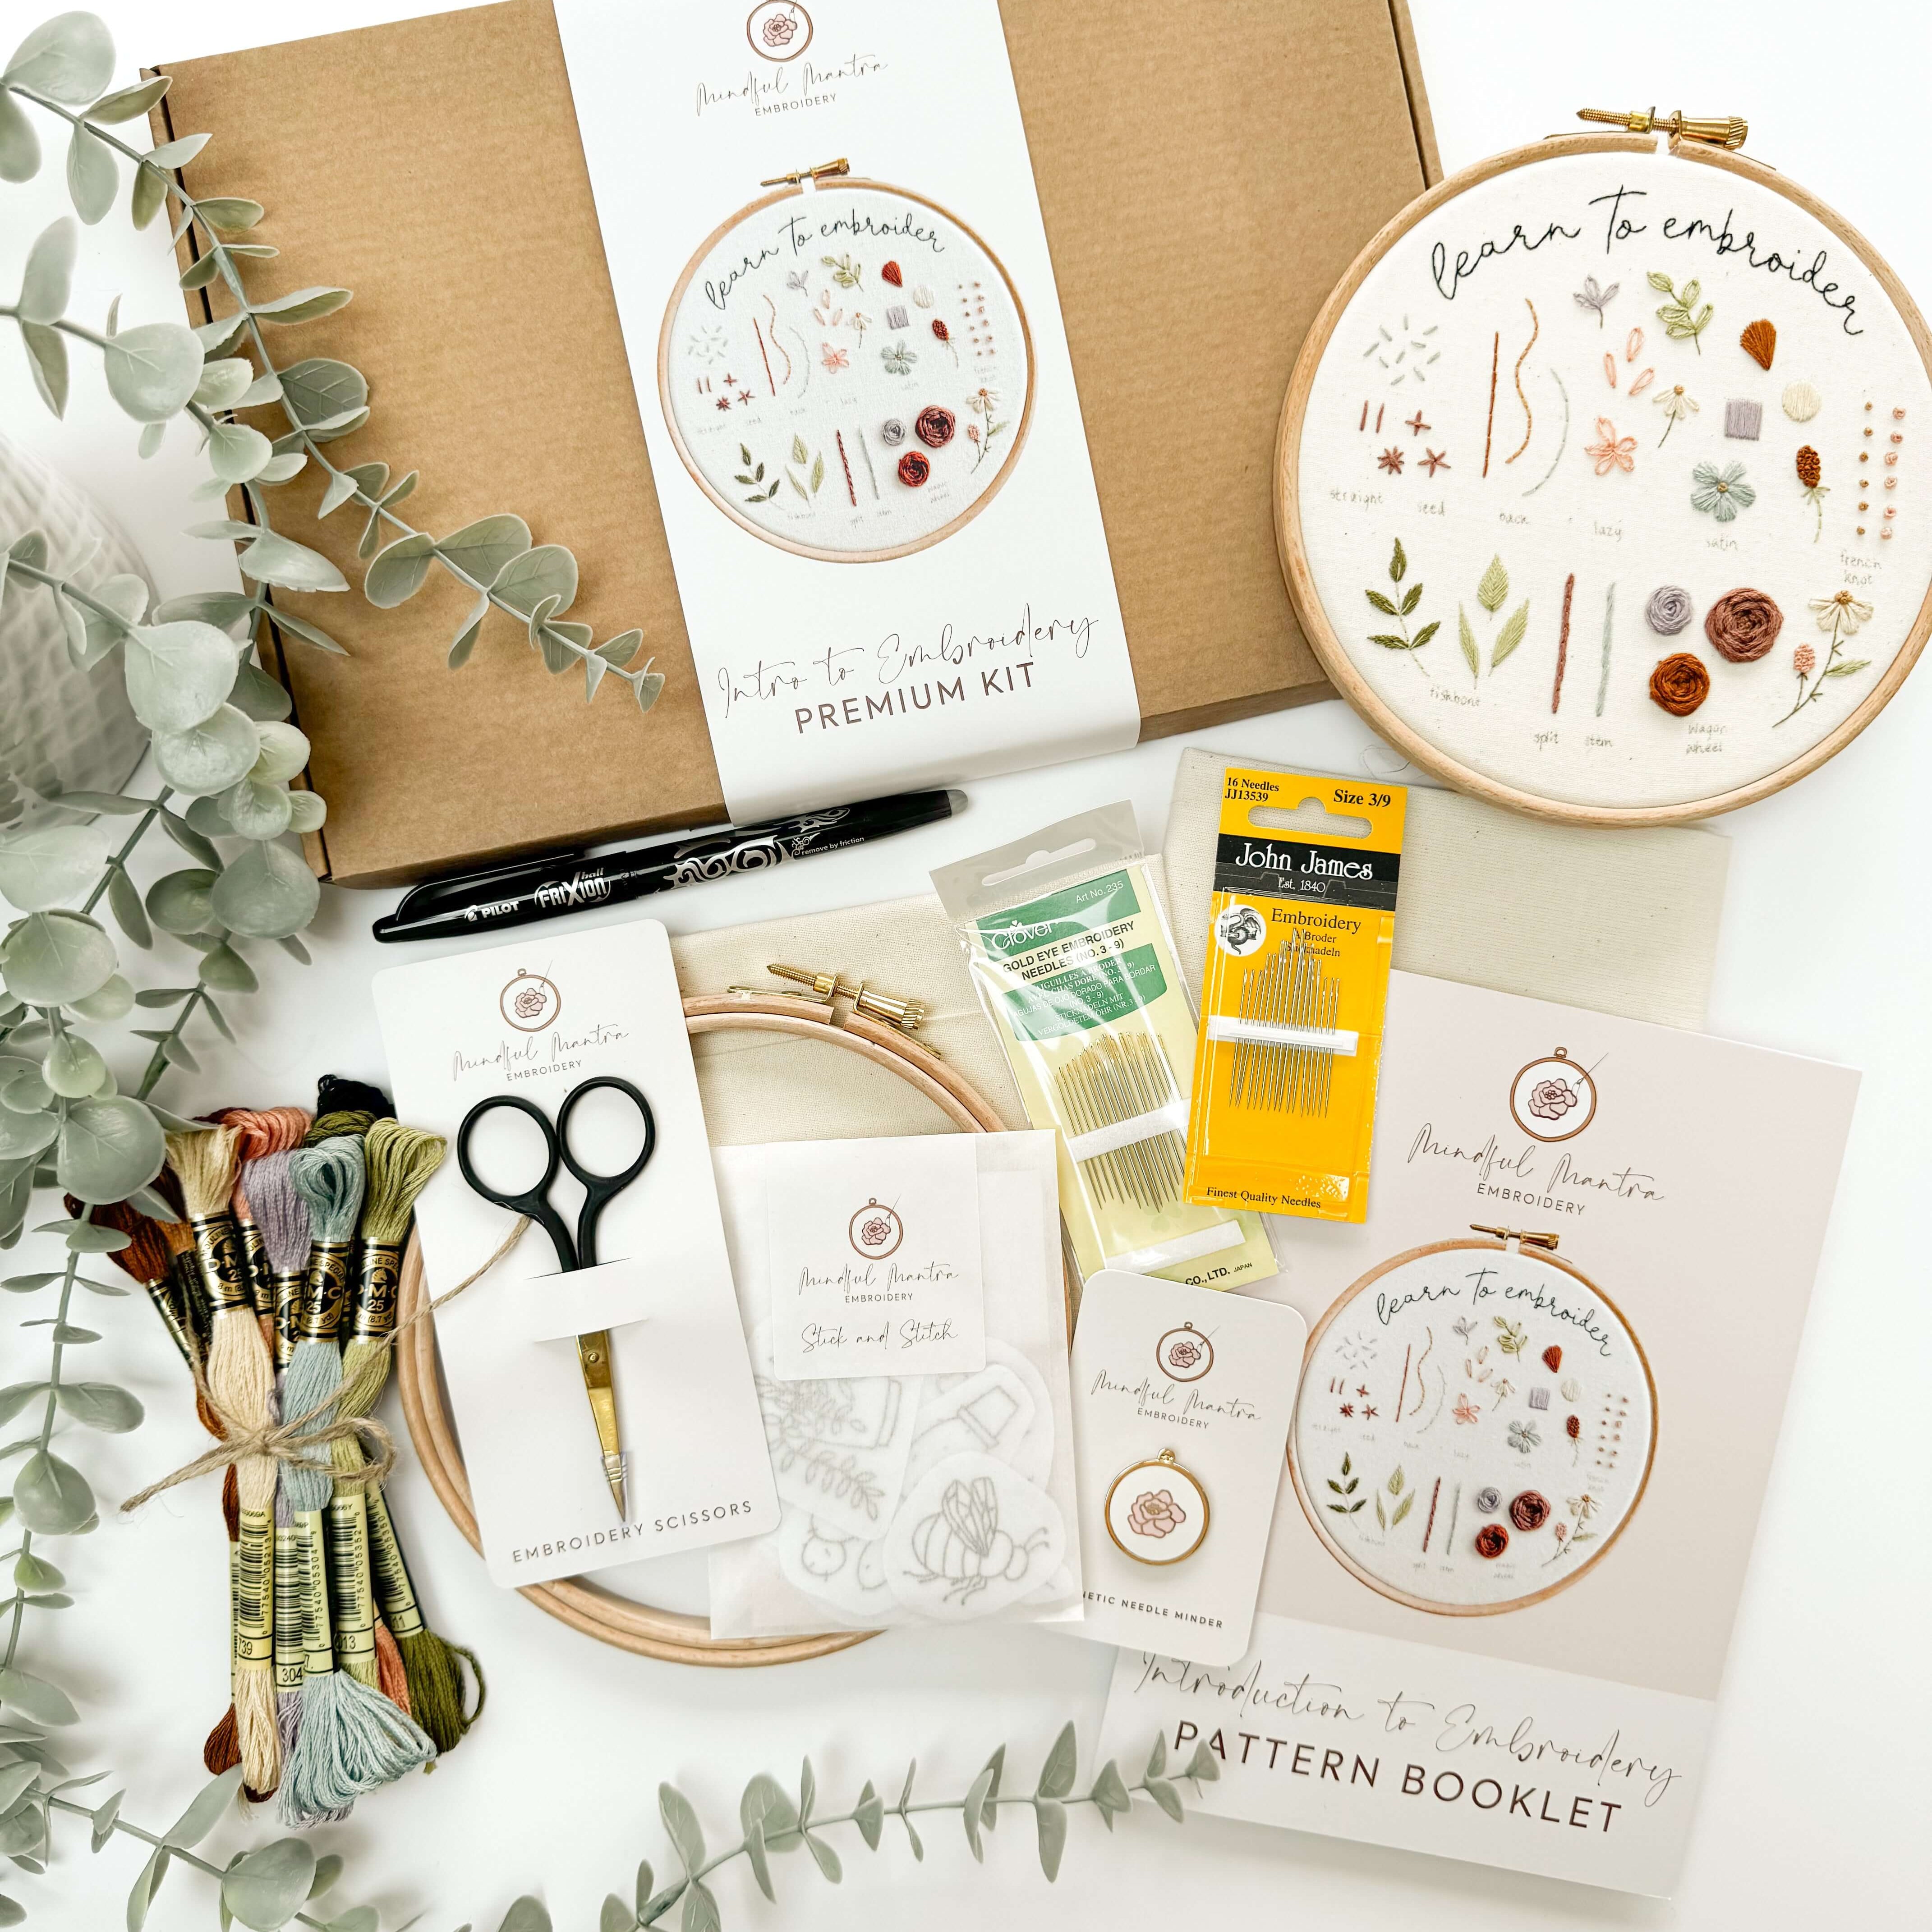
Using a heat erasable pen is a great way to transfer embroidery patterns to fabric because it allows you to mark out your design easily and accurately without leaving any permanent marks on your fabric.
When I first started, I used a biro pen… eek!! I didn’t know any better, but wow I ruined my first few projects from doing this, because I had no way of erasing the lines I drew once I’ve finished!

However, with a heat erasable pen like these, you just need to simply draw your design onto the fabric with the pen, stitch away and then blast it with a hairdryer to remove the marks once you're finished stitching. This method is particularly useful for delicate fabrics that can't withstand traditional transfer methods, plus, it's a convenient and environmentally friendly alternative to disposable transfer methods like tracing paper. Overall, a heat erasable pen is a versatile tool that every embroiderer should have in their toolkit!
Related Blog Post: How to Transfer an Embroidery Pattern Using Heat Erasable Ink

- Experiment with the thread
Experimenting with different numbers of strands of thread in embroidery can result in unique and varied textures, hues, and effects. When I first started out, I just pulled the thread straight from the skein and used all 6 strands at a time.
To start out with, you can try using all 6 strands for bolder lines, chunkier texture, and an opaquer colour. Once you’ve got that sussed, you can move on to trying with fewer strands of thread for more delicate details. By playing around with the number of strands of thread, you can add depth and interest to your embroidery projects.

- Enjoy the process!
I’m a perfectionist at heart, so in the early days (and sometimes even now) I would be really hard on myself if my embroidery didn’t look exactly how I expected it would. But in truth, it takes away from the actual purpose of embroidery!
By avoiding perfectionism, you can actually enjoy the creative process. Mistakes and imperfections are just a natural part of the journey! Focus on the enjoyment you get out of the process rather than the end result. Embrace your own unique style and let go of the pressure to make everything absolutely perfect, or exactly like the pattern you’re embroidering.

Don’t be afraid to experiment and try new things, and remember that even mistakes can lead to wonderful final results!
Happy stitching!

Do you want even more tips about All Things Embroidery?
Join my online membership exclusively for stitchers where I share my best embroidery tips + tutorials every week with members. With a community of other stitchers cheering you on, learning a new hobby has never been easier - or more fun.



1 comment
Such a great read! Truly needed your nuggets of encouragement. I loved how you said, “By avoiding perfectionism, you can actually enjoy the creative process. Mistakes and imperfections are just a natural part of the journey!”
I can be overly critical at anything I do. But to be reminded to embrace the imperfections, encourages me to trust the mindful act of embroidery.
Thanks Sophie! 💛
Leave a comment