*Disclosure: This post may contain affiliate links meaning that, at no additional cost to you, I will earn a commission if you click through and make a purchase*
This one is for the total beginners amongst us! And that's perfectly okay, everyone starts somewhere, so if that's you, be sure to keep reading!
One of the biggest mistakes I see made by newbie-embroiderers is incorrectly loading the fabric into the embroidery hoop. It might seem like a straight forward task, and, essentially it is, but if done incorrectly, you will be left with loose fabric that doesn't hold your stitches very well.
Also, if you are a beginner, you may find it useful to read my blog on the 7 Beginner Embroidery Mistakes and What to Do Instead, and how to avoid them!
So, what is the correct way to load the fabric into the hoop?
How big should the piece of fabric be?
First things first, you'll want to make sure you have a piece of fabric that is big enough. The fabric should be at least a couple of inches bigger than the hoop you are using. I usually use 4" or 6" embroidery hoops.
For example, if you're using a 6 inch embroidery hoop, you'll want to use a piece of fabric around 9-10" square.
The reason for this, is so that when it comes to 'backing' (i.e. finishing off the back) of the hoop, it's easier to ensure that there is enough fabric to tie, glue, or stitch with. You also need to ensure you have enough excess fabric to pull the fabric tight in the hoop. See the below photo for how much fabric I leave around the edge.

Another thing to note - if your fabric is quite thin, you may want to use 2 pieces of fabric layered together. I use calico fabric, which is a relatively thin fabric, so I double up my fabric and use 2 pieces layered together in the embroidery hoop. This prevents seeing the stitches through the back of your design! It also creates a good solid base for when you're stitching.
Loading the hoop
Once you've got your fabric cut to size, it's time to load it into the hoop. To do this, you'll need to separate your embroidery hoop by unscrewing the screw at the top of the hoop.

You'll need to unscrew it enough so that you have the inner hoop and the outer hoop are separated. (The outer hoop is the one with the screw attached).

Pop the inner hoop (without the screw) on a flat surface in front of you, and place the fabric over the top of this inner hoop. Try to keep it central so that you have an even amount of excess fabric around the outside of the inner hoop.
Next, place the outer hoop (with the screw) over the top of the inner hoop, and press it down. This effectively 'sandwiches' the fabric between the inner and outer hoop.

Tighten the screw at the top of the hoop so that the fabric is secure between the hoops.

Is that all, easy as that?
Not quite! This is the most common mistake I see from beginners - they tighten the screw and leave it at that.
In order for your stitching to be the best it can be, you need the fabric to be taut in the hoop, or 'drum-tight'. To get this effect with the fabric, you'll need to pull the excess fabric all the way around the hoop (as evenly as you can) to make sure that the fabric isn't sagging.

Pull the fabric all the way around the hoop, and then tighten the screw again. Keep doing this process until the screw can't be twisted anymore! You may need a screwdriver or pliers to get this result.
Below you can see the difference between a hoop where the fabric has been evenly stretched in the hoop, giving the drum-tight effect (the one on the left!) On the right, however, you can see that the fabric is slightly saggy and loose.


Your fingers might hurt a little by pulling the fabric tight or screwing the screw as much as you could, but that's fine, it means you have tightened the hoop exactly the right amount! Now that your fabric is loaded into the hoop, you are ready to start stitching.
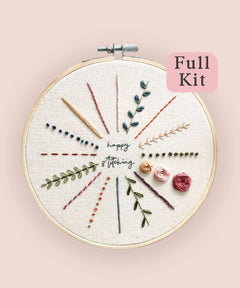
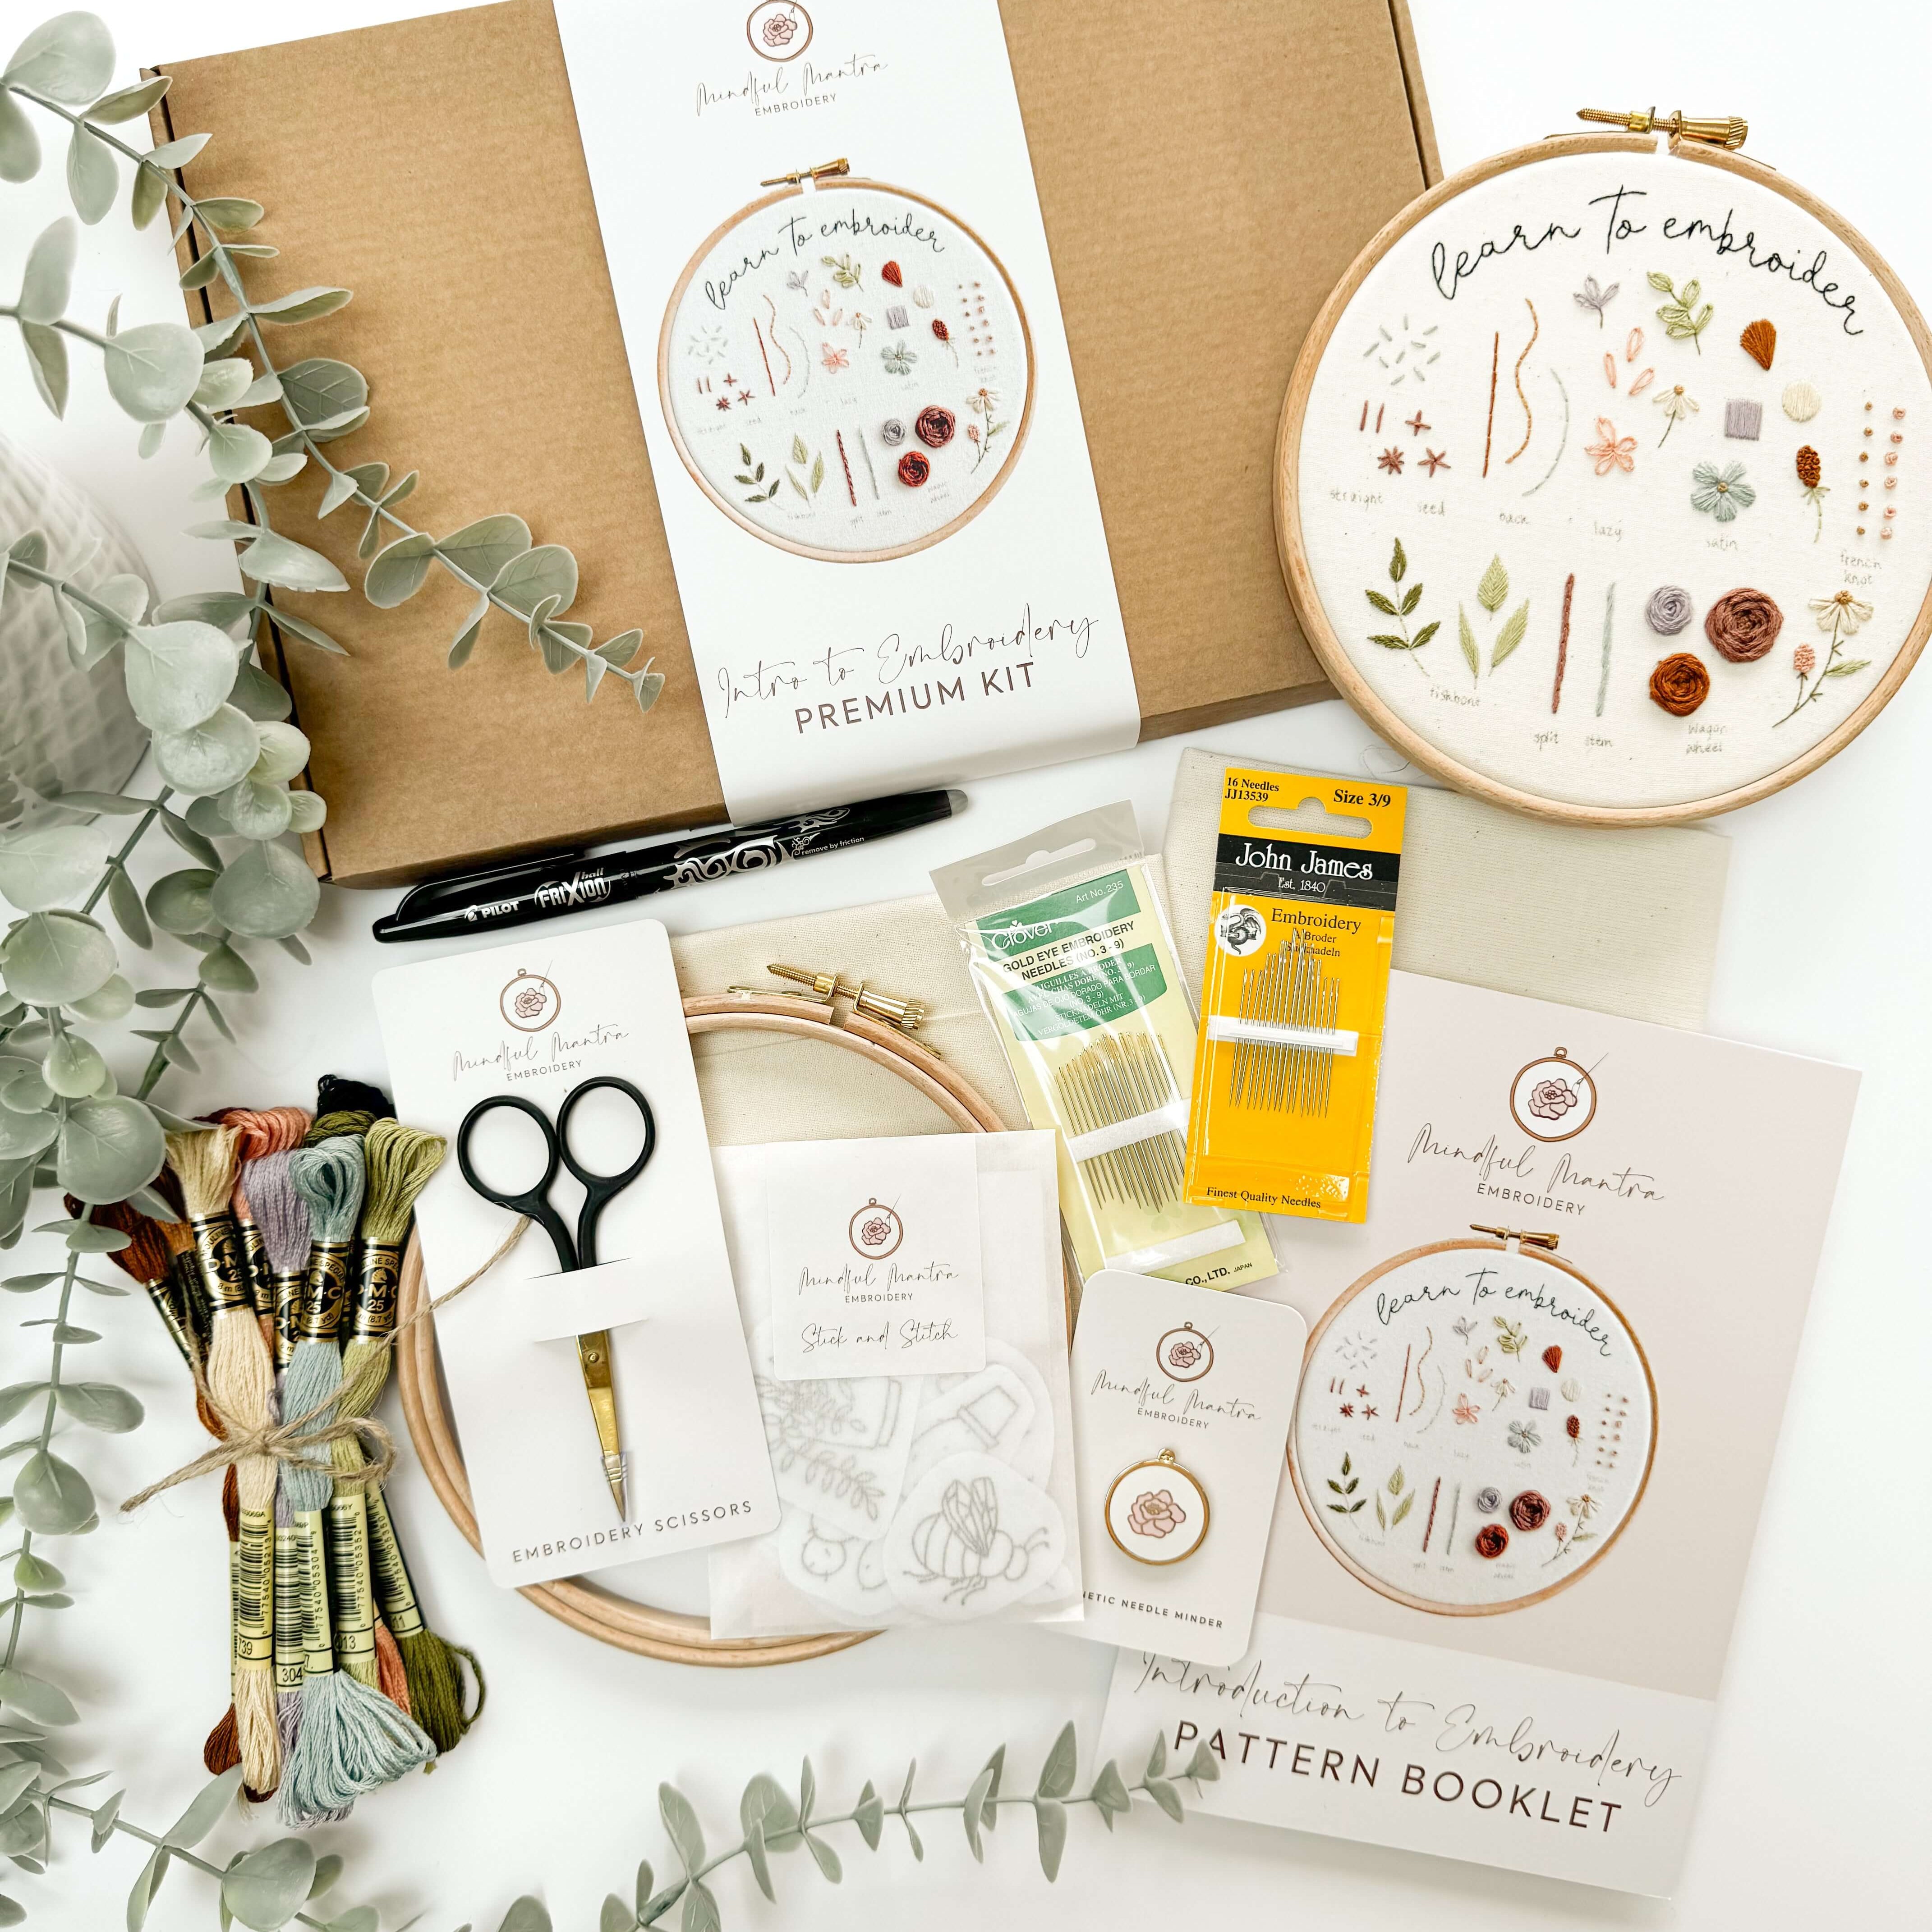
Our Learn to Stitch embroidery pattern, or Beginner Embroidery Kit, are great places to start if you haven't yet selected your first embroidery design!

Do you want even more tips about All Things Embroidery?
Join my online membership exclusively for stitchers where I share my best embroidery tips + tutorials every week with members. With a community of other stitchers cheering you on, learning a new hobby has never been easier - or more fun.





1 comment
I have read and saved your instructions on How to Set Up my Fabric in an Embroidery Hoop.
Thank you for this help. Didn’t realize I may need to use a screw driver to further tighten. Appreciate the help as I am starting up again after 50 yrs not having done any embroidery work.
Leave a comment