Have you heard that transferring embroidery patterns is really easy to do, but you struggle to transfer your designs accurately? Tracing perfect lines from an embroidery pattern doesn't have to be as difficult as you think it is!
"My lines are wobbly, I can't hold the fabric still, I keep making mistakes."
Sound about right?
You're not alone! Believe it or not, thoughts like these are a common hurdle when you're just starting out with embroidery, and even when you're a seasoned stitcher! We all have fears and make mistakes when we're trying something new.
But, those fears are definitely holding you back from enjoying your embroidery experience, and having the confidence to stitch a wider range of embroidery patterns.
Right at the start of my business, I had so many customers that requested pre-printed or pre-transferred patterns, because they truly felt that transferring the pattern themselves was a total roadblock. I started to offer these services to accommodate my customers, but that wasn't doing anything to help them with those beliefs that they 'just couldn't do it'.
Since then, I’ve learned a lot and I can’t wait to share it all with you.
So take a deep breath and settle in to learn 4 actionable tips to achieve accurately transferred embroidery patterns the easy way, without the frustration and overwhelm.
Yes, you can transfer your own embroidery patterns easily, and I’m going to show you how!
Pilot FriXion pens
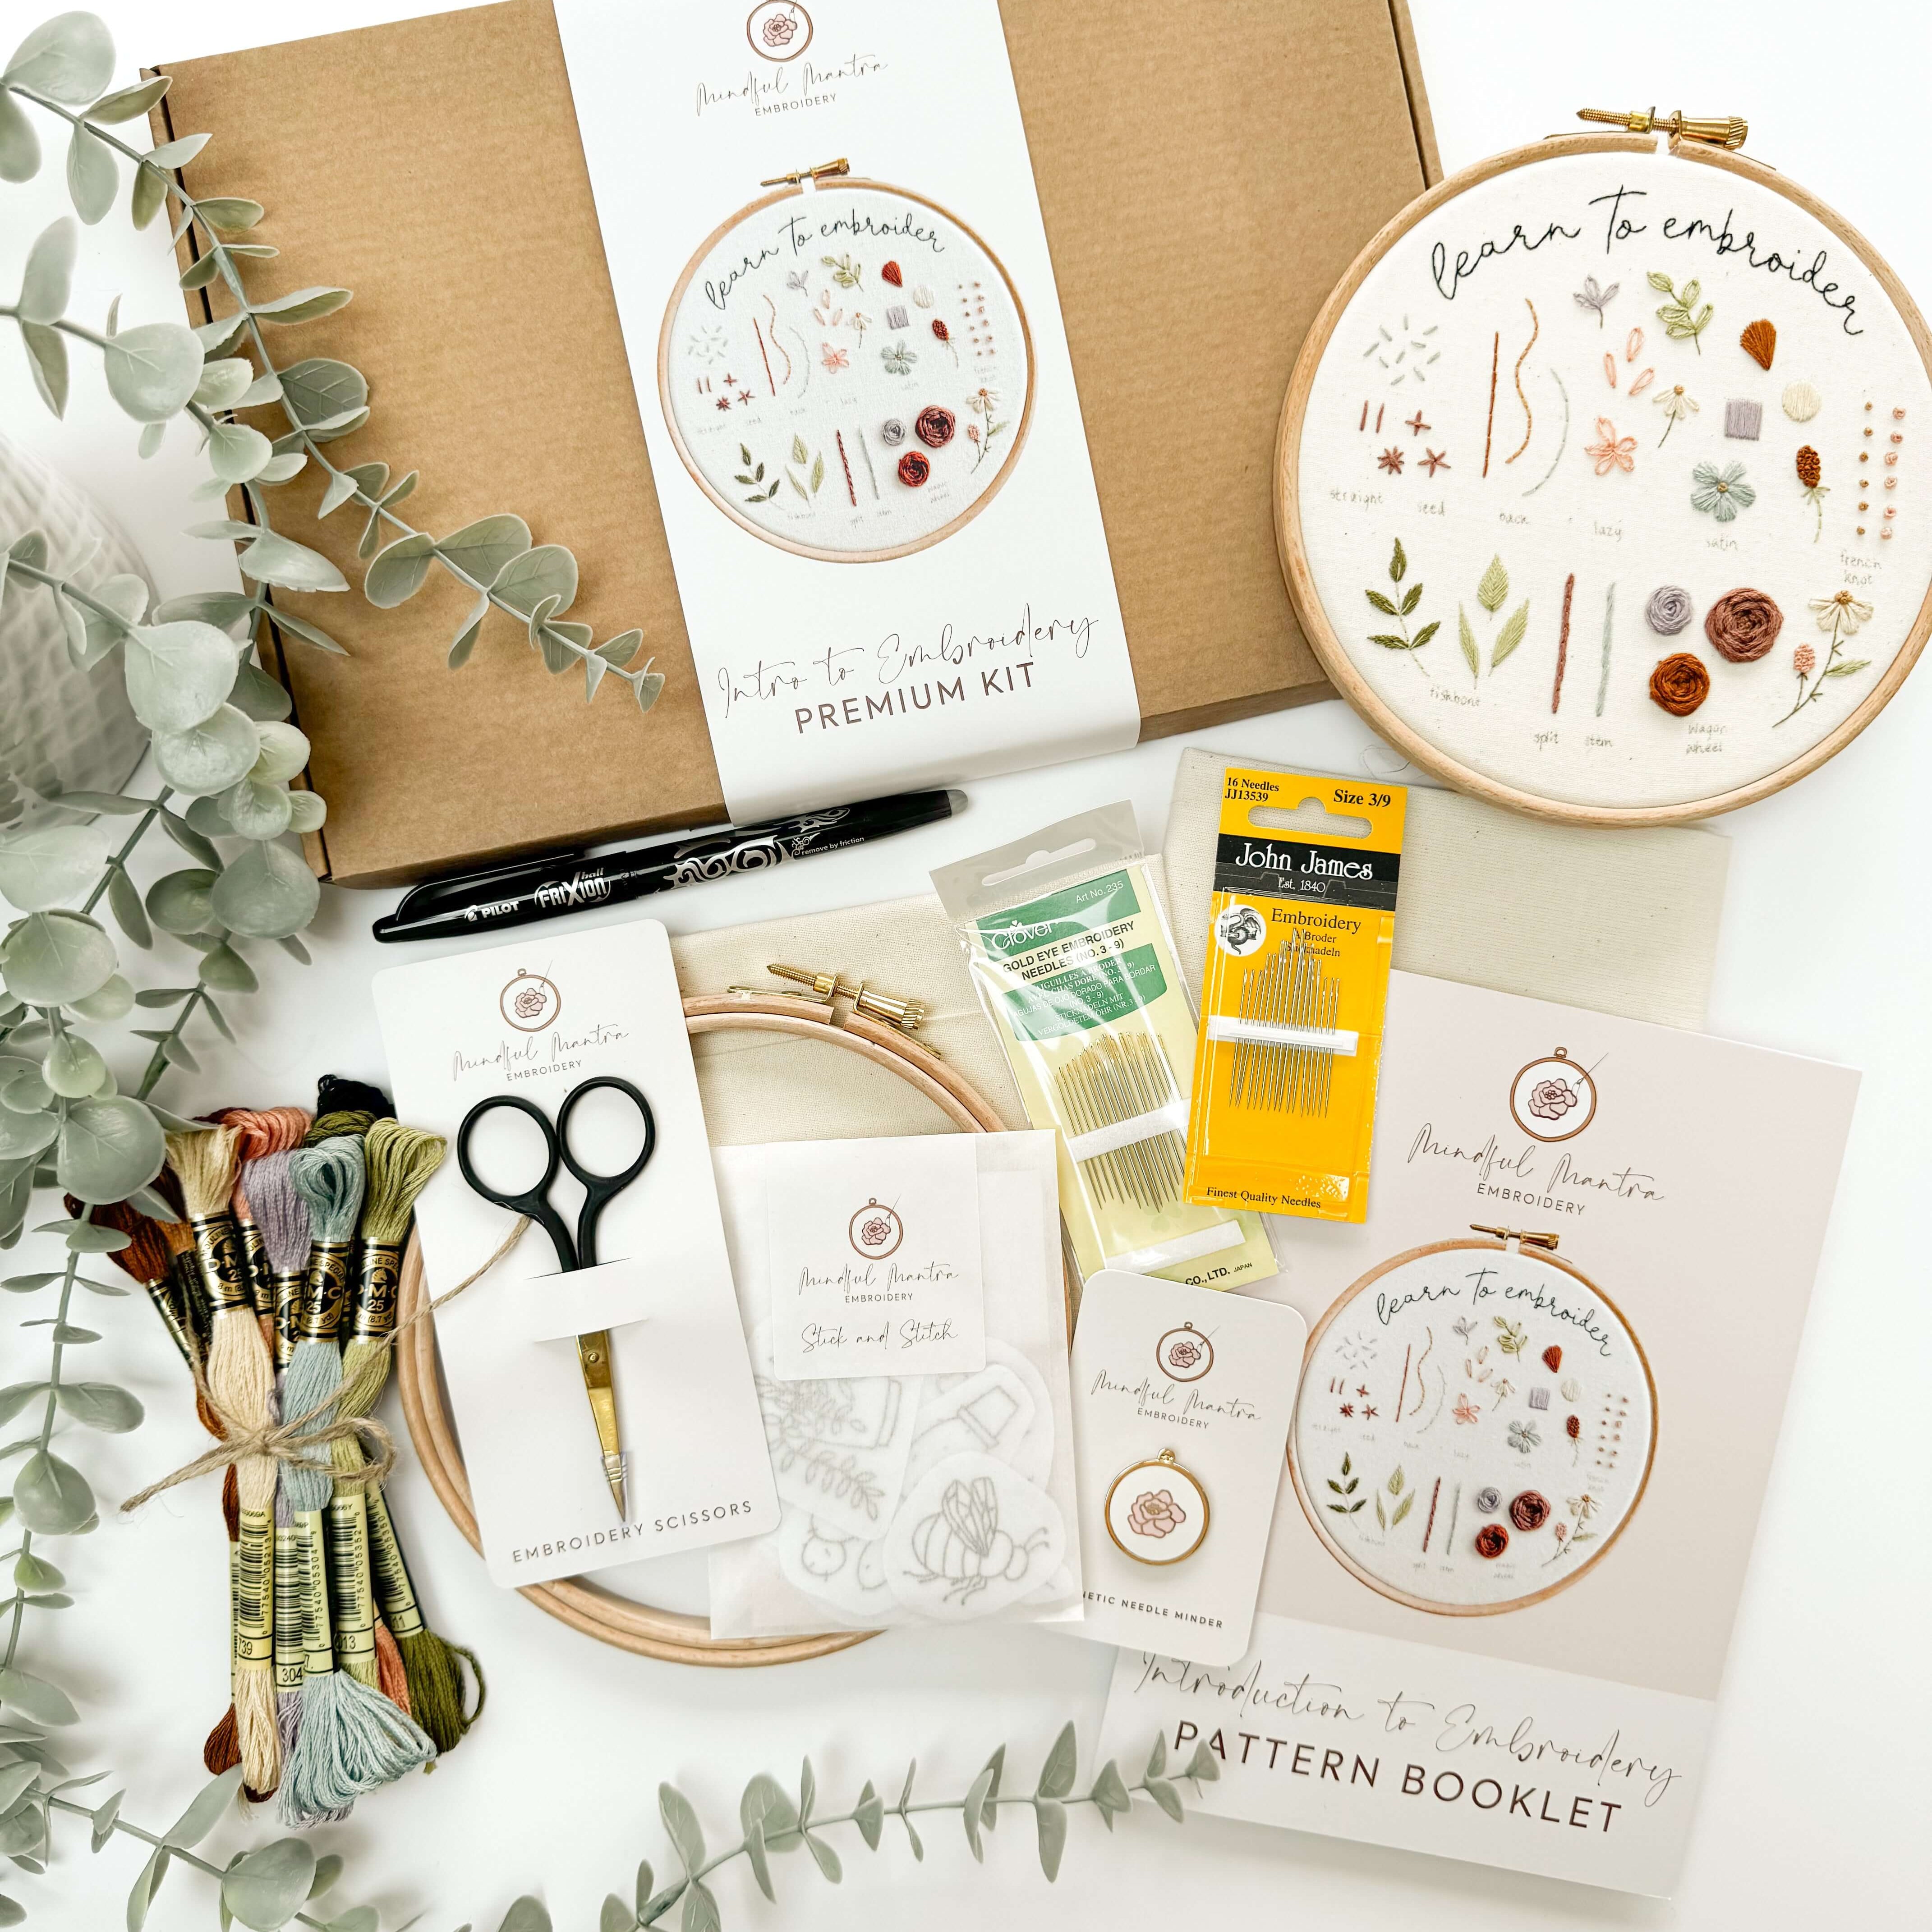
If you already know us here, then you'll know that our absolute favourite way to transfer embroidery patterns is by using a heat erasable pen, namely the Pilot FriXion pen.
Here's why:
- It's easy to learn how to do it
- They're easy to use
- The ink is removable - magic!
Let's quickly dive into those!
Easy to learn
One of the best parts about transferring a pattern with a pilot frixion pen is that it's so easy to learn how to do it! It is effectively just tracing, in the same way that you'd trace things with tracing paper as a child.

As soon as you know the correct method to tracing a pattern, you're away!
We have an entire blog post dedicated to showing you the step-by-step for transferring a pattern with a heat erasable pen, so if you're brand new to transferring patterns and/or these heat erasable pens, you can check out that post below:
Related Post: How to transfer an embroidery pattern with a heat erasable pen
Easy to use
Unlike other transfer methods, such as a general pen/pencil or a water soluble marker, a heat erasable pen is way more versatile and user-friendly!
We'll dive into the exact reasons why the Pilot FriXion pen is easier in a second, but first, let me share with you just how easy it is to use.
The Pilot FriXion pen works on the majority of embroidery fabrics, but it works particularly well on light fabrics like cotton calico (P.S. that's what I use!!)

The full tutorial on how to use the pen is linked above, but it really is as simple as tracing over the lines, embroidering the pattern, and then removing the lines once you've finished stitching.
But, unlike other transfer methods like using fabri-solvy stick and stitch paper, or water soluble fabric pens, it's super easy to remove the lines too! Let's get into how to remove the pattern lines at the end.
Removable
Leading on from that, my all time faveee thing about these pens is that they're heat erasable, so if you accidentally make a mistake when transferring, or don't fully embroider over the lines you've drawn, you can easily remove them once you've finished stitching. (And as I said, it's SO easy to remove too!)
With just the blast of a hair dryer or iron, or a type of heat similar to this, those lines you drew will just magically disappear! Cool, right?!

It's the perfect method of transferring patterns in my opinion, because it perfectly suits the purpose, and you can completely remove them when you're finished. You're not left with pen or pencil marks like using a regular biro/pencil, and you don't have to get your fabric wet and ruin any of your stitching like you do when you use a water-soluble marker, or Stick and Stitch paper.
(Don't get me wrong, those methods of transferring absolutely have their purpose, particularly stick and stitch paper, but that's a whole other blog post!)
NB: Although, I do have to caveat this recommendation by saying that some users have experienced these pens leaving behind silvery lines after the ink is removed. Whilst I've personally never experienced this, it can happen. The ink colouring in the Pilot FriXion pen is what is removable, not the actual ink itself. Do bare this in mind when you're using the pen on your fabric, and try to be as specific as you can be with your tracing!
So, now that you know all about the 'how' relating to Pilot FriXion heat erasable pens, let's move on to the tips on how to make it easier!
Here's the 4 tips:
- Press lightly
- Small pen strokes
- Tape down your project
- Take your time!
And once again, let's dive into them!
1. Press lightly
One huge mistake that I often see people make, is pressing really hard with the pen when they transfer embroidery patterns.
I get it, some people are naturally more heavy handed with pens! But, I absolutely recommend you try to be more forgiving and hold the pen with a lighter grip.
This way, you have more control over the movement of the pen, which means that you can be way more accurate with your tracing, and it also means that you can make lighter marks with the nib, which is ideal for tracing embroidery patterns.
You can always go back in afterwards and go over the lines you've made to make them darker if you need to!

2. Small pen strokes
If you take away anything today, take away this tip in particular!!
Another mistake I see many people make when transferring their embroidery pattern is that they try to trace the lines of the pattern in one continuous line of the pen, without lifting it up off of the fabric.
All this does is make a wobbly, shaky line that isn't very accurately transferred. (Sorry, it's true!)

Thinking about it logically, it's really difficult to accurately replicate a shape with one line of the pen, and if you're pressing too hard and go off course, it can make it more difficult in the long run to see which lines are the correct lines to be following when stitching.
At the end of the day, the neater you manage to transfer the pattern, the neater your embroidery can potentially be!
Instead, think of the process of transferring an embroidery pattern like sketching. All you need to do is just really gently and carefully make smaller, lighter marks to make sure you're getting down the accurate lines on the pattern. Doing this in a sketch-like motion increases the chances of getting the pattern transferred clearly.
3. Tape down your project
A huge drawback for many people when transferring their embroidery pattern is that it moves around too much, and the pattern ends up being all skew-wiff. (It's a word, trust me!)
Whilst this tip isn't essential, it can be really helpful for many people who struggle to hold their hoop still! So if you struggle to hold it in place and end up accidentally moving it while tracing, I hear you, it can be so frustrating trying to line it back up again!

If you're printing the pattern and using a light box or other light source like a window, it's really helpful to tape down the pattern to the light source so that it doesn't move. You can even tape down the edges of the fabric, too, if you find that helpful!
My favourite tape is washi tape, because it's sticky enough to hold everything in place whilst you trace, but also it isn't sticky enough to leave any residue on your project.
4. Take your time!
The key thing with transferring your embroidery pattern is taking your time. The first two tips we shared here will naturally slow you down in the tracing process, which is exactly what you need to transfer your pattern effectively.
Taking it slow and taking your time will give you more control over your pen marks, and as I said before, the better you are able to transfer the pattern to fabric, the more chance you have at creating a neater embroidered project at the end!

Take your time, go slow, and be precise. Press lightly and use small sketch-like pen strokes, and you'll be able to create much neater tracing of your embroidery pattern, and you'll be ready to get stitching!
Until next time, friend!
Do you want even more tips about All Things Embroidery?
Join my online membership exclusively for stitchers where I share my best embroidery tips + tutorials every week with members.





4 comments
Thank you ever so much Sophie! The pen tracing tips are essential to me who tend to write and draw quite hard! Great tips overall :-)
Sophie- I’m so glad I found you!! I’ve been embroidering since I was 6 (38 now) my Nonna taught me! But I don’t know anything but simplistic embroidery so I’m so happy to learn more!
I’m going to be embroidering onto Jean shorts for my niece’s & your tips are so helpful!!
Sophie- I’m so glad I found you!! I’ve been embroidering since I was 6 (38 now) my Nonna taught me! But I don’t know anything but simplistic embroidery so I’m so happy to learn more!
I’m going to be embroidering onto Jean shorts for my niece’s & your tips are so helpful!!
Thank you so much dear Sophie , your informations are really helpful 😊, may Allah bless you
Leave a comment