You may have heard embroidery artists say something along the lines of this:
"Your fabric should be drum-tight in your embroidery hoop".
If you have, then you're in the right place. If you haven't, well, you're still in the right place! Because this is one of the most important pieces of advice any embroidery artist can give to a person.
Maybe a bit dramatic, but it's true.
Let's dive in👇🏼
What does 'drum-tight' mean?
Okay bare with me here. This is relatively self-explanatory, and the last thing I want to do is teach you to suck eggs!
BUT, just in case you don't know, drum-tight in embroidery means the exact same as it does in any other scenario. Your fabric needs to be as tight as a drum!
That means the fabric should be completely tight and pulled taut in the embroidery hoop, with no slack or any loose fabric in sight.
I mean, obviously it's not "exactly" like a drum, because an embroidery hoop and fabric aren't musical instruments, but you get the idea!

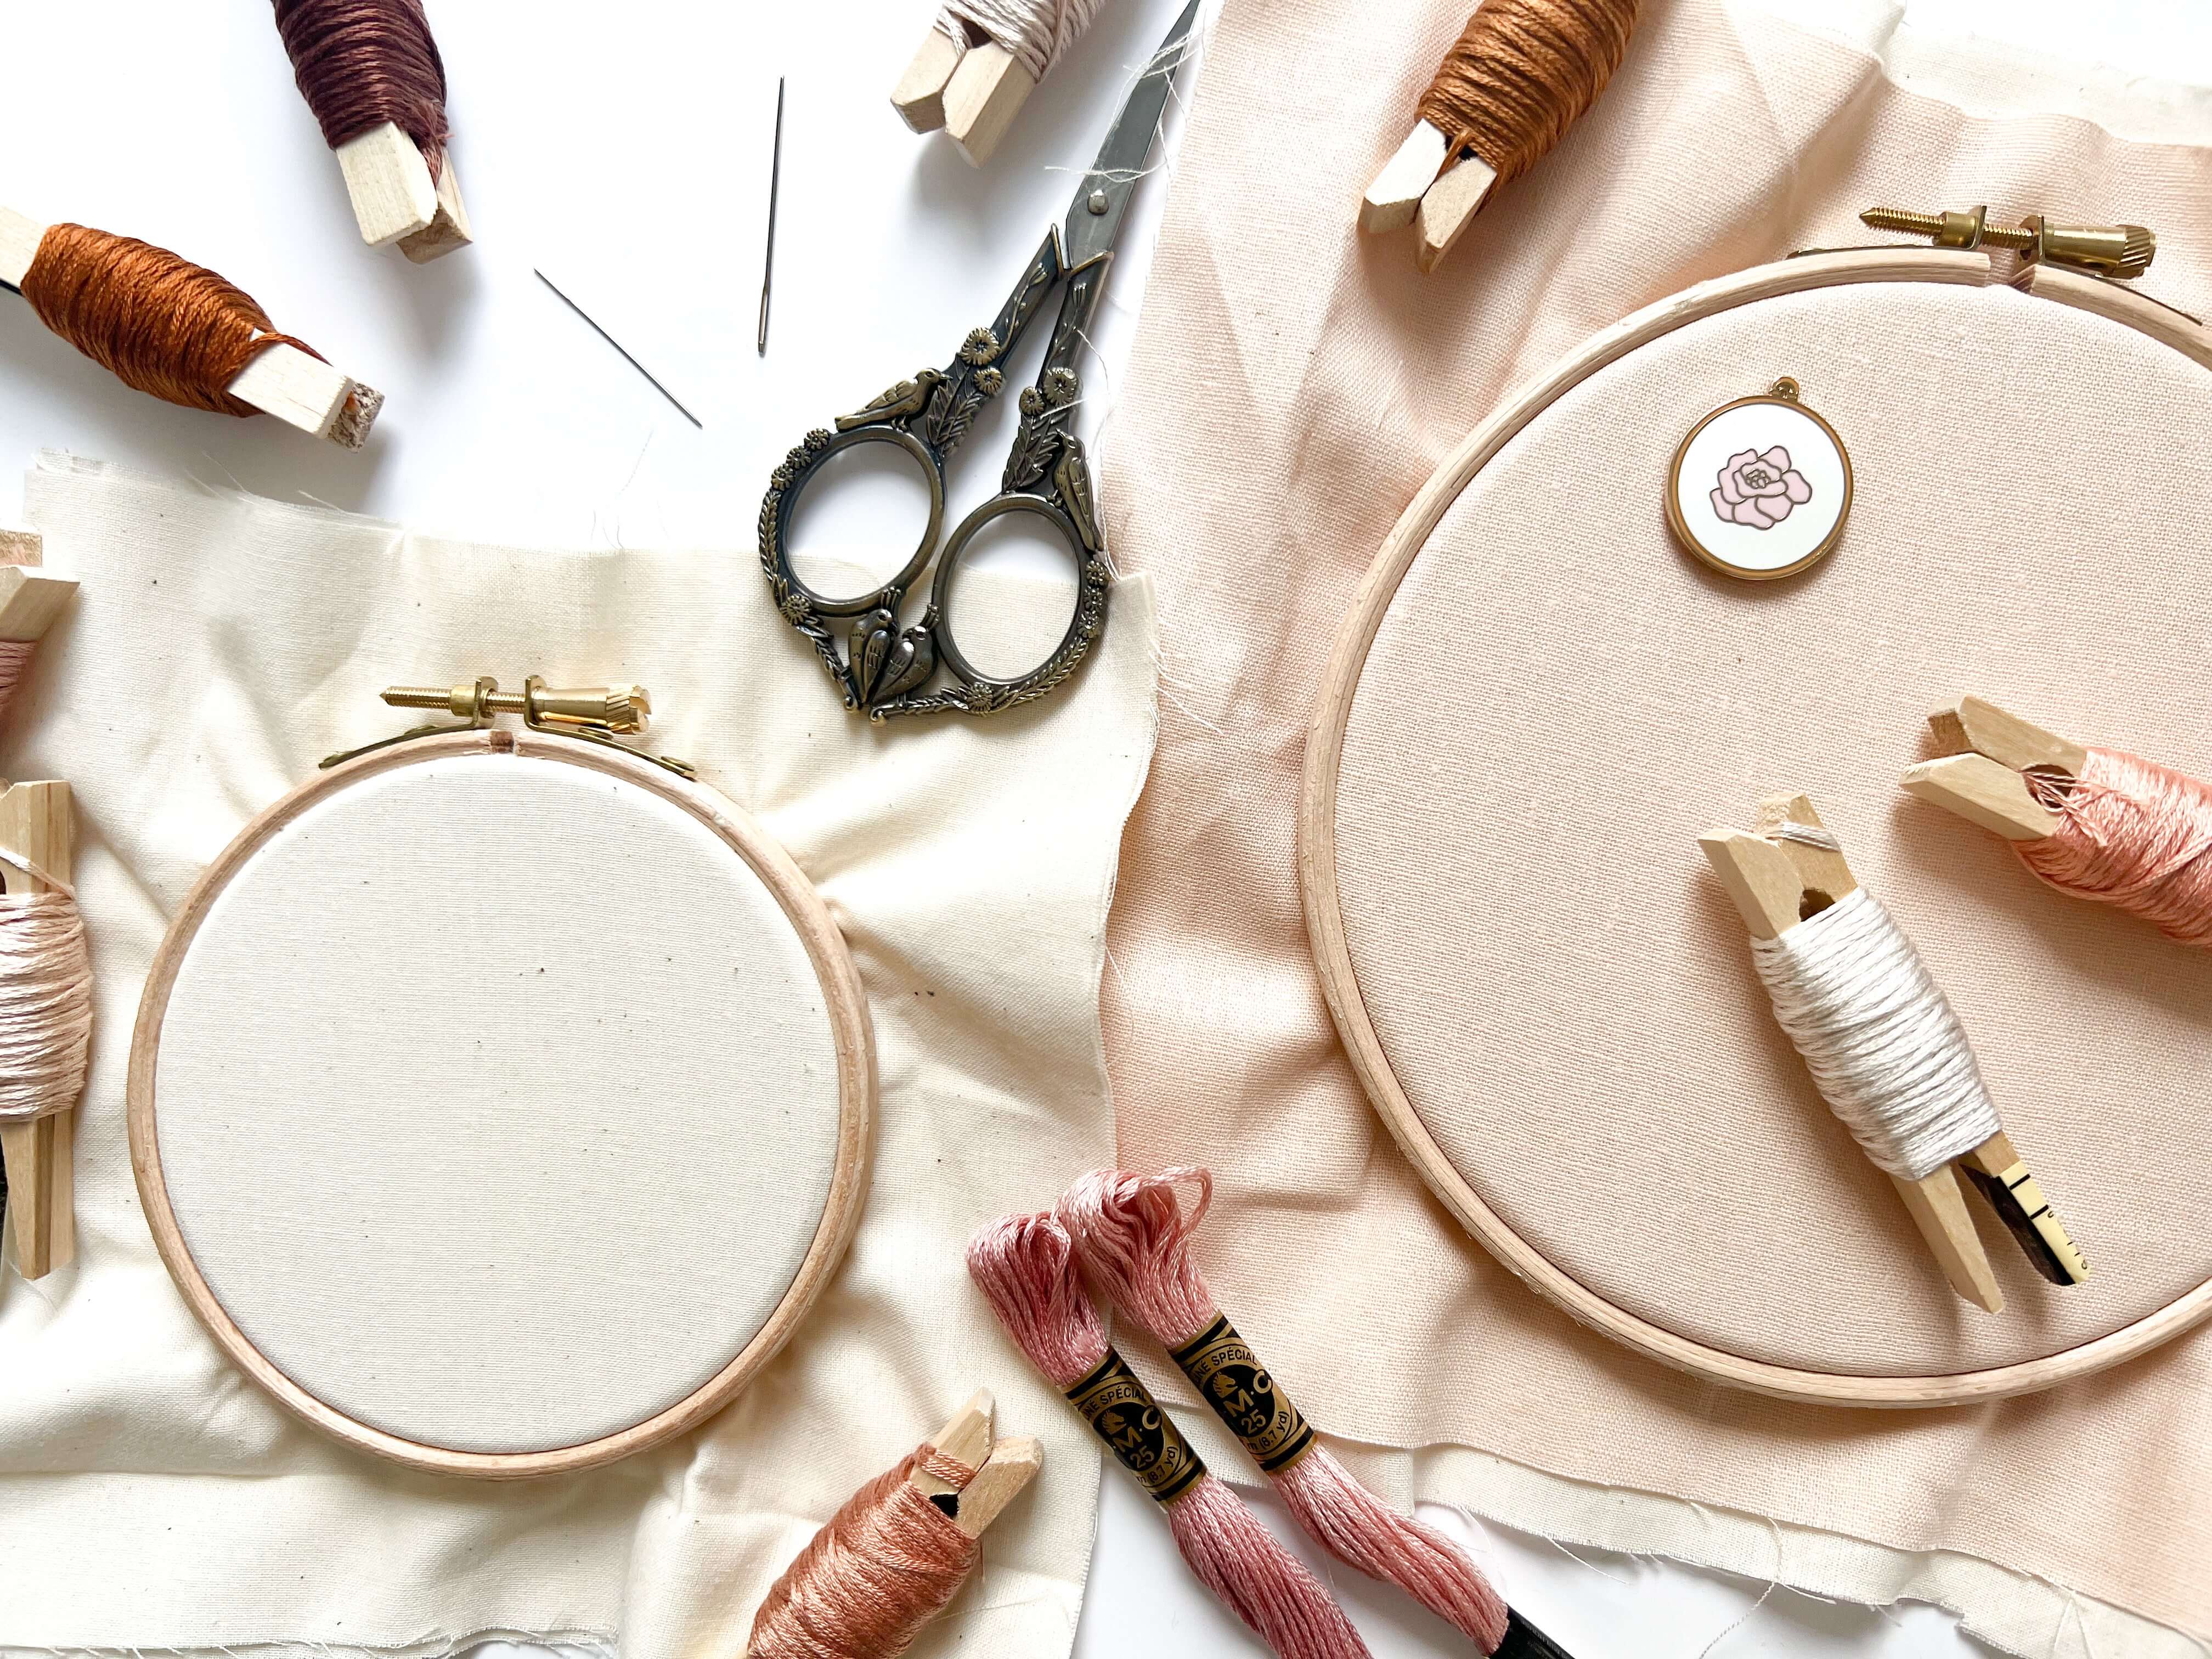
In the photo above, you can see that the photo on the left has loose fabric; there are areas where you can see the slack in the fabric, you can see shadows where the fabric isn't completely flat, and you can still see a slight crease in the fabric.
Compare this to the photo on the right, where the surface is completely flat, there's no shadows and no loose fabric anywhere on the hoop.
Why does the fabric need to be drum-tight?
Okay, so now we know what it means, let's briefly cover why it should be drum-tight as well.
I said brief, so let's keep it brief!
- Tension is everything in your embroidery, it can pretty much make or break your finished piece,
- It's easier to stitch on fabric that's pulled drum-tight, and
- It's sooo much more enjoyable to stitch when the fabric is the correct tension!

That's the what and the why, now let's get into the how!
How do you get it drum-tight?
How to know when it's tight enough?
Well, firstly, there's no loose or slack fabric as we mentioned earlier on - the fabric is visibly pulled tight. But also, another reason for the phrase 'drum-tight', if you tap on it like you would a drum, it should make a noise. (Not a musical noise, it's not an ~actual~ drum! But, a noise nonetheless!)
So, to achieve that?
Essentially, all it comes down to is putting your fabric in the hoop, and then pulling the fabric around the outside of the hoop really evenly and consistently.

Most people do this step and think "yep, I'm done!". But, they often don't pull it tight enough.
The trick here is to keep pulling the fabric evenly all the way around the hoop, then tightening the screw, and then going again.
And yep, you keep going until your fingers ache. Trust me, it seems excessive, but it is absolutely worth it.
Check out the blog post below for the tutorial on setting up your fabric correctly!
Related Post: How to Set Up Fabric in an Embroidery Hoop
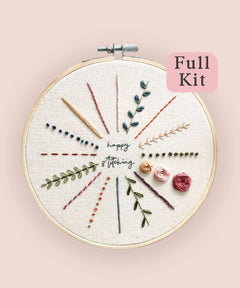
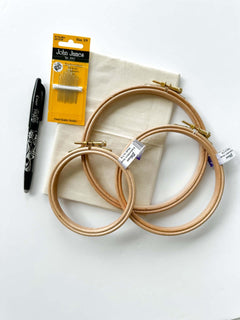
P.S. Curious what supplies I'm using here? Click here to shop our Embroidery Supplies Kit to stock up on the essentials to get started!
That's a wrap! Give it a go and pull your fabric super drum-tight next time you stitch, and let me know how it goes! And if you have any questions, feel free to contact us here.
This is just one small tip that we dive deeep into in our "Introduction to Embroidery" online course, available right now! If you're brand new to embroidery and would love to learn even more, you can start learning right away!✨
Introduction to Embroidery: Beginner Embroidery Course


1 comment
I just loved your tips to make our journey easier!
Looking forward to the academy!
Leave a comment