
How to Use Beginner Digital Embroidery Patterns
New to hand embroidery and feeling a bit confused by that digital pattern you just downloaded? 🫠 I totally remember that feeling, and every stitcher - yes, every single one - has stared blankly at their first PDF embroidery pattern, wondering where to start!
This post is your friendly walkthrough of how to read and use a beginner embroidery pattern, (and also explain why they're a great place to get started with learning embroidery!).
So, if you’re a beginner wondering how to use a PDF embroidery pattern? You’re in the right place, friend.
(P.S. I have a totally FREE Guide that explains everything in this blog post + more! Click here to download the Free Guide!)
Let’s break it all down in plain, beginner-friendly English - no overwhelm allowed here at Mindful Mantra Embroidery!🫶🏼🪡
What Is a Beginner Embroidery Pattern?
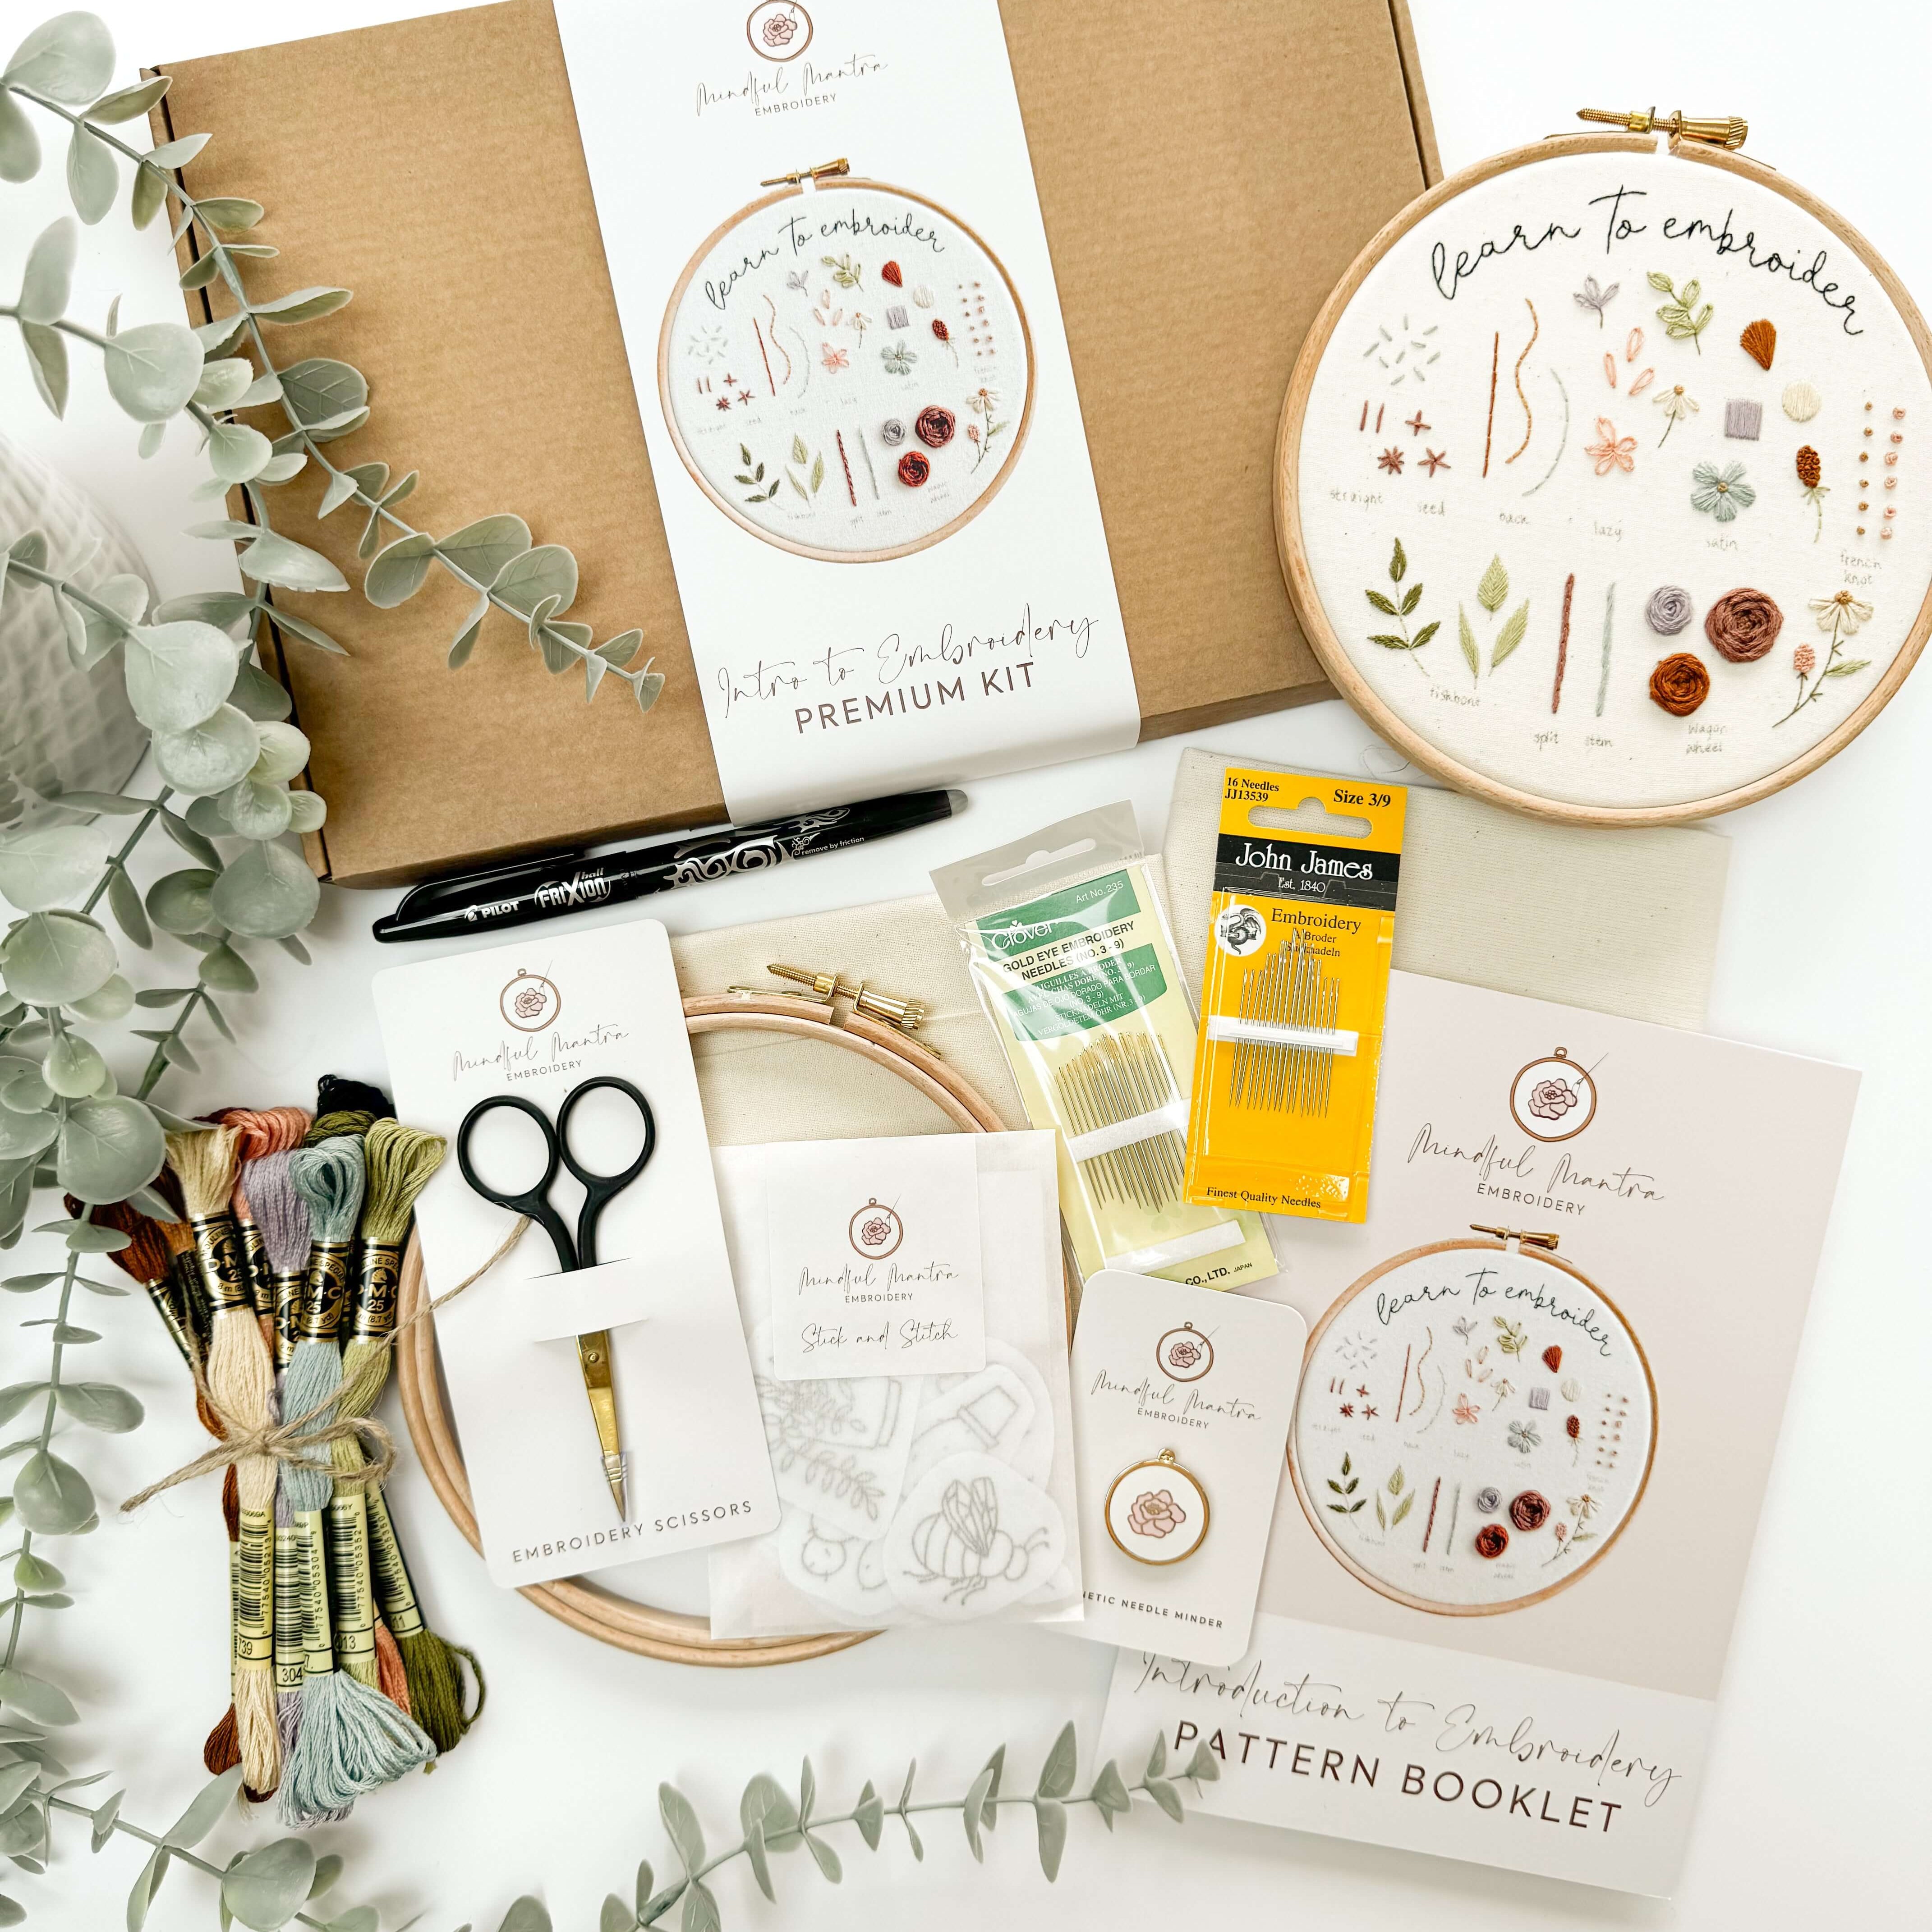
A beginner embroidery pattern is basically just your stitching cheat sheet. It tells you what the design looks like, which stitches to use, what colours to use, and how to bring it to life on your fabric. Most digital embroidery patterns include:
- A pattern outline/template to trace or transfer
- A stitch guide with suggested stitches/techniques
- A colour chart (usually in DMC thread numbers)
- Optional illustrated steps or tips to help you
Here at Mindful Mantra Embroidery, we include all of this, plus a super helpful 'Guide for Embroidery Beginners' included in every single pattern we create!
Whether printed or digital, patterns take out the guesswork so you can focus on the fun part - stitching! 😍

How to Use PDF Embroidery Patterns (Step-by-Step)
If you’ve just grabbed a PDF pattern (yay!), here’s exactly how to use it - no panic or overwhelm required:
1. Download and Open the File
Most PDF embroidery patterns arrive in your inbox immediately after purchase. Download the file and open it on either your laptop, tablet or phone.
🧵 Pro Tip: Always save your pattern in a safe folder - you can access it anytime!
2. Print the Pages You Need
Not all pages need printing. In fact, you don't even have to print your pattern out if you don't want to! Inside our pattern booklets, we include instructions for transferring your embroidery patterns whether you're using a tablet, or the ole' pen and paper method.
But, if you are planning to print your booklet, you may want to print:
- Black and White pattern outline/template (usually black & white)
- Stitch guide + colour guide
- Any helpful diagrams or transfer instructions (only if you need to!)
You can keep the rest (or all of it!) on-screen to save paper 🌱
(I'm all for sustainability and eco-friendly products + materials. Did you know that I plant a tree with every single order placed at www.mindfulmantraembroidery.com? You can find out more about that here if you're curious!🌳)
3. Transfer the Design to Fabric
There are a few beginner-friendly ways to get that design onto your fabric:
- Window or Lightbox Method: Tape the printed template to a window, place fabric on top, and trace with a heat-erasable pen.
- Trace from an iPad Screen: Upload your pattern template to your iPad and use the screen as a lightbox.
- Stick & Stitch Method: Use pre-printed adhesive patterns that you peel and stick (hello, convenience!)
👉🏼 You might find this related blog post super helpful if you're struggling with transferring your pattern to your fabric: How to Transfer an Embroidery Pattern with a Heat Erasable Pen

What’s Inside a PDF Embroidery Pattern?
Let’s break down the key sections of most beginner-friendly PDF patterns:
(Please Note: Every artist will format their pattern booklets slightly different, and not all pattern booklets will contain all of this information. This is a description of what I include in the embroidery pattern booklets that I create at Mindful Mantra Embroidery!)
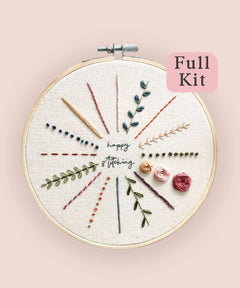
🖨️ The Pattern Outline/Template
This is the outline drawing of the embroidery pattern that you’ll trace. It usually includes a black and white outline of all the different elements of the embroidery pattern.
If the embroidery pattern is what I call a 'modern embroidery pattern' and is a project that stays inside the embroidery hoop on completion, you'll usually find a black circle outline of the pattern too.
Don’t overthink the tracing of the pattern - just follow the pattern’s outline when you transfer it!

🧵 The Stitch and Colour Guides
Here’s where the magic happens. You’ll usually see either 2 separate guides, or 1 combined guide that includes all stitches/colours for each element of the pattern.
As an example, you might see something like:
- Petals: Satin stitch – DMC 3866, 3 strands
- Leaves: Fishbone stitch – DMC 3363, 6 strands
- Outline: Backstitch – DMC 310, 1 strand
and so on!
This tells you what to stitch where and with which colour DMC embroidery thread to use, if you want to follow the suggestions from the pattern. Some digital patterns even colour-code the design so it’s extra clear!
🪡 Some Form of Instructions
Every pattern will vary in terms of what level of instructions are included. Always refer to the 'product pages' or the 'listing descriptions' so you know exactly what to expect!
(Please Note: Don't fall foul to the 'AI' patterns that are flooding Etsy at the moment. These are usually very cheap [only £1 or £2] and they don't include any instructions. Anne from Lolli & Grace put together this super helpful blog post to determine the difference between AI and artist-made embroidery patterns!)
In artist-made digital embroidery patterns, you will usually see one (or a combination) of the following:
- Step by step photograph/written instructions for the entire pattern, start to finish
- Step by step instructions for how to complete each stitch included in the pattern
- Basic instructions guiding you through the pattern (but perhaps not step by step)
- Video tutorials for the stitches included
- Video tutorials for the entire embroidery pattern
and so on!

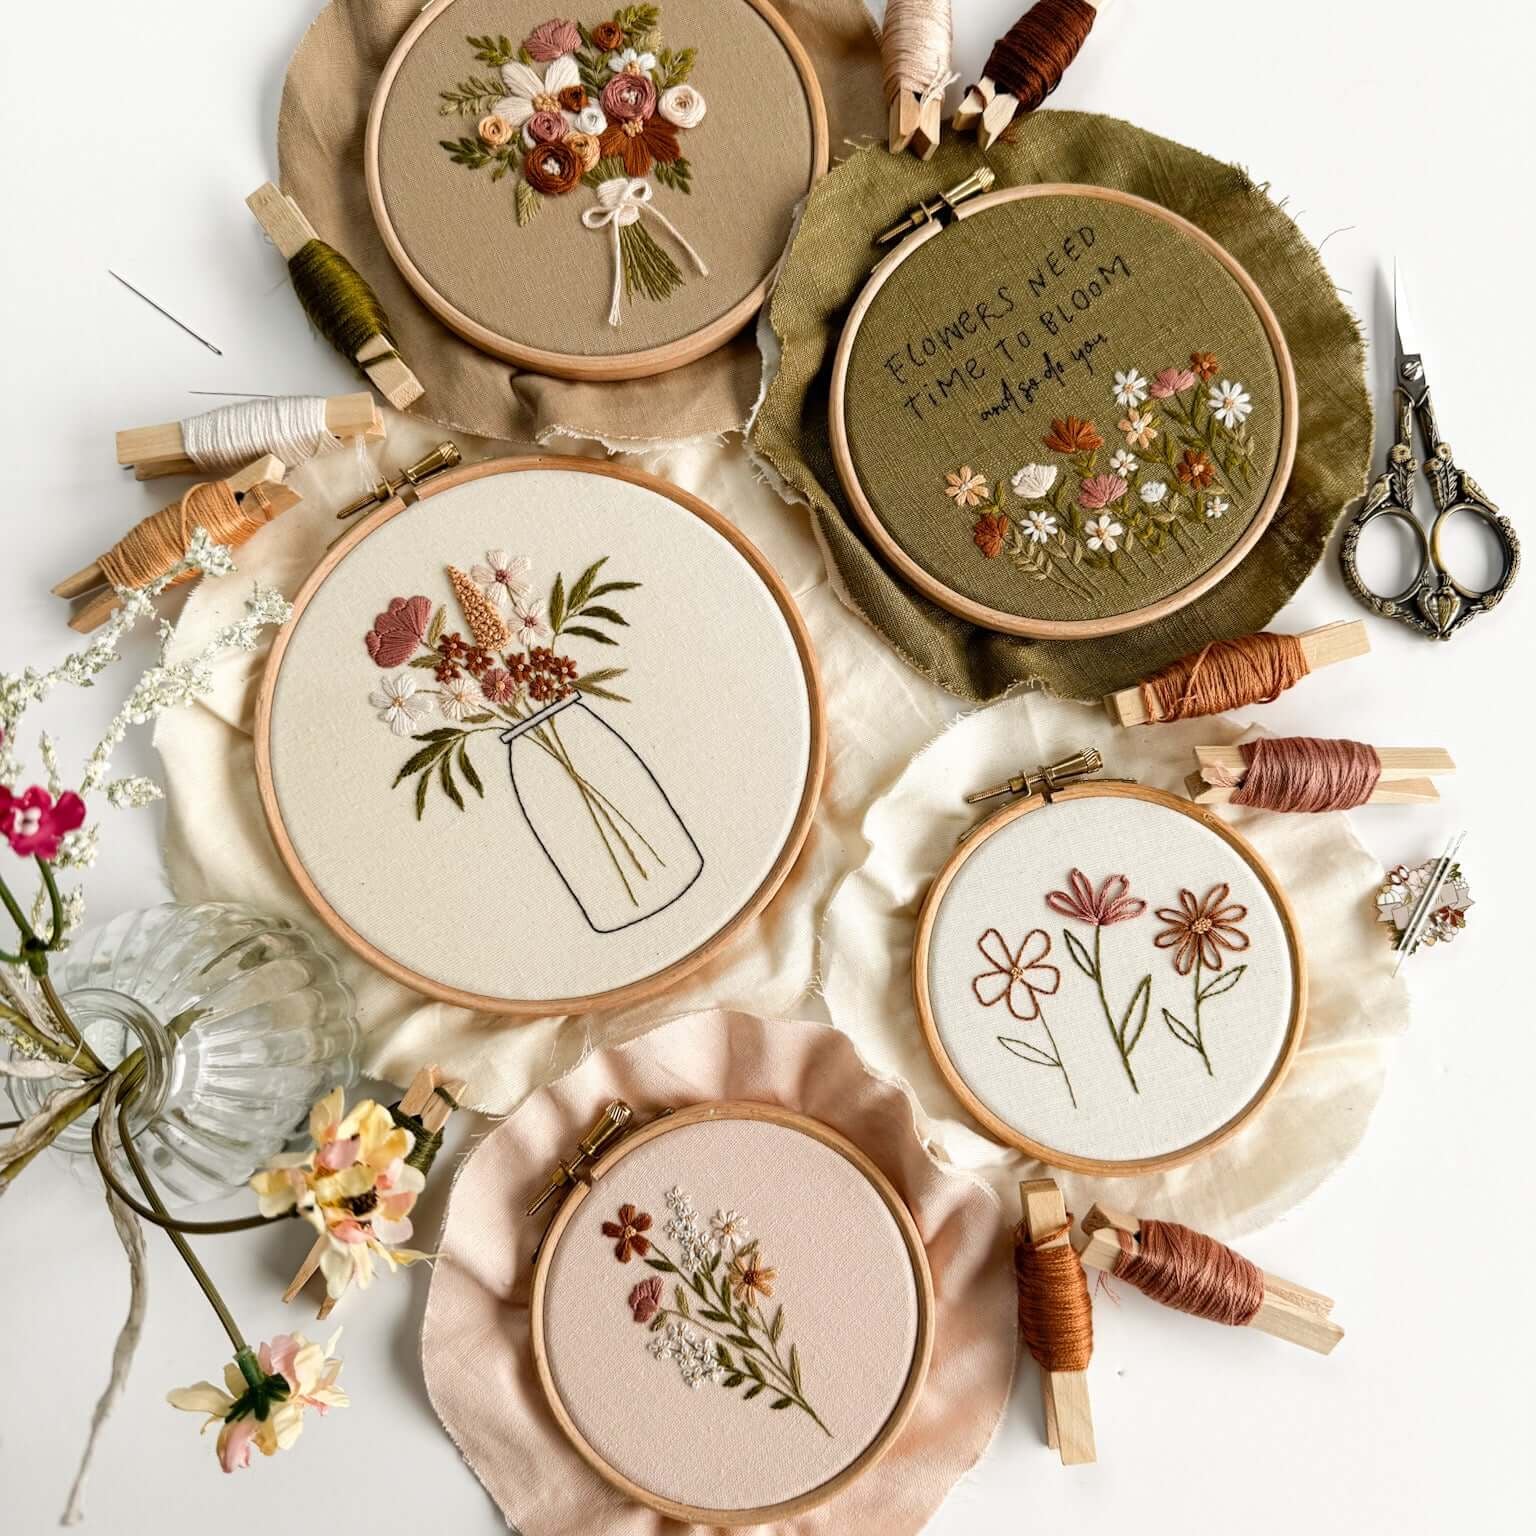
🖼️ Finished Project Photo
Always refer to this if you’re unsure! Seeing the final stitched design helps you understand where each element goes, how it's stitched, etc.
How to Actually Start Stitching (Without Freaking Out 😂)
Now that your design is on fabric and your thread is ready, here’s how to start confidently:
1. Choose a Starting Point
Some people start in the centre, others start on the the outlines, others may stitch everything in one colour first, before moving to the next colour. There’s no wrong answer for the order of stitching your embroidery pattern (unless otherwise stated in a pattern), just follow your excitement and start where you like!
2. Thread Your Needle
If your pattern says “2 strands,” separate the floss accordingly. Cut a piece about 18 inches long (any longer = tangles 😬)
Related Blog Post: 6 Ways to Keep Your Embroidery Thread Tangle-Free
3. Begin with the Easiest Stitch
Check your pattern's guide - if it uses something simple like the backstitch, you’re in beginner heaven! These are great starter stitches, and you can always look up a quick tutorial or take a mini course.
🧠 Want visual help? My Introduction to Embroidery Course walks you through the most common beginner stitches, step-by-step!
Still Unsure How to Use a PDF Embroidery Pattern?
You’re not alone! That’s exactly why I created a free PDF guide called:
✨ How (+ Why) to Use Digital Embroidery Patterns
It walks you through setup, printing, transferring, and getting started with stitching, plus a secret sneak peek into our pattern booklets here at Mindful Mantra Embroidery! This guide is perfect for beginners who want zero confusion and lots of clarity before they get started with learning embroidery!
👉🏼 Click here to grab your FREE copy now!

Next Steps: Let's Start Stitching! ✨
Once you understand how to use a PDF embroidery pattern, everything gets sooo much easier. Your stitching feels smoother, your results look better, and your confidence grows with every project you stitch!
If you’re ready to dive in, check out these perfect-for-beginners options:
- 💐 Beginner Blooms Pattern Collection – simple, stunning patterns with friendly instructions
- 🪡 Floral Initial A-Z Embroidery Patterns – the perfect small patterns that you can gift once you're finished!
You’ve got this, friend! Your embroidery journey just got a whole lot easier - and way more fun 🥳


Leave a comment