
If you’ve been embroidering for a little while, or maybe scouring Pinterest for some inspiration, you may have seen the technique where the entire of the hoop is filled with stitching.
If you’re not sure what I mean, here’s a photo of a pattern I created called Seamless Florals!
Do you see what I mean?
The embroidery is stitched all the way to the edge of the embroidery hoop.
Now, if you have been embroidering a while, you’ll know that it is practically impossible to stitch this close in the same hoop, because the inner part of the embroidery hoop gets in the way!
So, how do you do it?
It’s simpler than you think, I promise!
First, you’re going to need 2 different sized hoops. If the overall hoop you’d like to use is, for example, a 5” hoop, I’d recommend sizing up and also using a 6” hoop. (That’s what I did in my Seamless Florals pattern!)
Using this example, size the pattern to 5 inches, but transfer it into a 6” hoop. Now, just stitch away your pattern as you would. Here is what it would look like once you’re finished, in the sense that the embroidery isn’t right up to the edge of the hoop, it’s floating around in the middle. 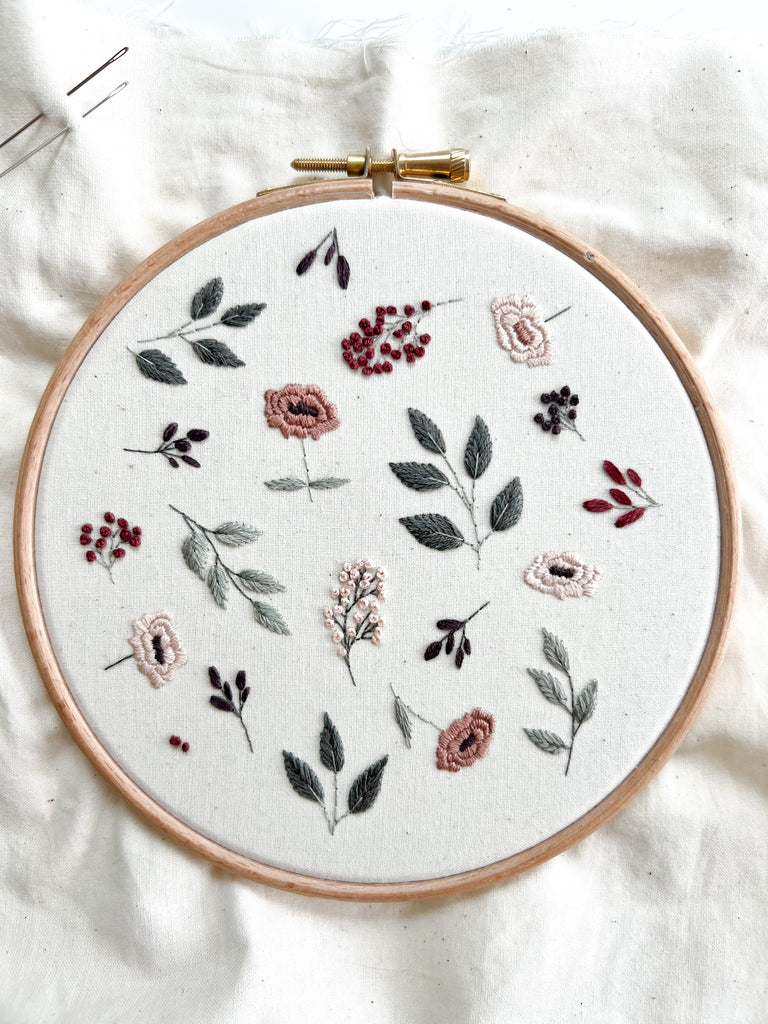
Next, take your project out of the larger hoop and put it to one side. 
Now you need the hoop that you’d like to frame the finished piece in, which is the smaller hoop. 
Load the finished project into the smaller hoop as you would with any other project. This includes pulling the fabric tight around the hoop with your thumb and index finger to ensure that the embroidery is pulled up right to the edge of the hoop, even overlapping it. It doesn’t matter if the stitching is sandwiched between the 2 hoops!
Related Post: How to set up fabric in an embroidery hoop
Be sure to tighten it as much as possible. Even though we’ve finished stitching, it’s still really important to keep the hoop taut so that your embroidery looks as good as it was when you finished stitching!

Pulling the fabric tight also helps to ensure that all of the stitching wraps over the edge of the hoop, and tightening with a screwdriver will help to keep it that tight even as time passes!
And voila, that’s how you create an embroidery hoop where the stitching goes all the way to the edge.
Happy stitching!

Do you want even more tips about All Things Embroidery?
Join my online membership exclusively for stitchers where I share my best embroidery tips + tutorials every week with members. With a community of other stitchers cheering you on, learning a new hobby has never been easier - or more fun.


1 comment
Great explanation! Looking forward to the Bloom Embroidery Academy!
Leave a comment