One of the most asked questions by beginner and intermediate embroiderers alike is “what needle do I use?”
It’s not exactly surprising, there’s so many different types of needles, and the sizes of those needles are vast and difficult to understand.
But, one way to really elevate your embroidery, and also massively improve the enjoyment of the embroidery, is to use the correct needle for the purpose you are using it for.
Sounds confusing? It isn’t, I promise!
So friend, let’s break it down for you.
Different types of needles
Different needles have different characteristics that make them suitable for different projects. These characteristics can include:
- the length of the needle;
- the thickness of the shaft of the needle;
- the size and shape of the eye; and finally,
- the sharpness of the tip of the needle
Particularly in hand embroidery, there are 3 different types of needles you will come across the most often (there are of course more than this, but these are the common ones!) :
1. Embroidery Needle
Unsurprisingly, this needle is the best type of needle to be used in surface embroidery like modern hand embroidery.
Typically, it is a long needle with a long oval eye that is slightly bigger than a regular sewing needle that you’d find in a standard sewing kit, but the tip is sharp just like a sewing needle. These characteristics make it great for threading several strands of embroidery thread, and precisely putting the needle through the fabric.
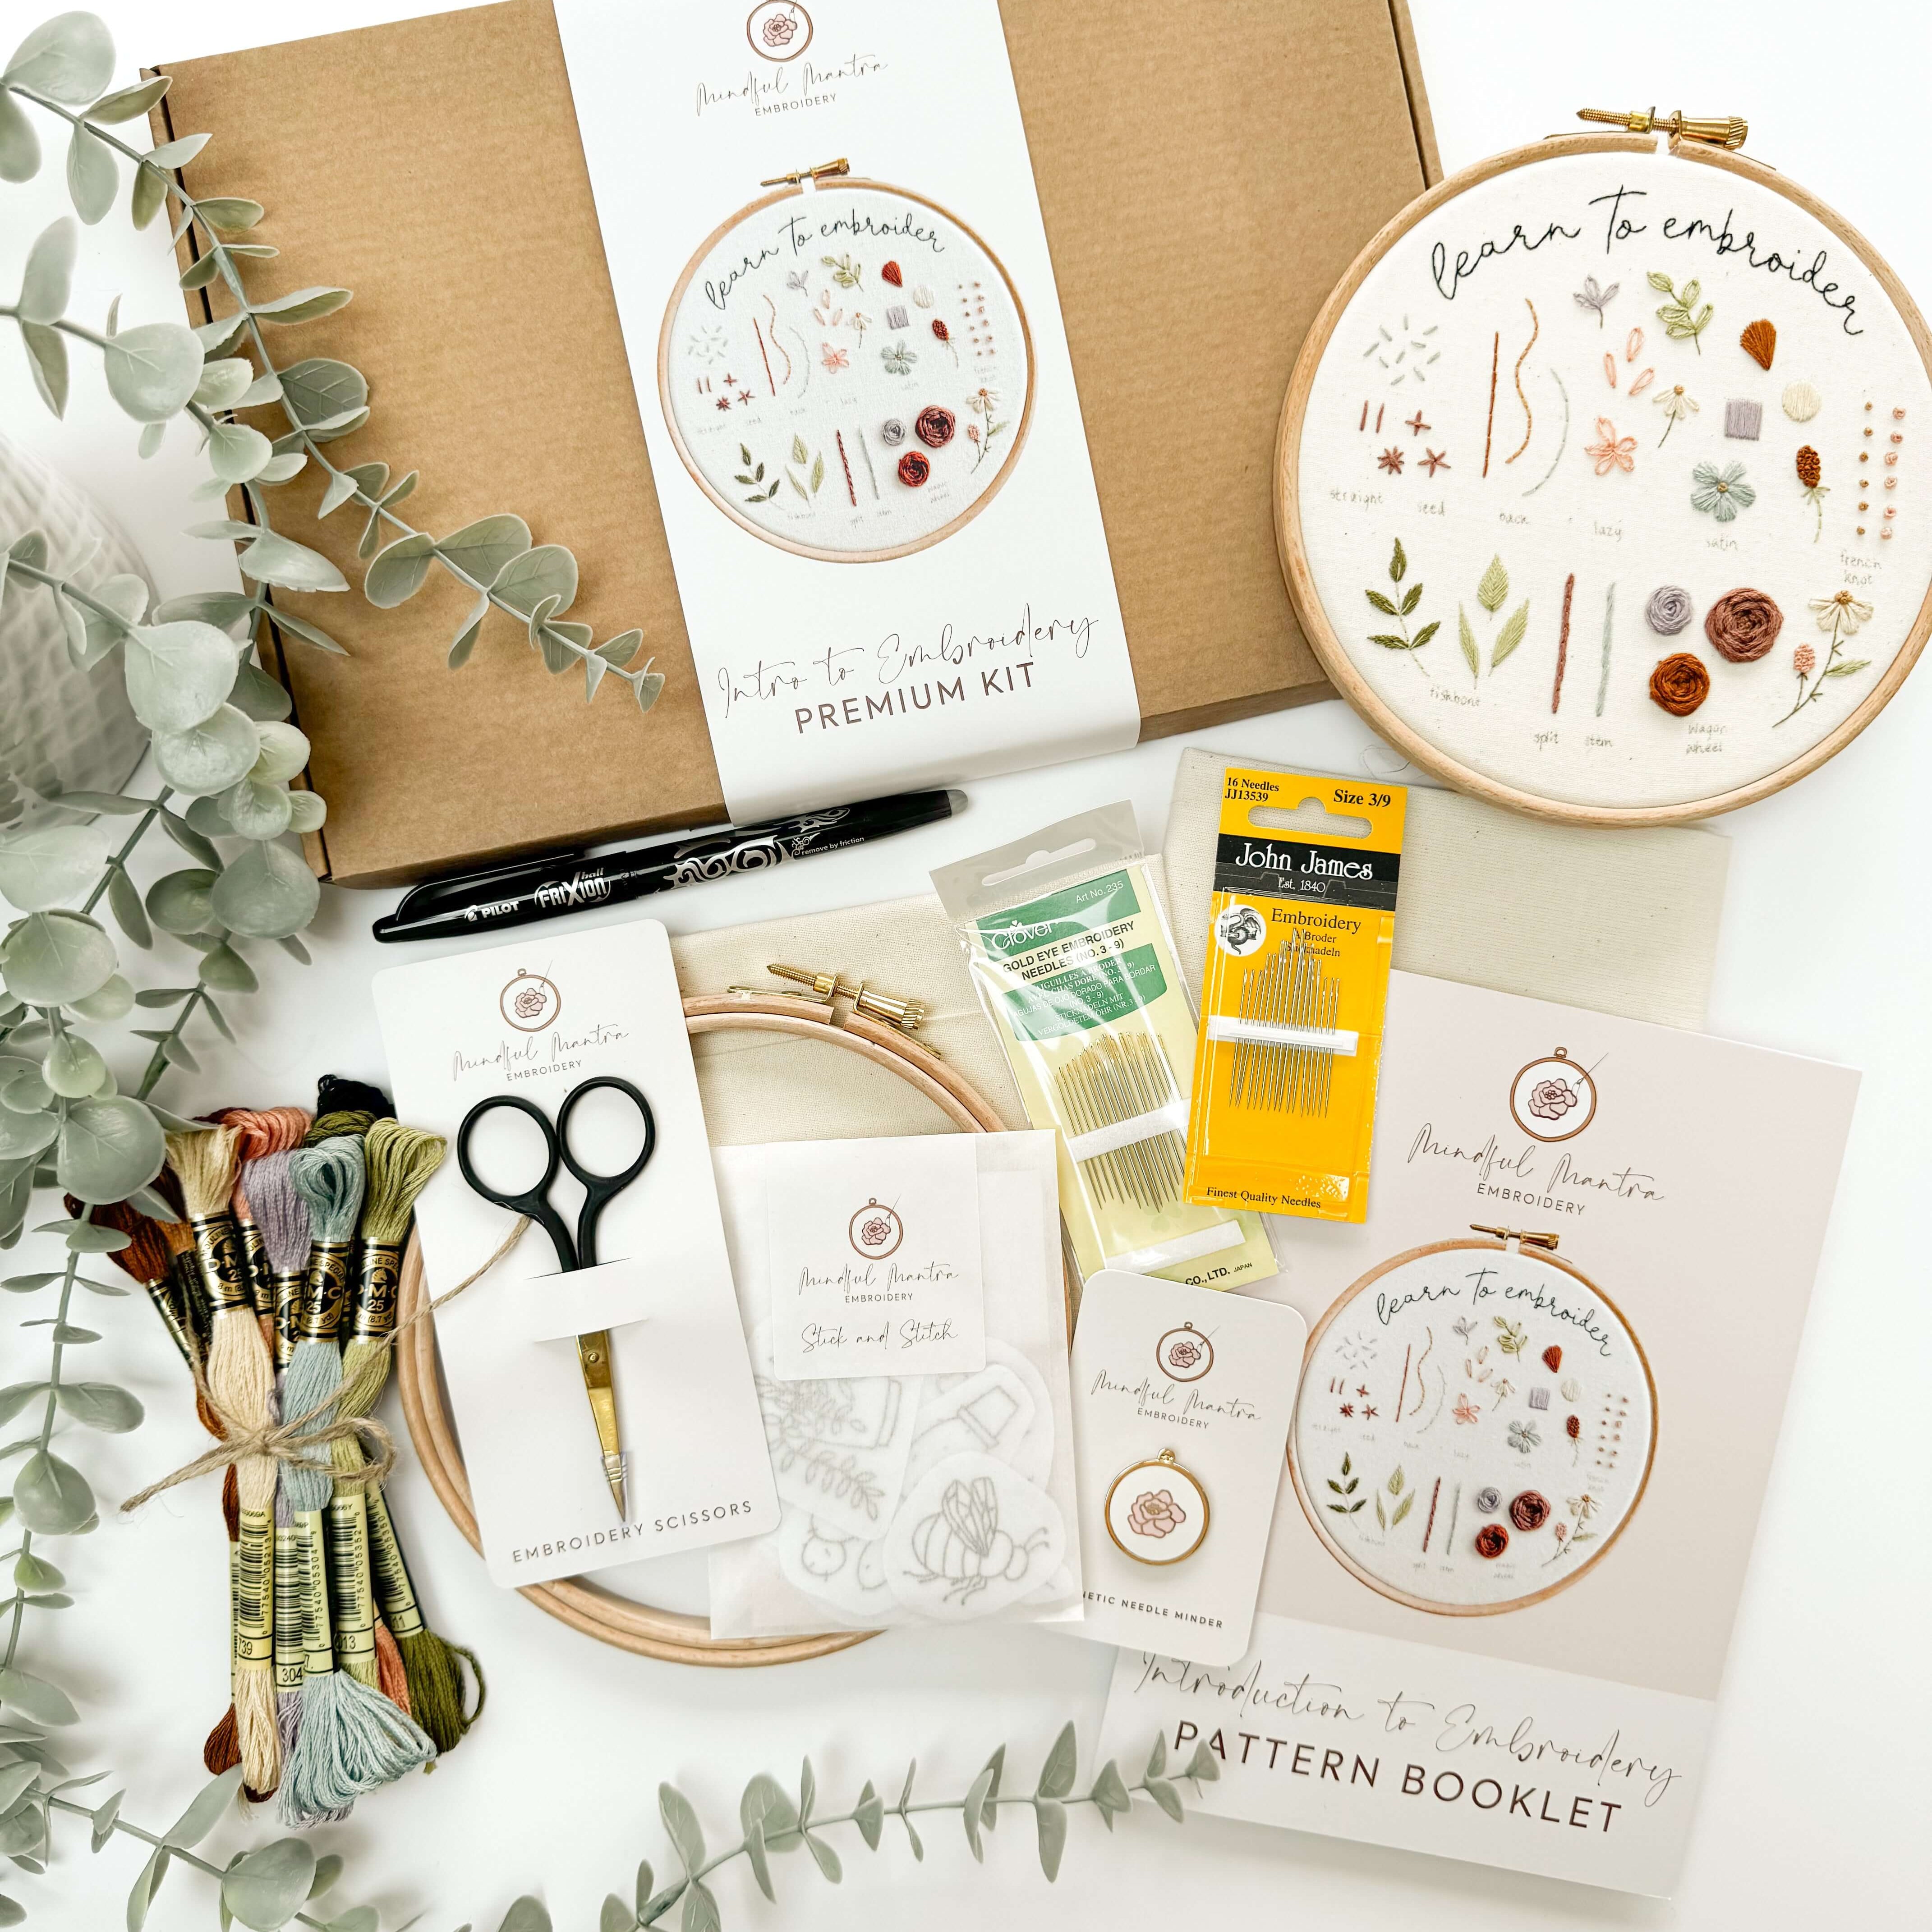
As these are the most commonly used needles for embroidery, these are the exact ones we stock in the shop. My absolute favourites are DMC, John James and Clover Gold eye needles! These are the needles I stock inside my DIY Embroidery Kits for Beginners.
2. Chenille Needle
A chenille needle is somewhat similar to an embroidery needle, except it is slightly thicker and has a much larger eye. For that reason, it is a great choice of needle when you are using several strands of thread (such as 6 doubled). It is best to avoid this needle when you’re embroidering daintier areas, because it can leave a large hole in the fabric.
3. Tapestry Needle
A tapestry needle is similar to a chenille needle, except it has a blunt tip, not sharp. These are great needles when you are using a larger weave fabric, such as aida for cross stitch, when piercing tightly weaved fabric isn’t as essential. As it also has a large eye, it is great for using lots of strands of thread, and also other types of thread such as yarn.
So, focusing on embroidery needles, because they’re what we use most often, what about the different sizes?
Embroidery needles typically come in sizes 1-12, with size 1 being the biggest and 12 being the smallest. The sizes of the needles increase in size in terms of the length of the needle, the thickness of the needle, and also the eye of the needle.
*Not actual size here*
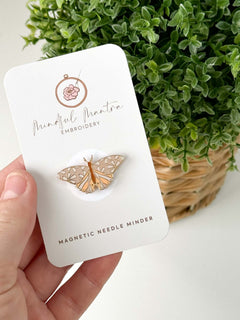
Typically when I’m embroidering, I use 3 different sized embroidery needles, which I use at different points throughout the project depending on how many strands of thread I am using. I keep them all handy on my needle minder whilst I’m stitching.
At this point you’re probably wondering how to distinguish when to use each size of needle in your project?
My favourites to use are sizes 3, 5 and 9. 
Pictured above are the 3 needles, and from left to right are size 5, size 3 and size 9.
Size 5 is a very commonly used embroidery needle because it’s not super long, and the eye is a really good size for the embroidery thread. It might not particularly look it from this photo, but it is a great size when using up to 3 or 4 strands of embroidery thread.
This is the needle I use in my embroidery kits for exactly this reason. Most of my projects use 3 strands or less, and when they do include 4 or 6 strands, you can simply double up either 2 or 3 strands of thread to create 4 or 6 strands.
That being said, sometimes it’s handy to size up the needle when you are using all 6 strands of embroidery thread. This is particularly the case when you are doing stitches like French knots, as it is important to use a needle with the right size eye to pull the knot through the fabric without getting stuck! For that reason, a needle like a size 3 is a great one to have on standby for the parts of a project using more strands.
Lastly, I keep on hand a smaller needle, too. My go-to is a size 9 because the eye is teeny tiny - trying to thread 2 strands can be a struggle, but it is the perfect size for using just 1 strand of embroidery thread. In a lot of my embroidery projects, I have sections that require a finer detail, including the outline lettering of our Floral Initial patterns, and stems on flowers and botanicals like in our Always My Mum Embroidery Pattern. For these I like to use 1 strand, and for that I use my size 9 needle. 
If you use a bigger needle when using 1 strand, for example the size 3 needle, you’ll find that the thread always falls out of the eye when you’re pulling the thread through the fabric, purely because it’s just too big to hold it securely. A larger sized needle is also thicker, meaning it can leave behind quite a large and noticeable hole in the fabric once you’ve pulled it through.
Trust me, when you start to use the correct size needle for your project, you’ll notice a huge difference to both your overall embroidery, and also your enjoyment whilst embroidering! For the longesttt time I used a tapestry needle because I found it the easiest to thread, but when I moved to properly sized embroidery needles, my game totally changed!
If you’re considering starting to use correctly sized needles, I would highly recommend the Clover Gold Eye Sized 3-9 Embroidery Needles stocked in the shop. In this pack you’ll have the 3 sizes I use in my projects, and also a few others to try out for yourself. I personally also find that the gold eye needles are much easier to thread than regular embroidery needles, so they’re definitely a great place to start!
Happy stitching!

Do you want even more tips about All Things Embroidery?
Join my online membership exclusively for stitchers where I share my best embroidery tips + tutorials every week with members. With a community of other stitchers cheering you on, learning a new hobby has never been easier - or more fun.



5 comments
Thank you for this information. most helpful for a newbie like me :)
Thanks for the needle information.
Absolutely perfect instructions and exactly what I needed to know. Beautifully explained. Thank you so much!
This info was helpful and appreciated but, sadly, your quizz link for the free pattern is broken.😟
Thank you! This will be so helpful!
Kelly
Leave a comment