Getting an embroidery pattern onto fabric is one of the first challenges that new embroiderers encounter, and it’s no surprise that that’s the case! There are lots of ways to transfer embroidery patterns, and it can seem like a bit of a minefield.
Generally, I prefer to trace embroidery patterns using a heat erasable pen, because I find it the most convenient method of transferring designs.
Related Post: How to transfer embroidery patterns with a heat erasable pen
But, what happens when you’re embroidering on a fabric that you can’t trace through, like clothing?
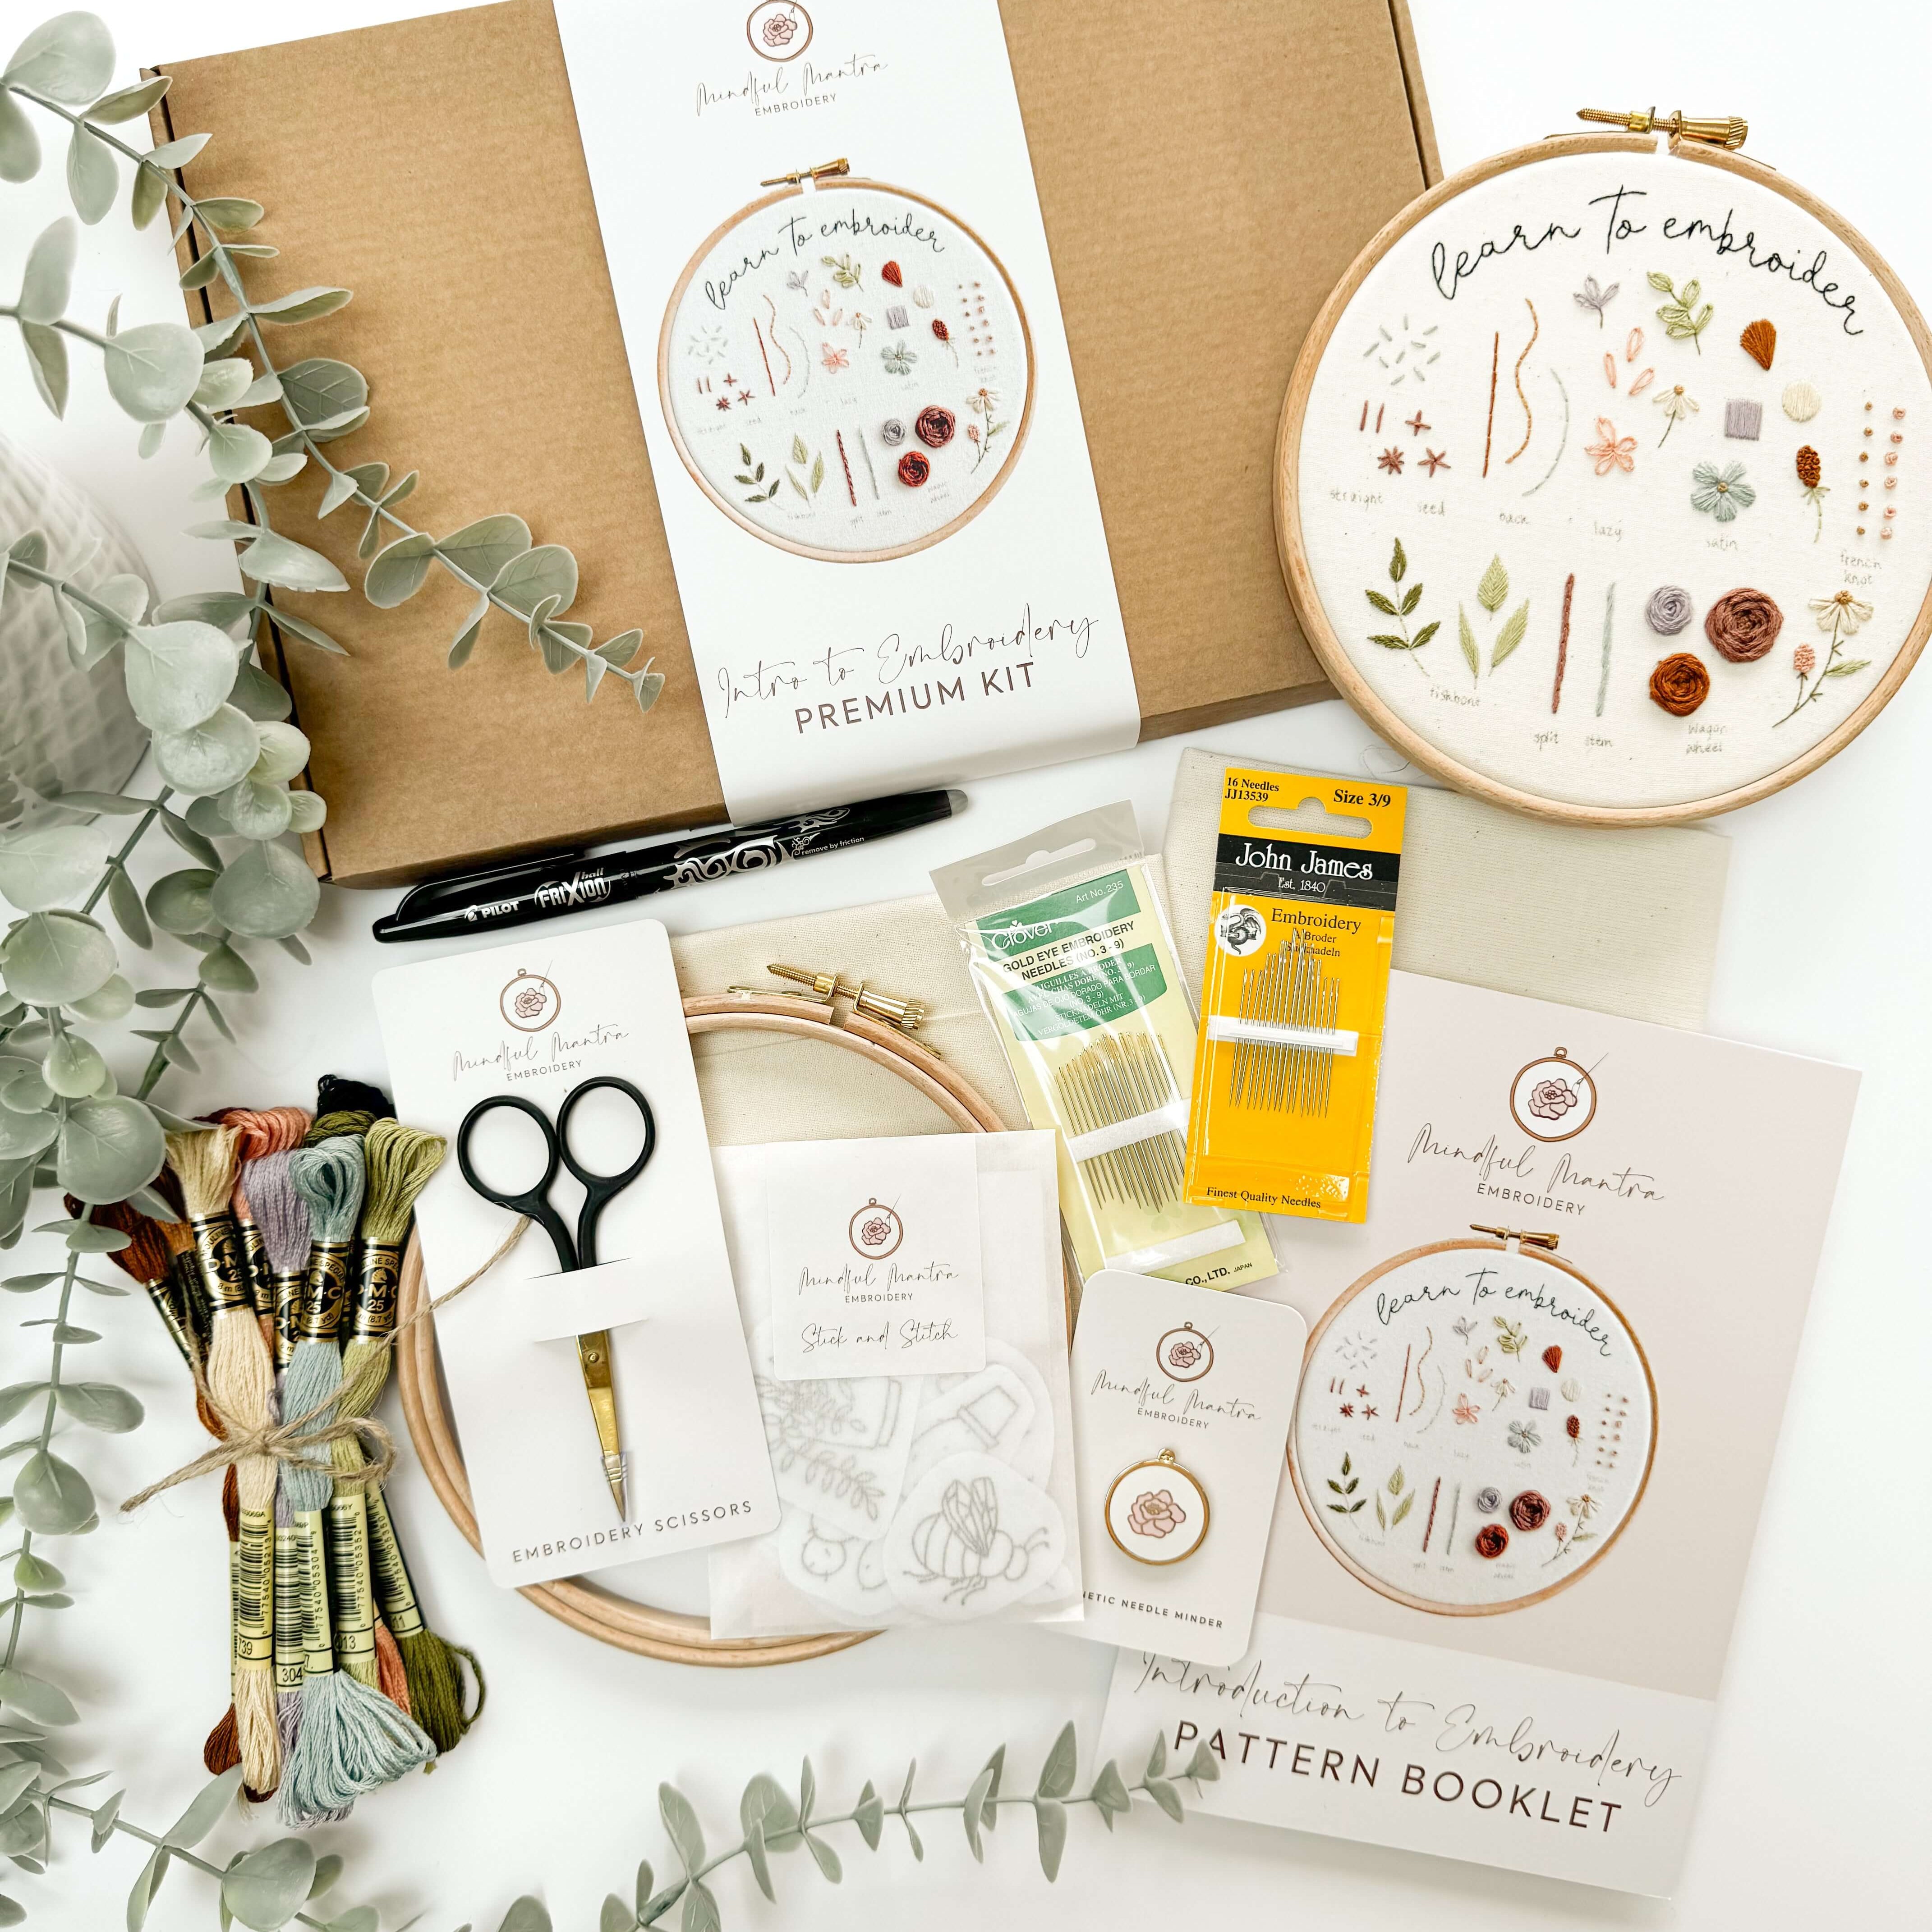
That’s where Stick and Stitch packs come in, friend! Over in the shop I have a huge variety of patterns in a variety of different packs. They are a bunch of ready-made designs that you can just peel, stick, and stitch onto whatever fabric you like!
They are water soluble with a sticky back, so you might be wondering… how do they work? Let’s get down to it.
1. Pick out the design you’d like to embroider
Take a look at all the designs in the pack and decide which one you’d like to stitch.

2. Peel off the backing, and place it where you’d like to stitch
All of our stick and stitch designs are printed onto a sticky backing. That means you can just peel off the back layer and stick it down wherever you fancy embroidering it!

3. Tighten the fabric in the embroidery hoop
Once your design is in place, position your embroidery hoop in place and tighten your fabric. If you’re using regular embroidery fabric to keep your design in the hoop, then be sure to load your fabric and tighten it correctly.

However, if you’re using the stick and stitch patches for clothing, don’t pull the garment too tight in the hoop. Especially if it’s a stretchy material! You could end up warping the fabric and the finished design.
Related Post: How to set up fabric into an embroidery hoop
4. Get to stitching!
Now for the fun part! Get out your chosen colours, needles and snips and start stitching. The stick and stitch designs are water-soluble, so be mindful of the stitches you decide to use. Make sure they’re stitches that will withstand the wash!

5. Wash off the stabiliser
Once you’ve finished stitching, run the embroidery under running water and gently rub it away with your fingers. I find its best to use lukewarm water for this step to help prevent your thread colours or the ink from running. Using your nail to scratch around the edges of your embroidery can really help to remove any of the last bits of stabiliser clinging on for dear life!

6. Let it dry, and voila!
Allow the fabric to dry, and your project is complete! Washing under running water will dissolve the soluble paper and leave your wonderful stitching in place.

Easy as that, huh?!
Get started with upcycling your clothing today with our Stick and Stitch Packs!
This little strawb is from our Sample pack - a variety of small designs to get you started!
But, if you want to print your own designs, we also stock the very special water-soluble sticky paper, too!

Do you want even more tips about All Things Embroidery?
Join my online membership exclusively for stitchers where I share my best embroidery tips + tutorials every week with members. With a community of other stitchers cheering you on, learning a new hobby has never been easier - or more fun.






Leave a comment